Proxmox Virtual Environment Create Virtual Machines-Part 03

Results-oriented IT professional in various fields of IT, including Systems, Networking, File Systems, Security, Programming Languages, Virtualization, Storage, and Backups.
In this lesson we will create and launch Windows 10 guest machine inside Proxmox.
Download and Prepare
First off all we need to prepare the required ISOs “Windows 10 x64” and “Windows VirtIO Drivers”.
head to the Windows 10 download page to download the latest version of Windows 10 and head to fedorapeople to download opensource drivers, which are available compiled and signed for Windows.
Upload ISOs to PVE local storage
- Access the Proxmox VE web interface from browser by entering the server’s IP address in a web browser.

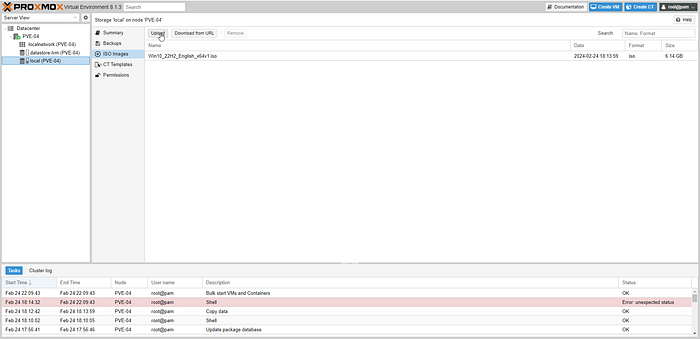
- Select on local storage.
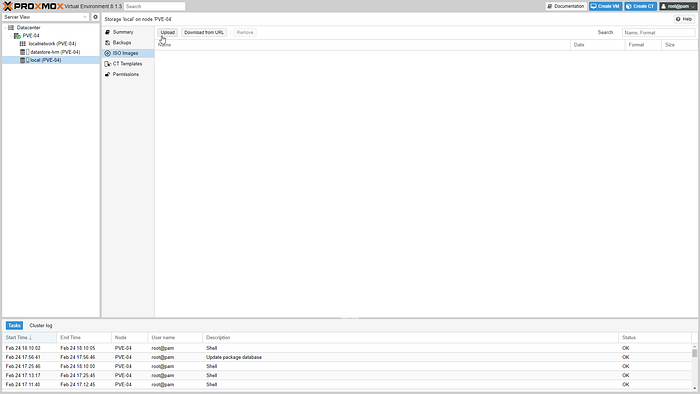
Select on ISO Images.
Select Upload.
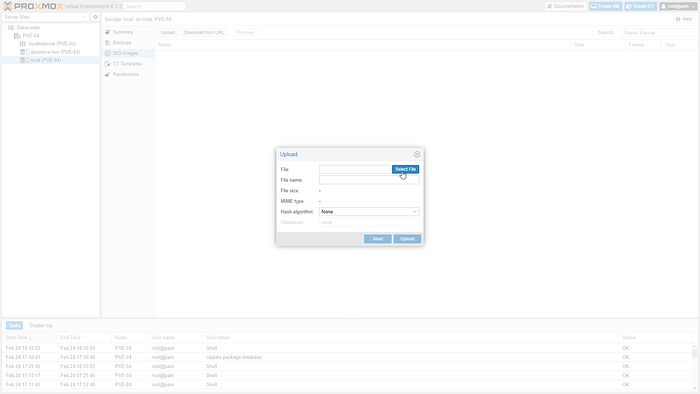
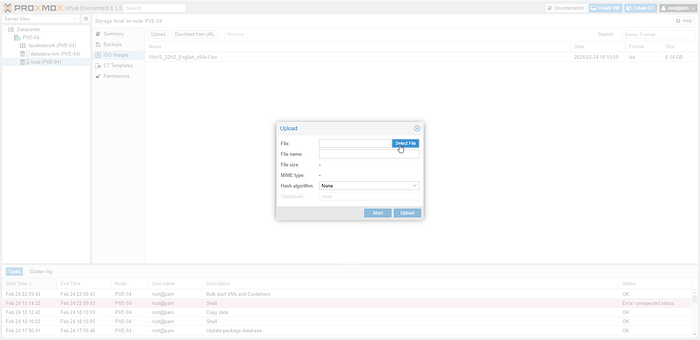
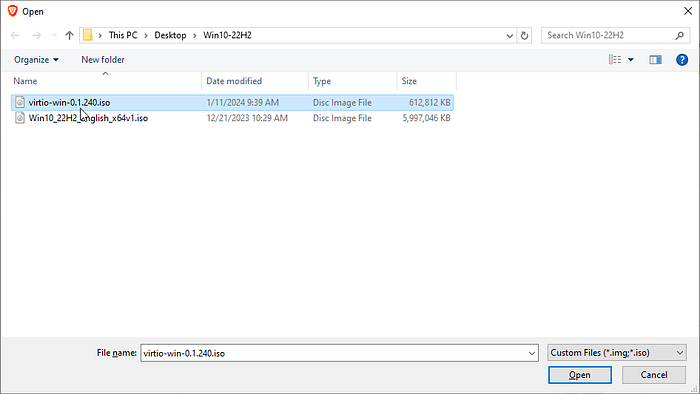
- Select File.
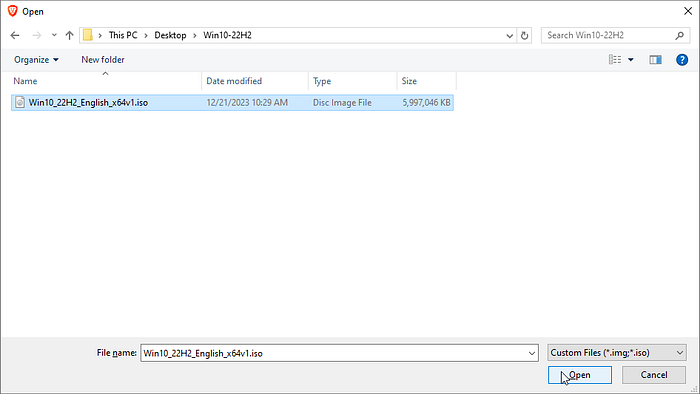
Select Win10.iso file.
Select Open.
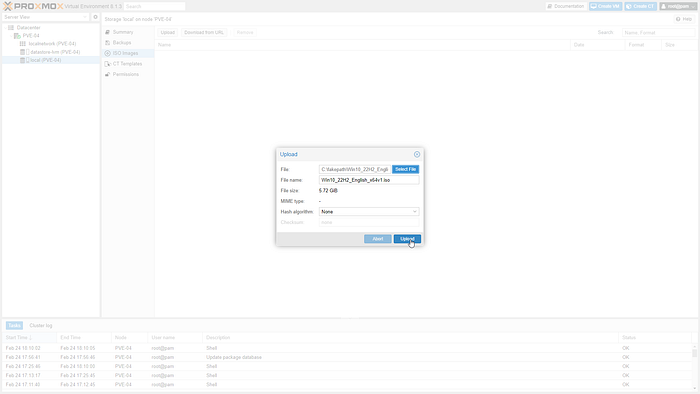
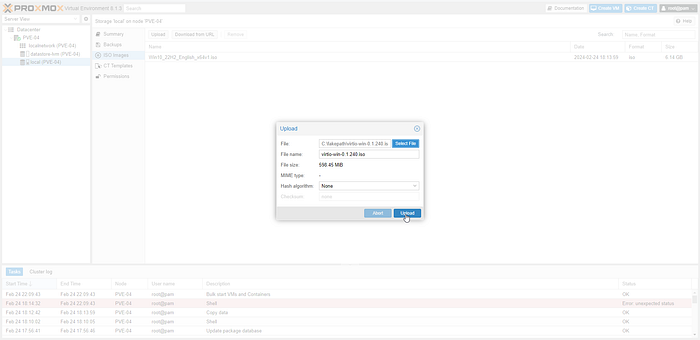
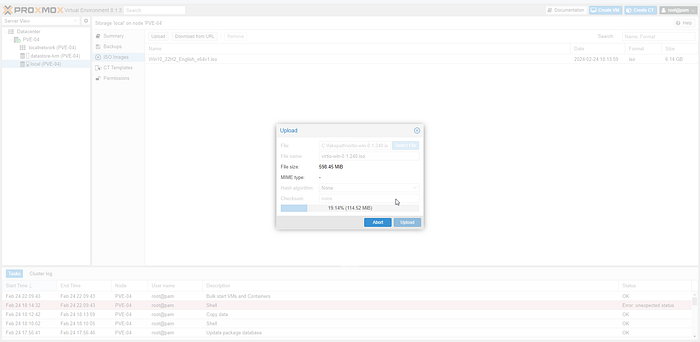
- Select Upload.
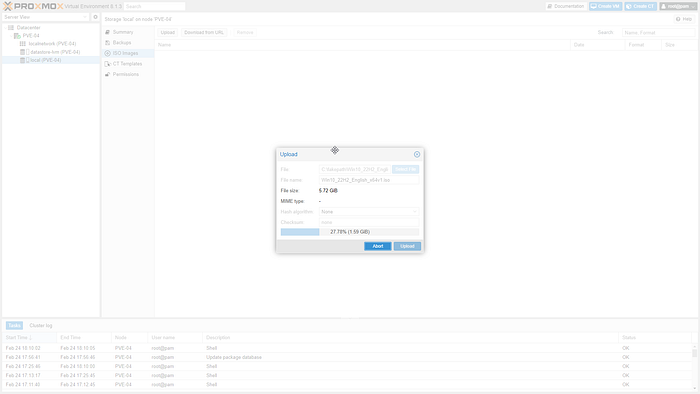
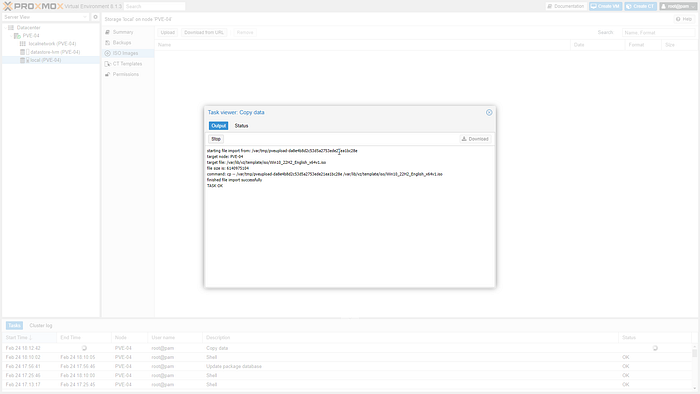
- File imported successfully.
Repeat the same steps to upload virtio-win10x iso file.
VM Creation and Installation
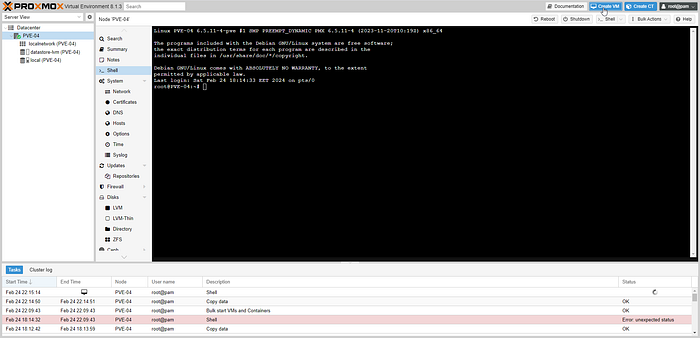
Access the Proxmox VE web interface from browser by entering the server’s IP address in a web browser
Select Create VM.
General
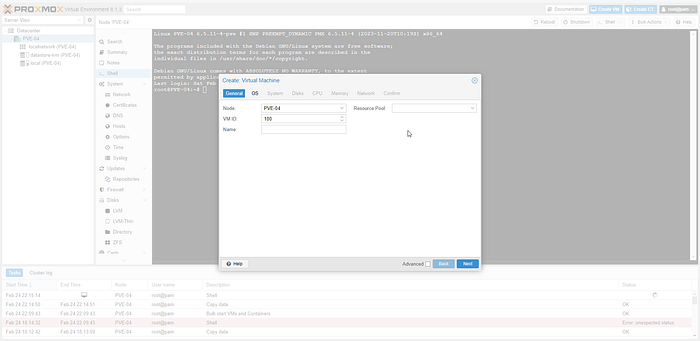
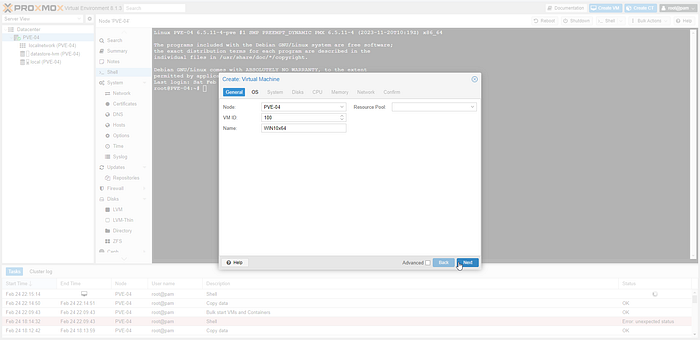
Name the VM.
Select Next.
OS
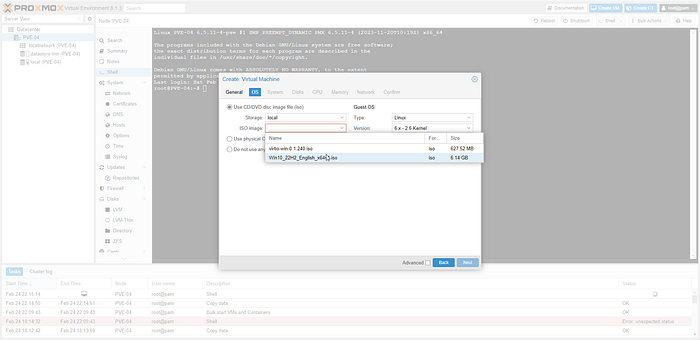
- Select Windows 10 ISO image from local storage.
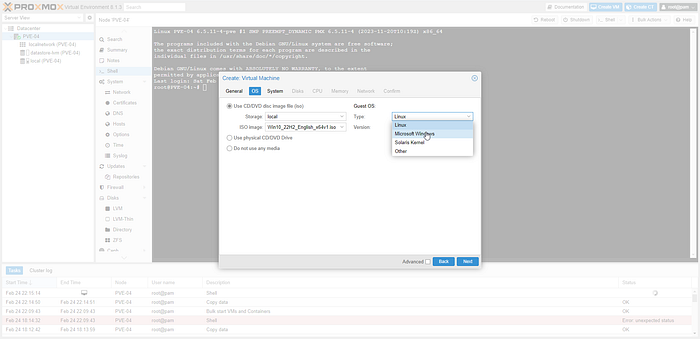
- Change the OS type to Microsoft Windows.
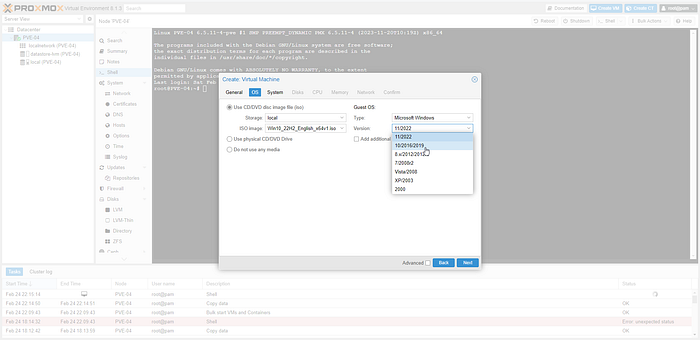
- Select Version 10/2016/2019.

- Tick “Add additional drive for VirtIO drivers”.
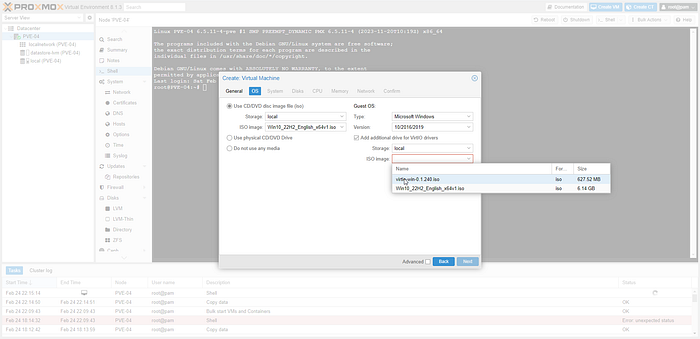
Select Windows VirtIO Drivers ISO file.
Select Next.
System

Change SCSI Controller to VirtIO SCSI single.
Tick “Qemu Agent”.
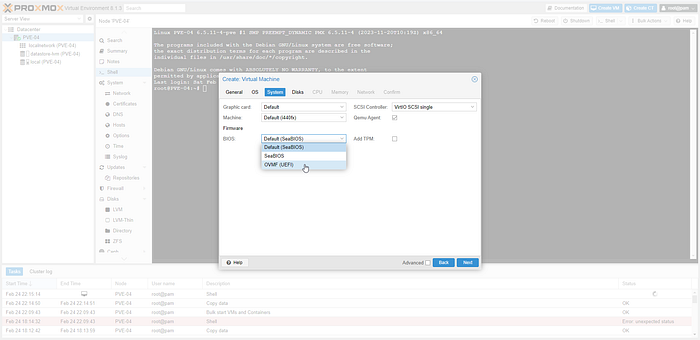
- Change BIOS (Basic Input Output System) to OVMF (UEFI).
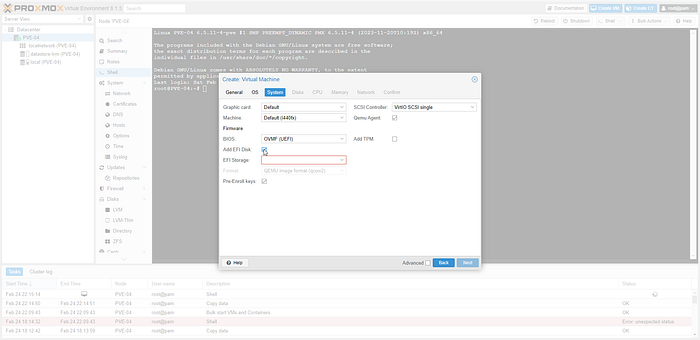
- Tick Add EFI Disk.
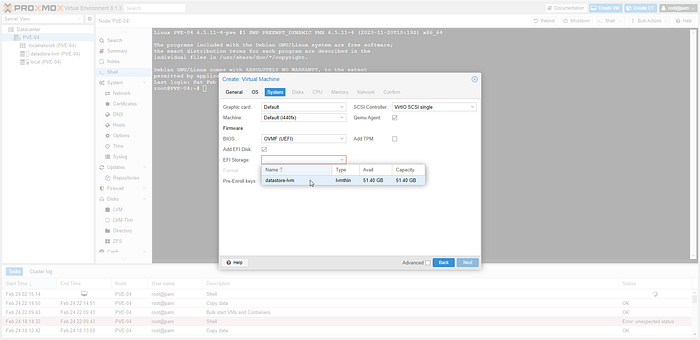
Select datastore-lvm (Virtual Machines storage).
Add EFI Storage.

- Tick “Add TPM” (Trusted Platform Module).
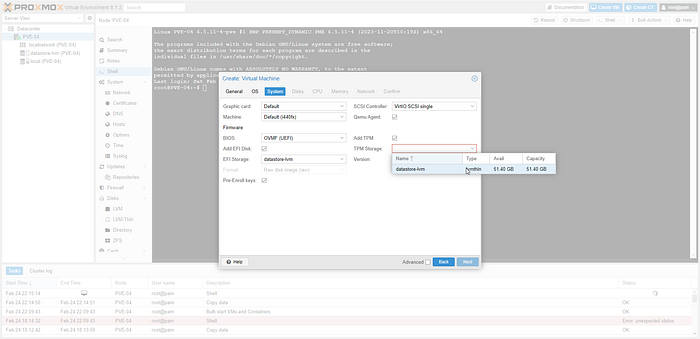
Select datastore-lvm (Virtual Machines storage)..
Change Version to V2.0.

- Select Next.
Disks
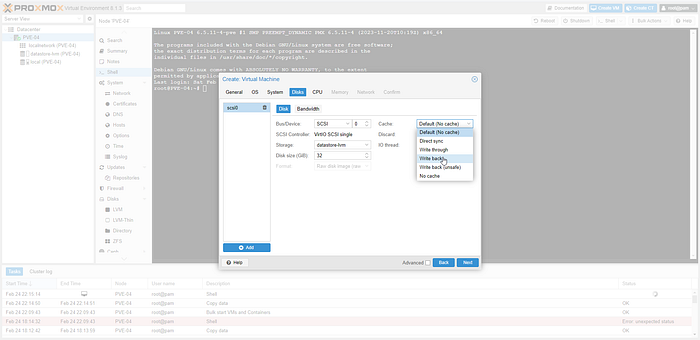
Change Bus/Device to SCSI.
Change Disk size as per your needs.
Change Cache to “Write Back” as cache option for best performance (the “No cache” default is safer, but slower).
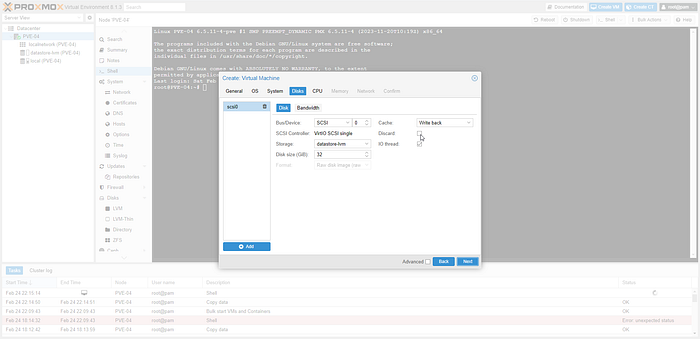

Tick Discard.
Select Next.
CPU

Increase CPU Cores to 2.
Select Next.
Memory

- Increase Memory to 4GB.
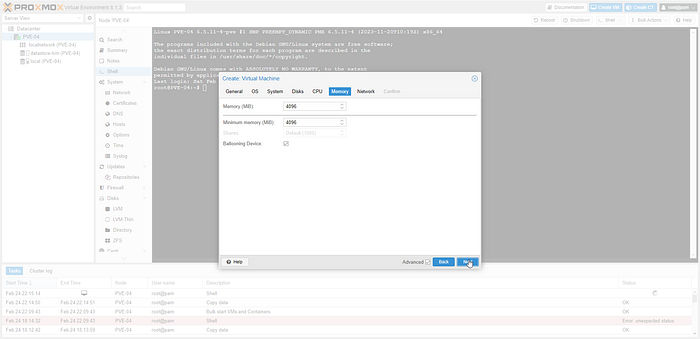
- Select Next
Network
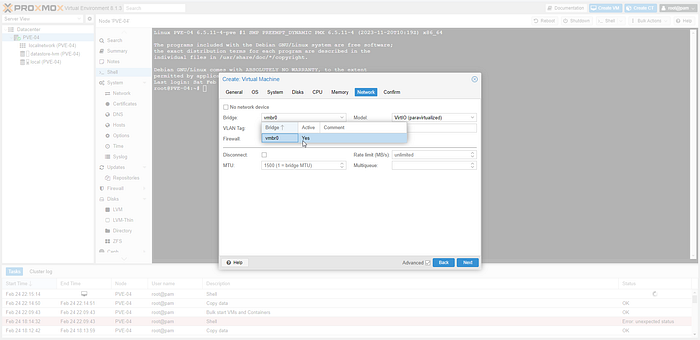
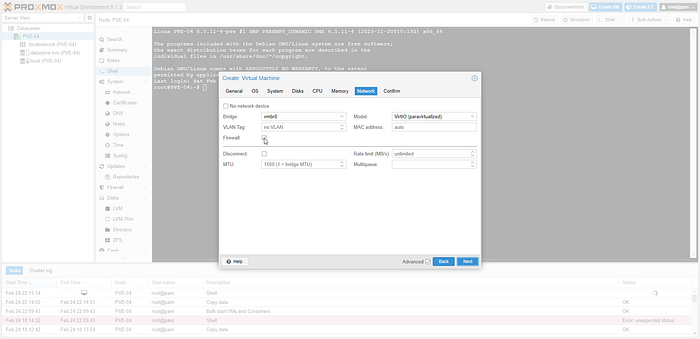
Select the appropriate virtual switch “vmbr0”.
Tick Firewall “Disable Firewall”.
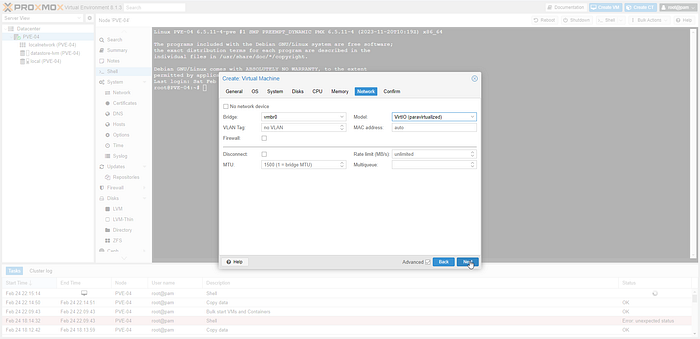
- Select Next.
Confirm
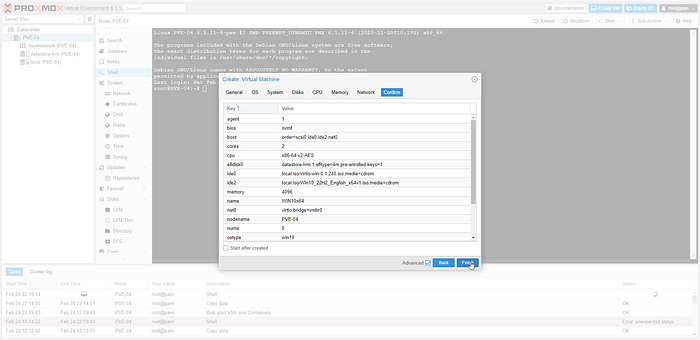
- Select Finish.
“Boot Order” configuration
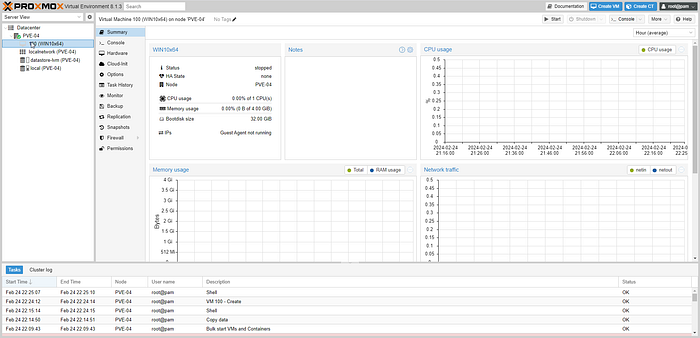
- Select on the newly created VM from the PVE GUI.
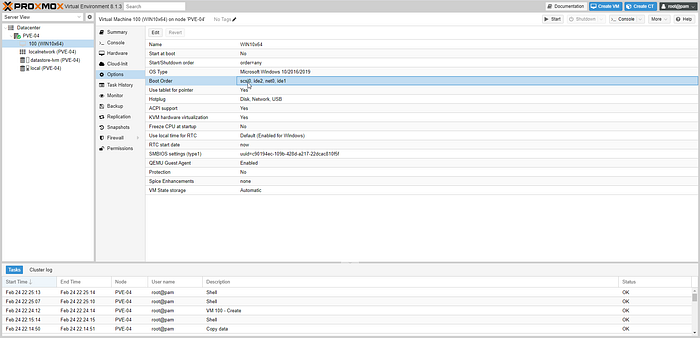
- Select Options.
- Select on Boot Order
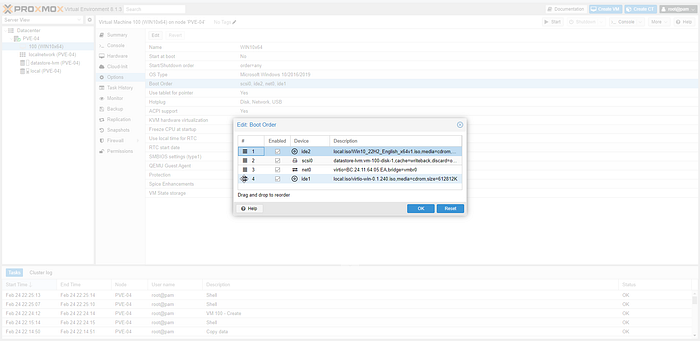
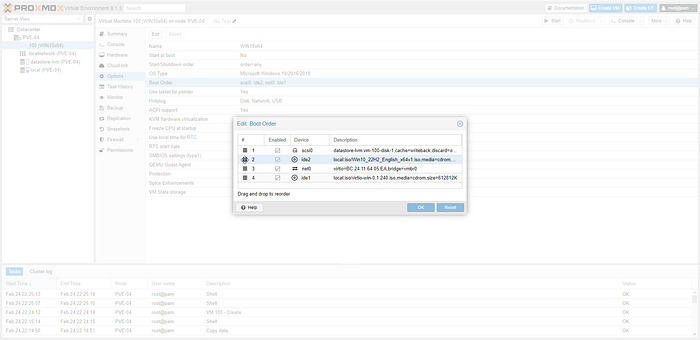
- To boot the virtual machine with Windows 10, drag and reorder the IDE device containing Windows 10 iso image to the top of the list #1.
- Select Ok.
Windows 10 Installation Process
- Select WIN10x64 from GUI.
- Select Start to start the newly created virtual machine.

- Standard console access “Connecting”
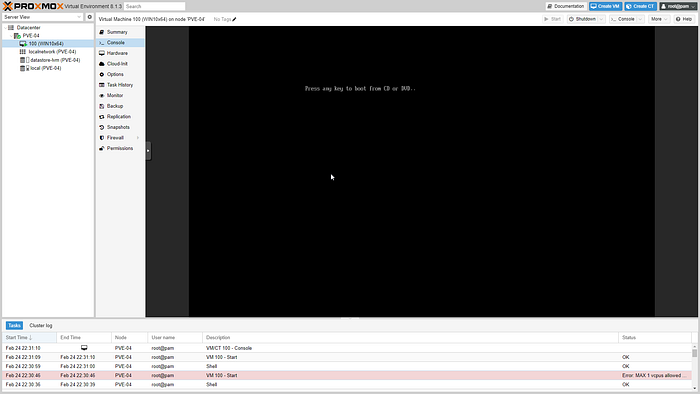
- Press any key to boot from CD or DVD.
- Select Next.
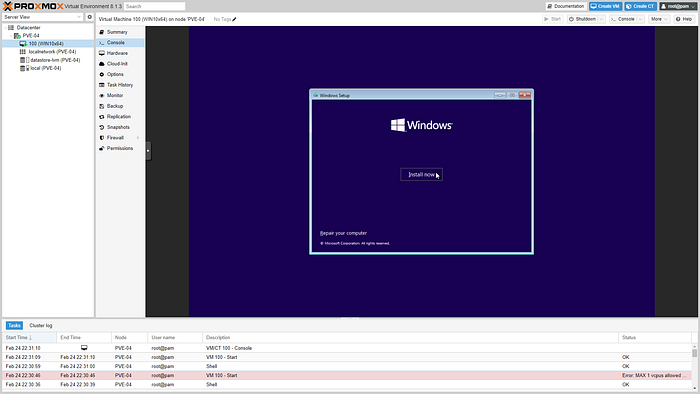
- Select “Install Now” since its a fresh installation for windows 10.
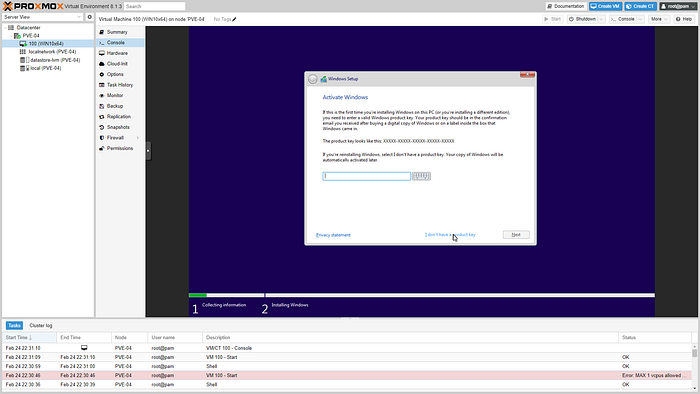
For the demonstration purposes select “I don’t have a product key”.
Select Next.
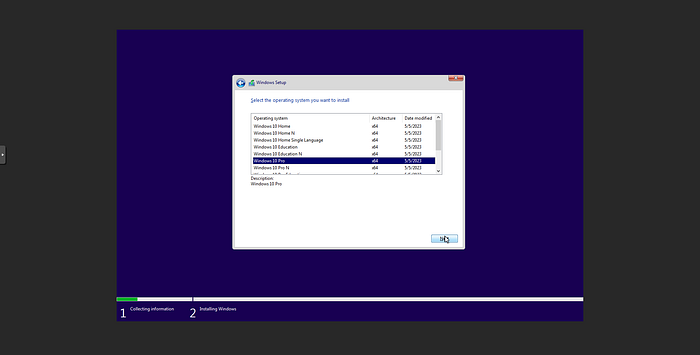
Select Windows 10 Pro Operating System.
Select Next.
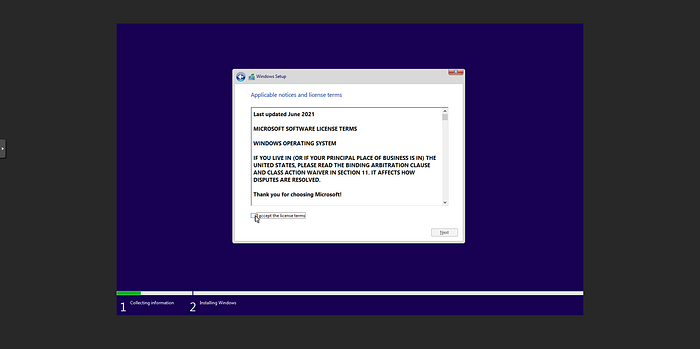
- Tick “I accept the license terms”.
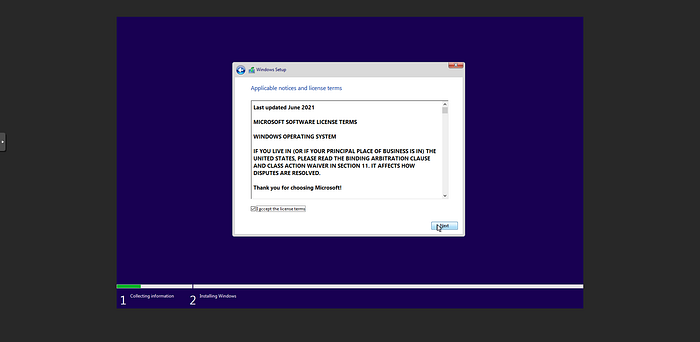
- Select Next.
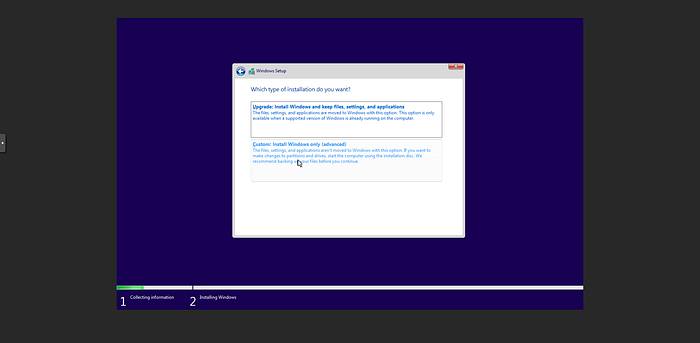
- Select Custom: Install Windows only (advanced).
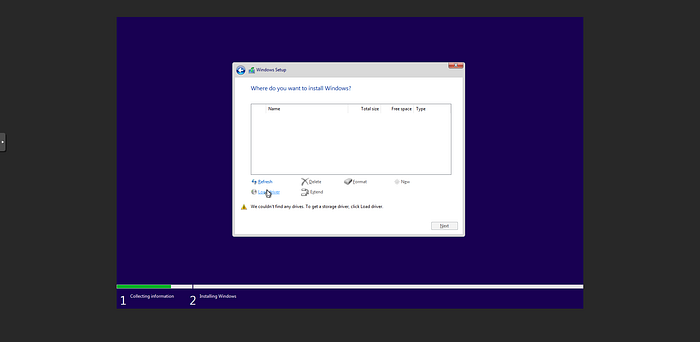
As shown above the operating system can’t read or identify the storage or hard drives since drivers are not installed yet.
Click on “Load Driver”.
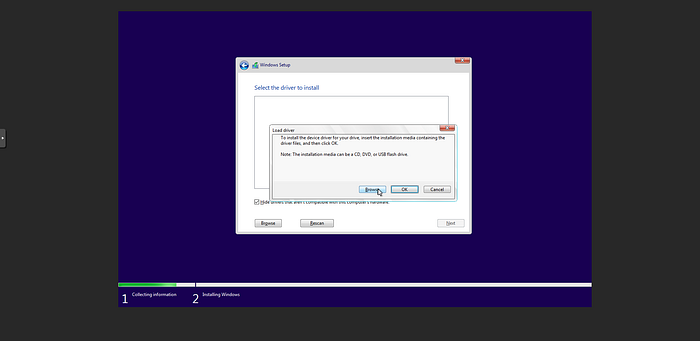
- Select Browse.
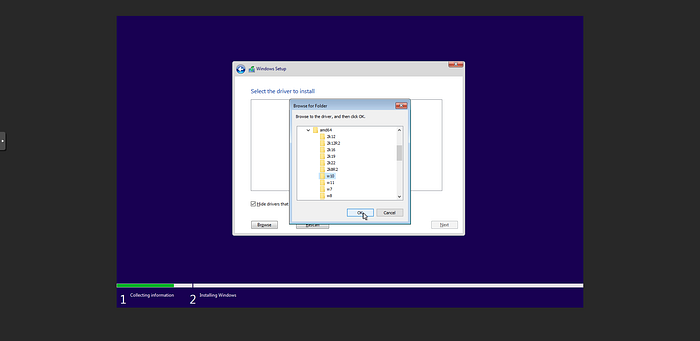
Select and expand virtio-win disk.
Expand amd64 drivers folder.
Select on “w10" (Windows 10 Drivers) folder drivers to search for the appropriate driver.
Select OK.

Select Red Hat VirtIO SCSI controller driver to install it.
Select Next.
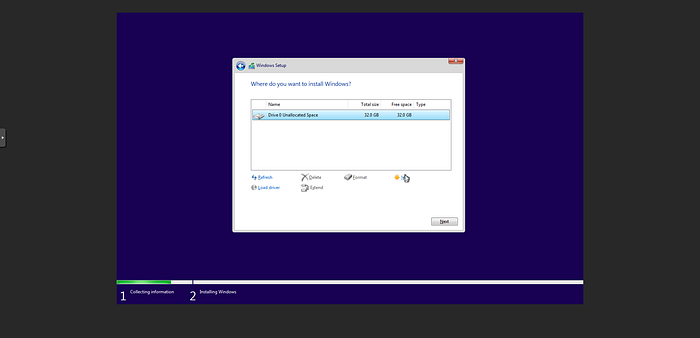
Now drive 0 is showing and unallocated.
Select Drive 0 and select “New” to partition and install windows 10.
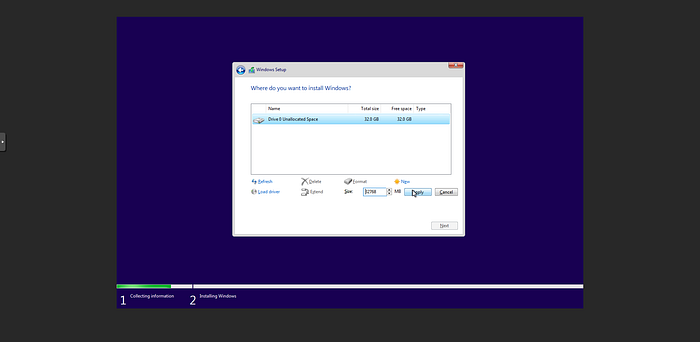
Minimum disk size for Windows 10 is 32GB.
Select Apply.
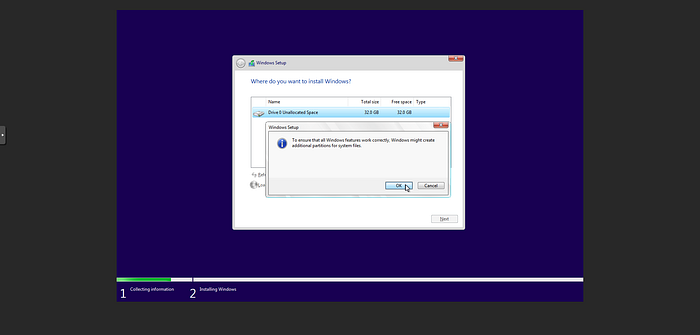
Read the informative message.
Select OK.
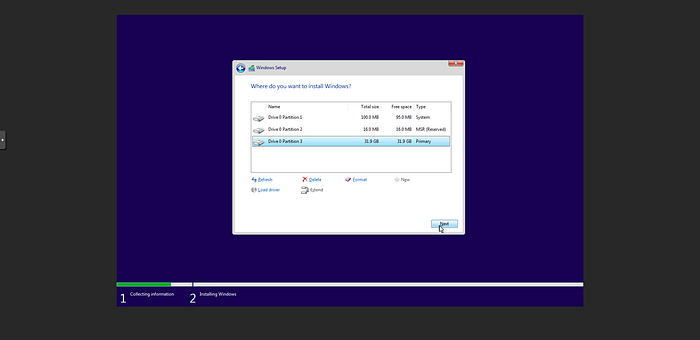
As showing above 3 partitions are created and 1 partition is hidden since these are the default layout for UEFI-based PC.
System partition.
MSR partition.
Windows partition.
Recovery tools partition (Hidden).
Select on Disk 0 Primary Partition 3 (The partition where Windows operating system will be installed).
Select Next to start the installation.

- Installation Process and Percentage.

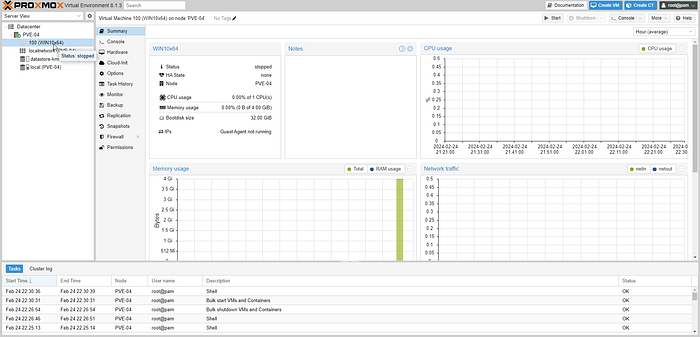
After the installation is completed the virtual machine reboots.
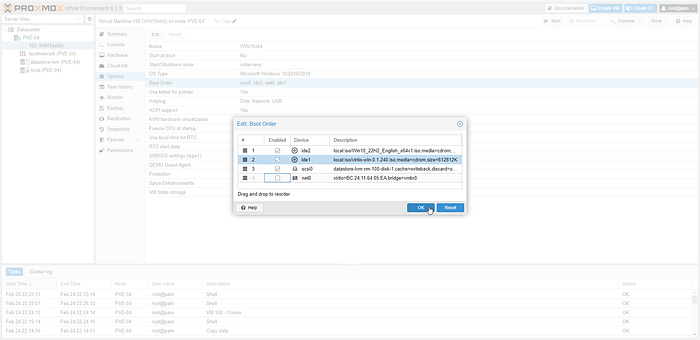
Remove Windows 10 ISO image from the boot order.
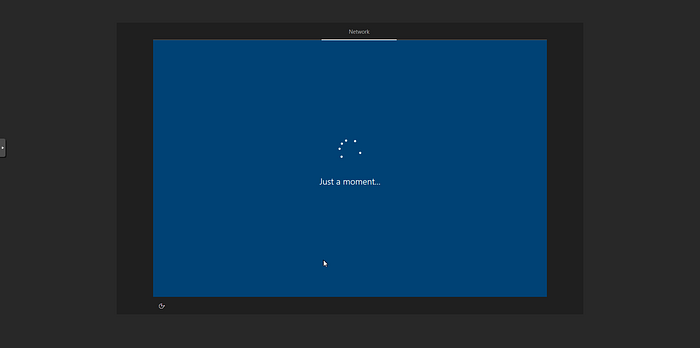
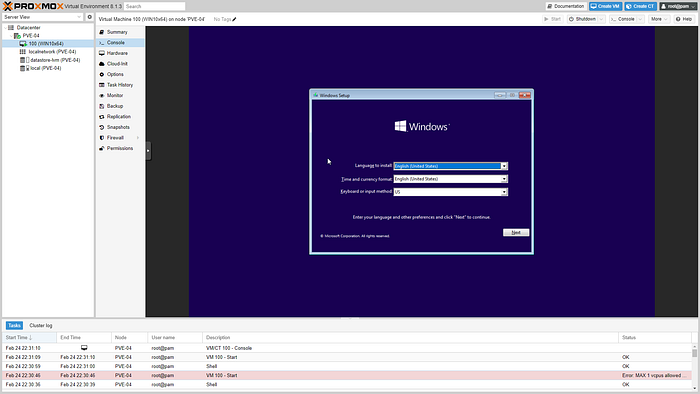
Choose your location.
Choose your keyboard layout.
Select “Skip” if no additional keyboard is need.
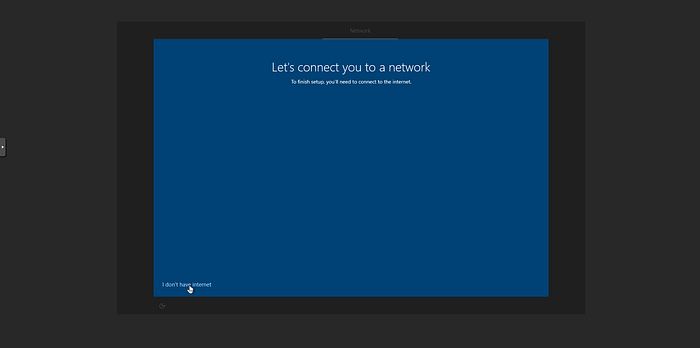
In this case no network is found that’s because we did not install the network driver. We will install it from inside windows later.
Select “I don’t have internet”.
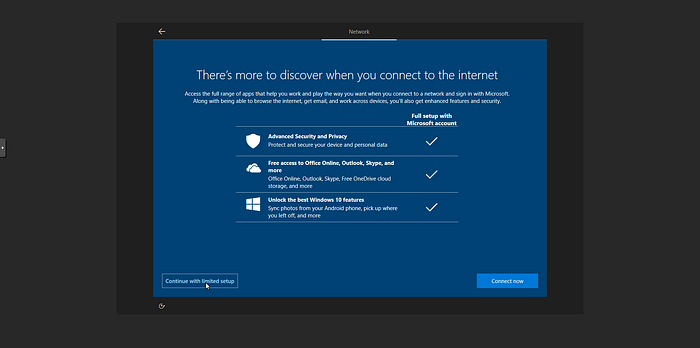
- Select “Continue with limited setup”.
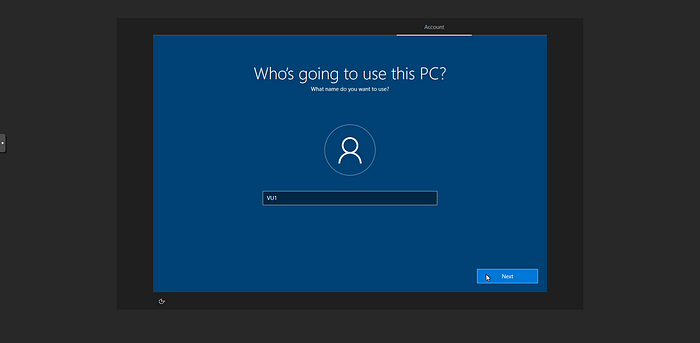
Create the user for the pc.
Select Next.
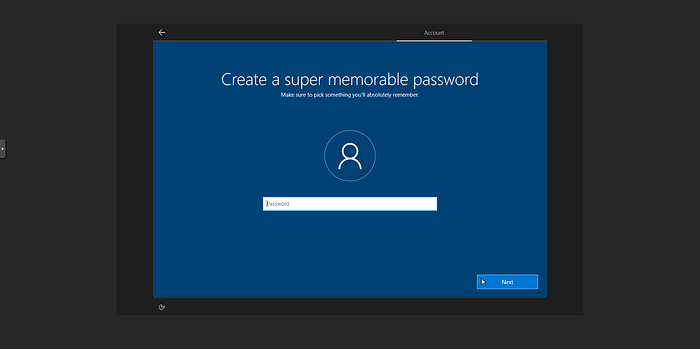
Create a new password.
Select Next.
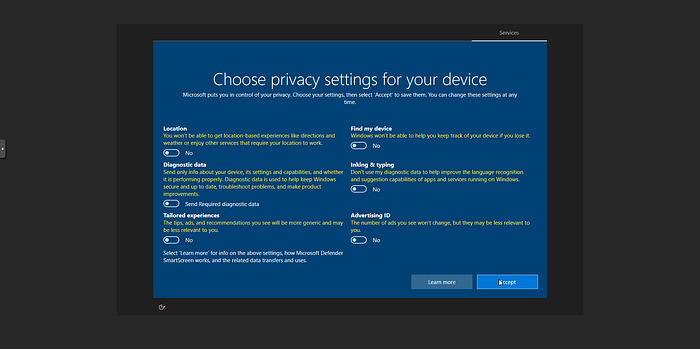
Enable or Disable privacy settings as you wish.
Select Accept.
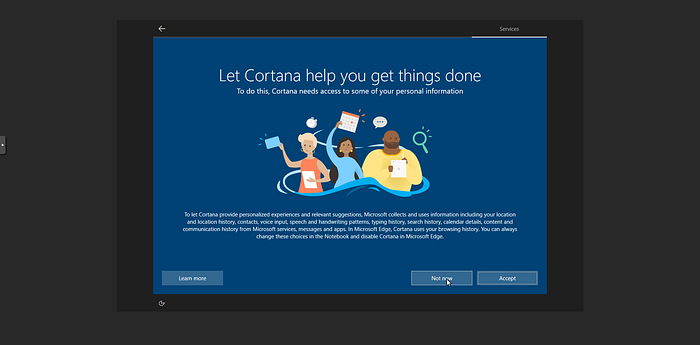
The services section let you “Accept” or use Cortana.
Select “Not now”.
Windows will boot up for first time.
Drivers installation for Windows 10 Virtual Machine
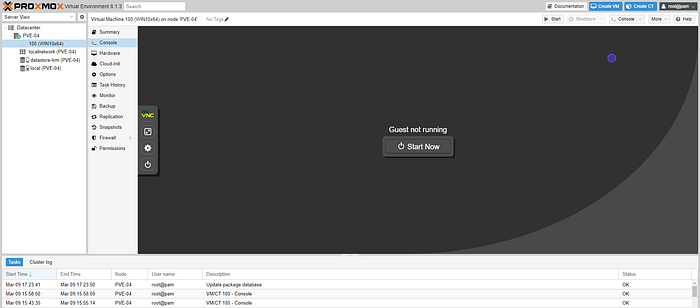
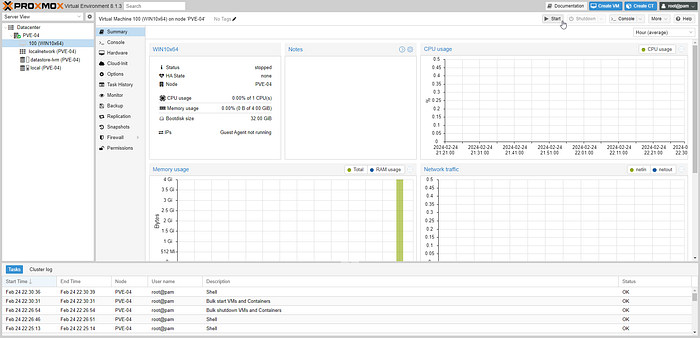
- Access the Proxmox VE web interface from browser by entering the server’s IP address in a web browser.
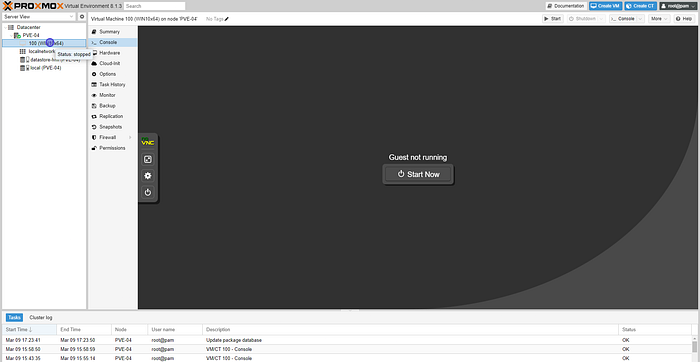
- Select WIN10x64 VM from the left panel under the node on the left.

- Select “Start” button from GUI panel on the right to start and launch the virtual machine.
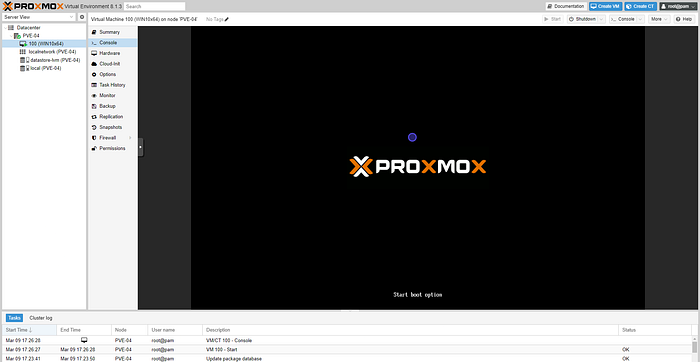
- Boot up process of virtual machines in Proxmox.
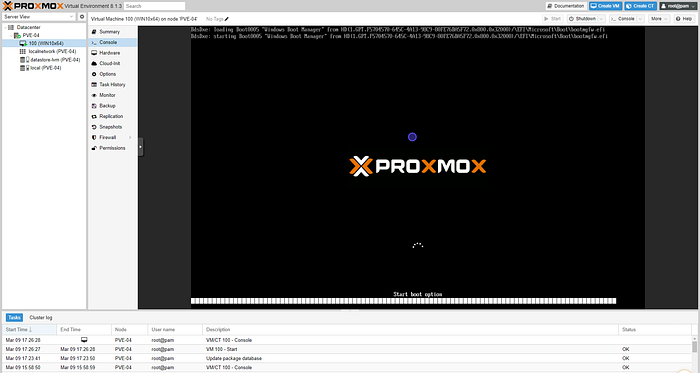
- UEFI Boot.
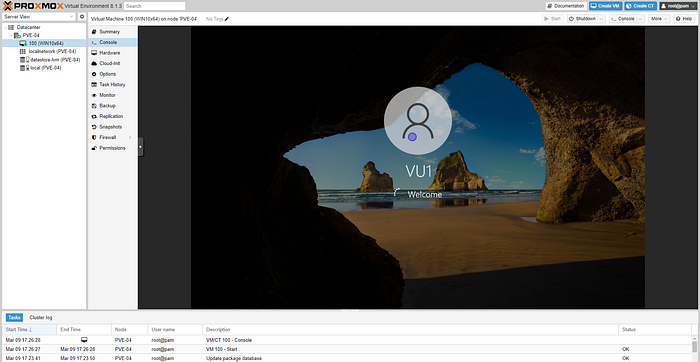
- Windows welcome screen.

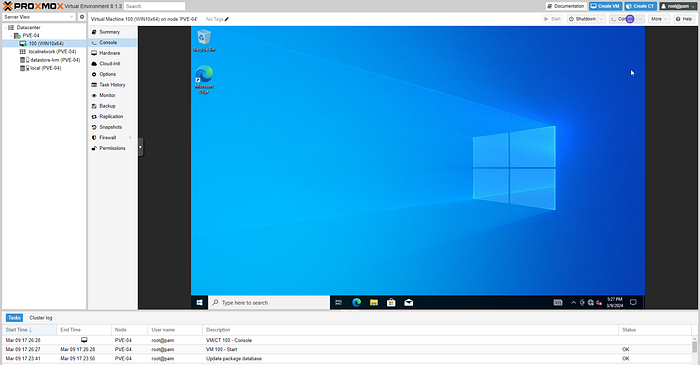
This is the default console viewer in Proxmox.
Proxmox VE is simple. There is no need to install a separate management tool, and everything can be done through your web browser (Latest Firefox or Google Chrome is preferred). A built-in HTML5 console is used to access the guest console. As an alternative, SPICE can be used.
https://pve.proxmox.com/pve-docs/chapter-pve-gui.html
- Click on the “Console” interface to access an interactive console for the VM/container.
- New separate tab of the browser will pop up.
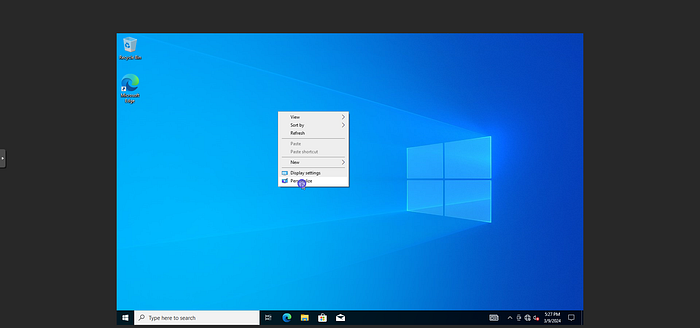
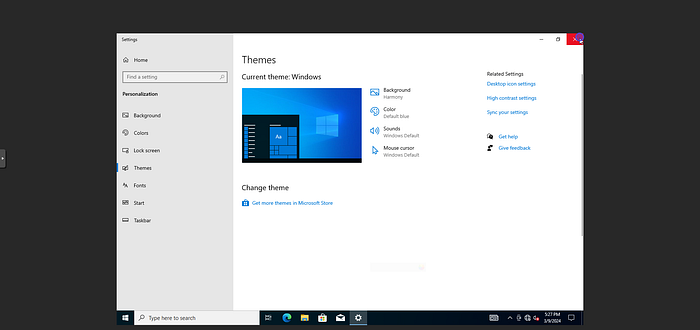
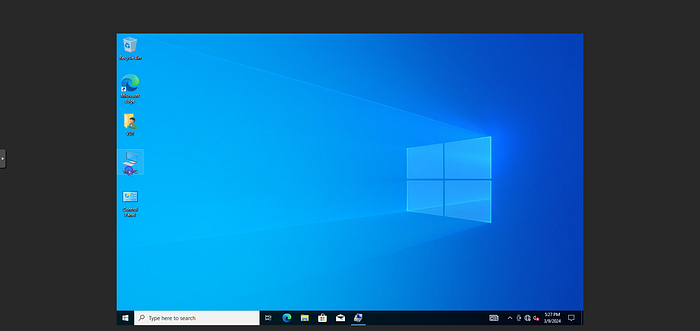
To enable desktop icons on windows.
Right click on desktop and click on “Personalize”.
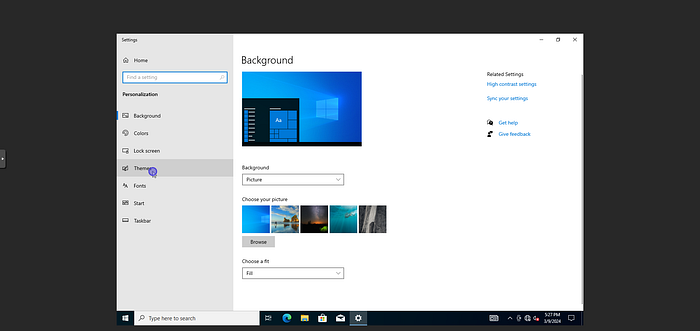
- From the left panel click on “Themes”.
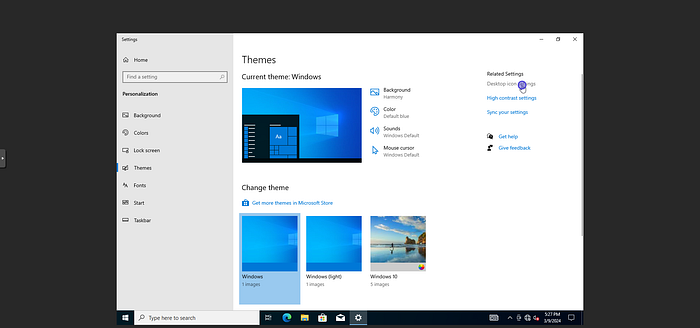
- From the right panel under “Related Settings” click on “Desktop icon settings”.
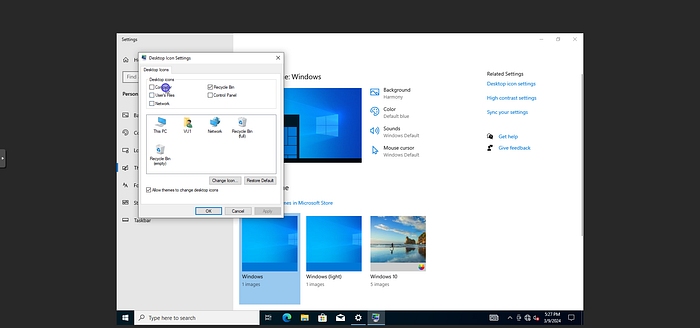
New windows will pop up.
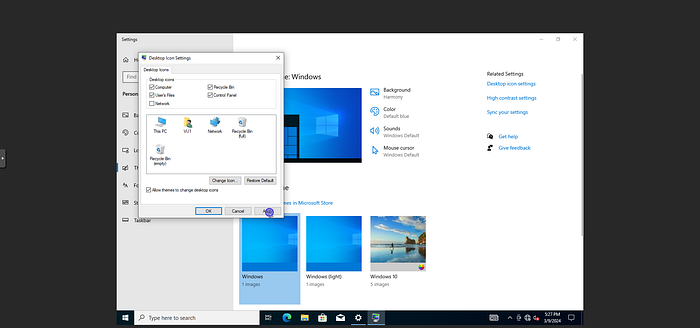
Tick “Computer” “User’s Files” “Recycle Bin” “Control Panel”.
Hit “Apply”.
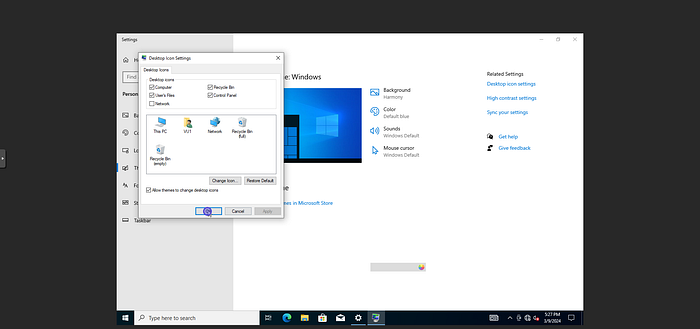
- Hit “OK”.
- Close window “Themes”.

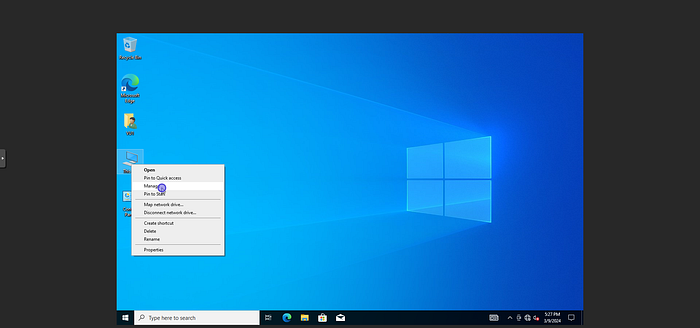
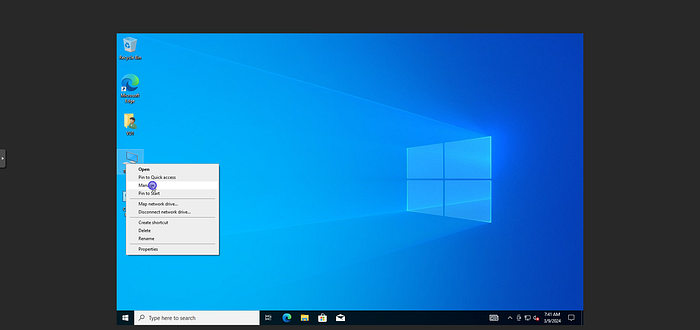
Right click on This PC.
Select Manage.
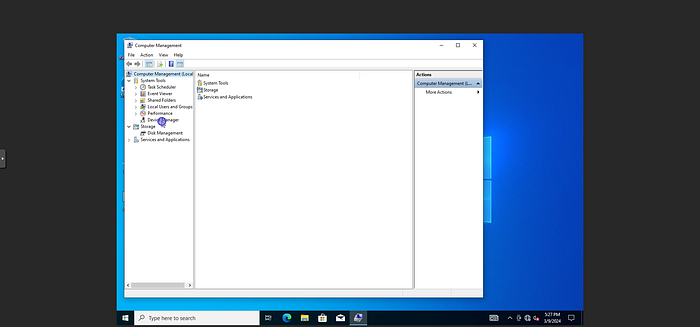
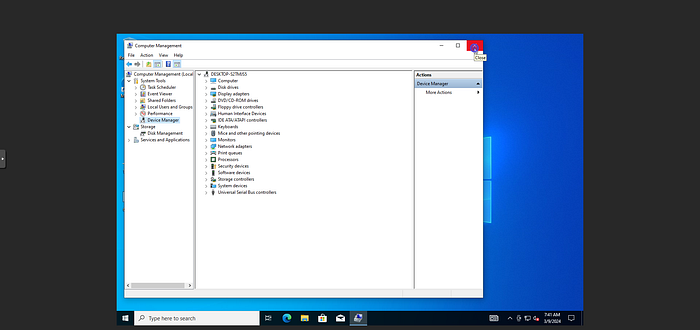
- Click on Device Manager to list drivers.
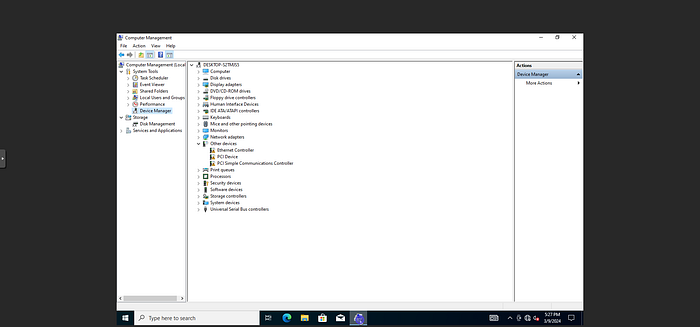
- As we can see above there are missing drivers. Not all drivers are installed yet.
- Double click on This PC.
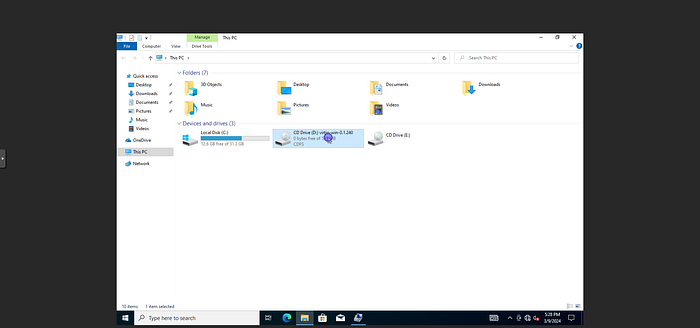
- Click on the mounted VirtIO iso.

- Right click on virtio-win-guest-tools and Run as administrator to install all the missing drivers.
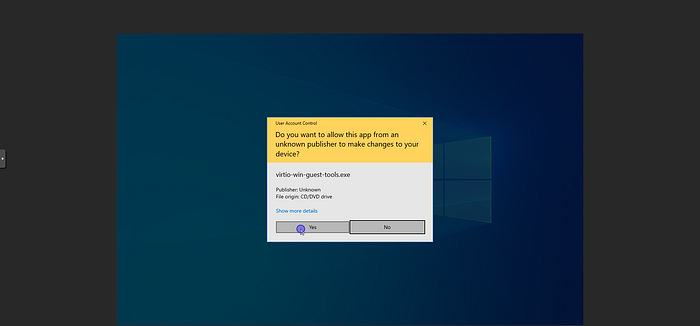
- Click Yes.

- Read and accept the license terms and conditions.
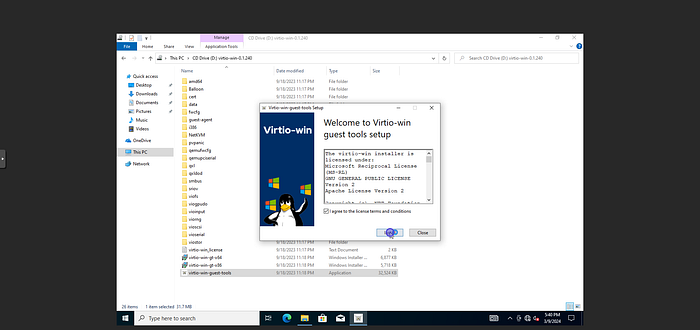
- Click Next.

- Click Next.
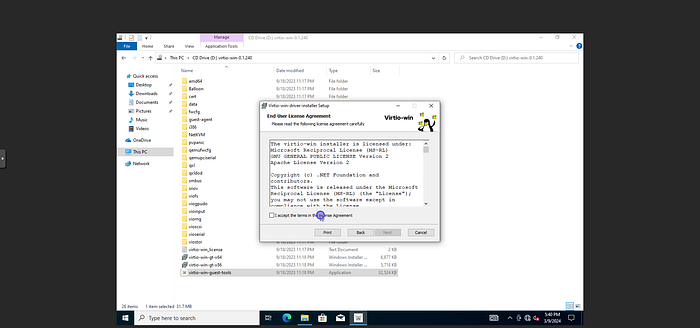
- Read and accept the license terms and conditions.

- Click Next.
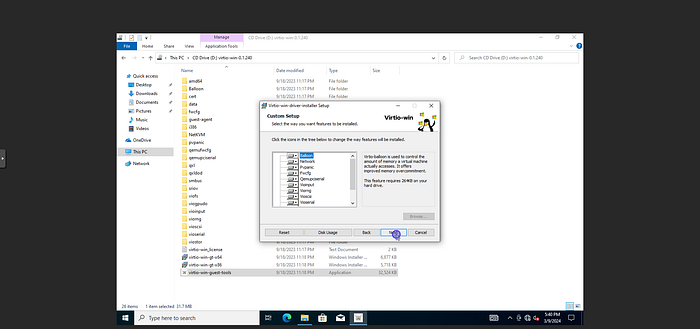
Select all or any required driver from the left panel.
Click Next.
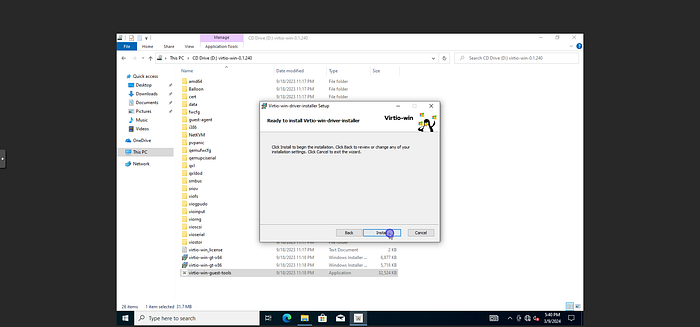
- Click Install.
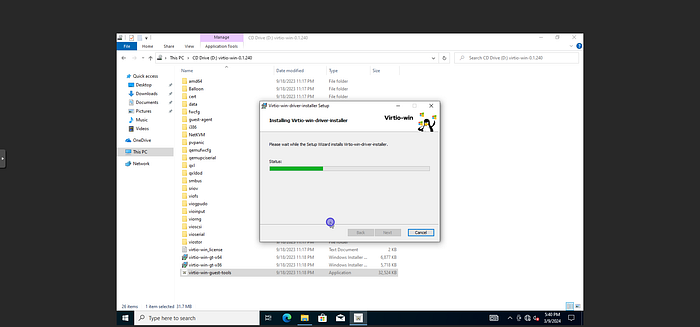
- Wait for the setup wizard to finish installation.
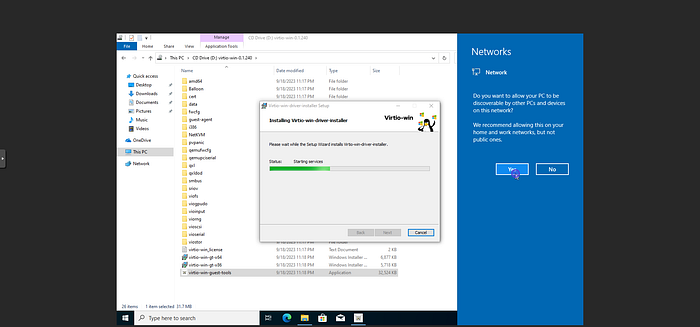
- Network driver has been installed and windows is asking if we want the PC to be discoverable by other computers on network connection.
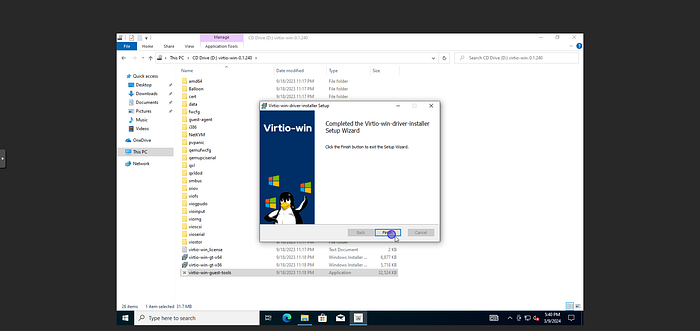
- Click Finish.
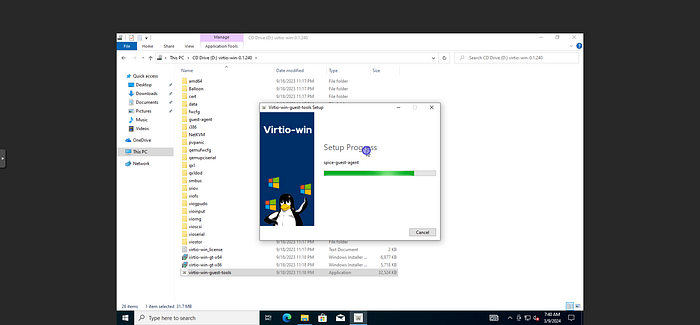
Wait for spice-guest-agent to get installed.
SPICE (Simple Protocol for Independent Computing Environments) is an open remote computing solution built for virtual environments which allows users to view a computing “desktop” environment. The integrating of Spice into Proxmox VE provides a solution for interaction with virtualized desktop devices, like keyboard, mouse, audio and video. Interaction between front-end and back-end is done using Virtual Device Interfaces (VDI).
https://pve.proxmox.com/wiki/SPICE
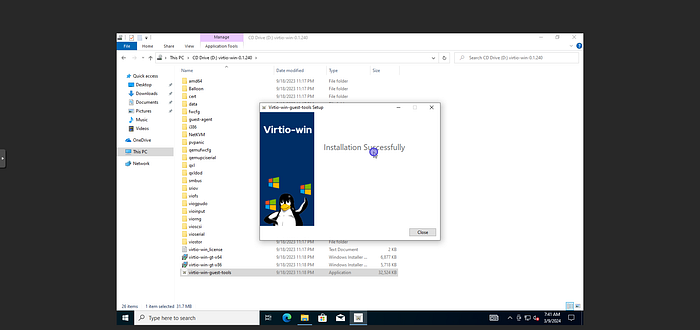

- Installation successful click Close.

After successfully installing all the drivers. We can check again in the Device Manager for any missing driver.
As we can see above all required drivers have been installed successfully.
References
Microsoft Windows 10 Download Page
Proxmox Windows 10 Best Practices


