Proxmox Virtual Environment Cloning VMs and Creating Templates-Part 05

Results-oriented IT professional in various fields of IT, including Systems, Networking, File Systems, Security, Programming Languages, Virtualization, Storage, and Backups.
In this lesson we will clone created virtual machine and create template inside Proxmox using “Windows10_22H2_x64v1" guest machine.
Introduction
The benefit of using templates is that we can deploy fully pre-configured operating system images without going through the entire process of creating virtual machines and manually installing the operating system and applications.
To create a template we prepare an operating system image by creating virtual machine, installing specific operating system, applications, settings and any other necessary configurations. After that, we convert the virtual machine to templates and deploy ready virtual machines quickly to save time.
Definitions
VM - KVM based virtual machine.
Clone - A VM clone is a copy of a virtual machine. Cloning a virtual machine or template enables you to create multiple virtual machines or templates based on the original.
Templates - Templates are pre-configured operating system environments that deploy in a couple of clicks.
Linked Clone - A linked clone VM requires less disk space but cannot run without access to the base VM Template.
Full Clone - A full clone VM is a complete copy and is fully independent from the original VM or VM Template, but requires the same disk space as the original.
Sysprep - System Preparation prepares a Windows client or Windows Server installation for imaging. Sysprep can remove PC-specific information from a Windows installation (generalizing) so it can be installed on different PCs.
References
Sysprep (System Preparation) Overview
Create Virtual Machine Template
Templates are created by converting a VM to a template.
Install your VM with all drivers and needed software packages. Refer to Proxmox Virtual Environment Create Virtual Machines and Containers — Part 03 to prepare the image.
Remove all user data, passwords and keys — In order to do this run sysprep on Windows or similar tools or scripts on Linux and just power-off the VM.
Right-click the VM and select “Convert to template”.
Clone The Prepared Windows 10 Virtual Machine
Access the Proxmox VE web interface from browser by entering the server’s IP address in a web browser.
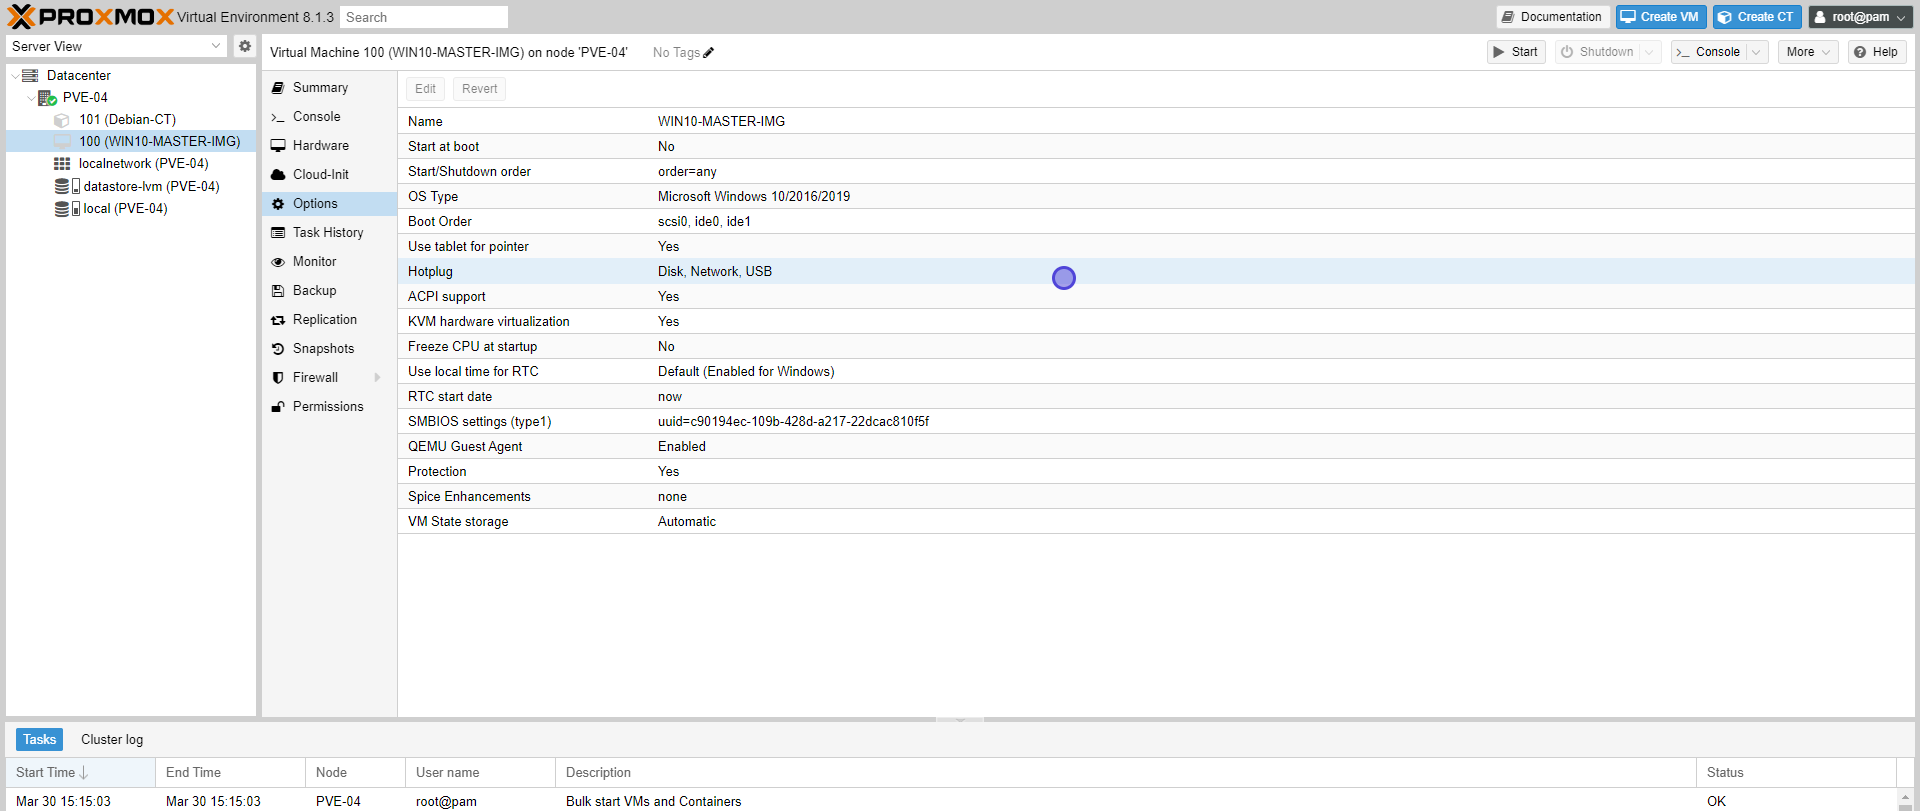
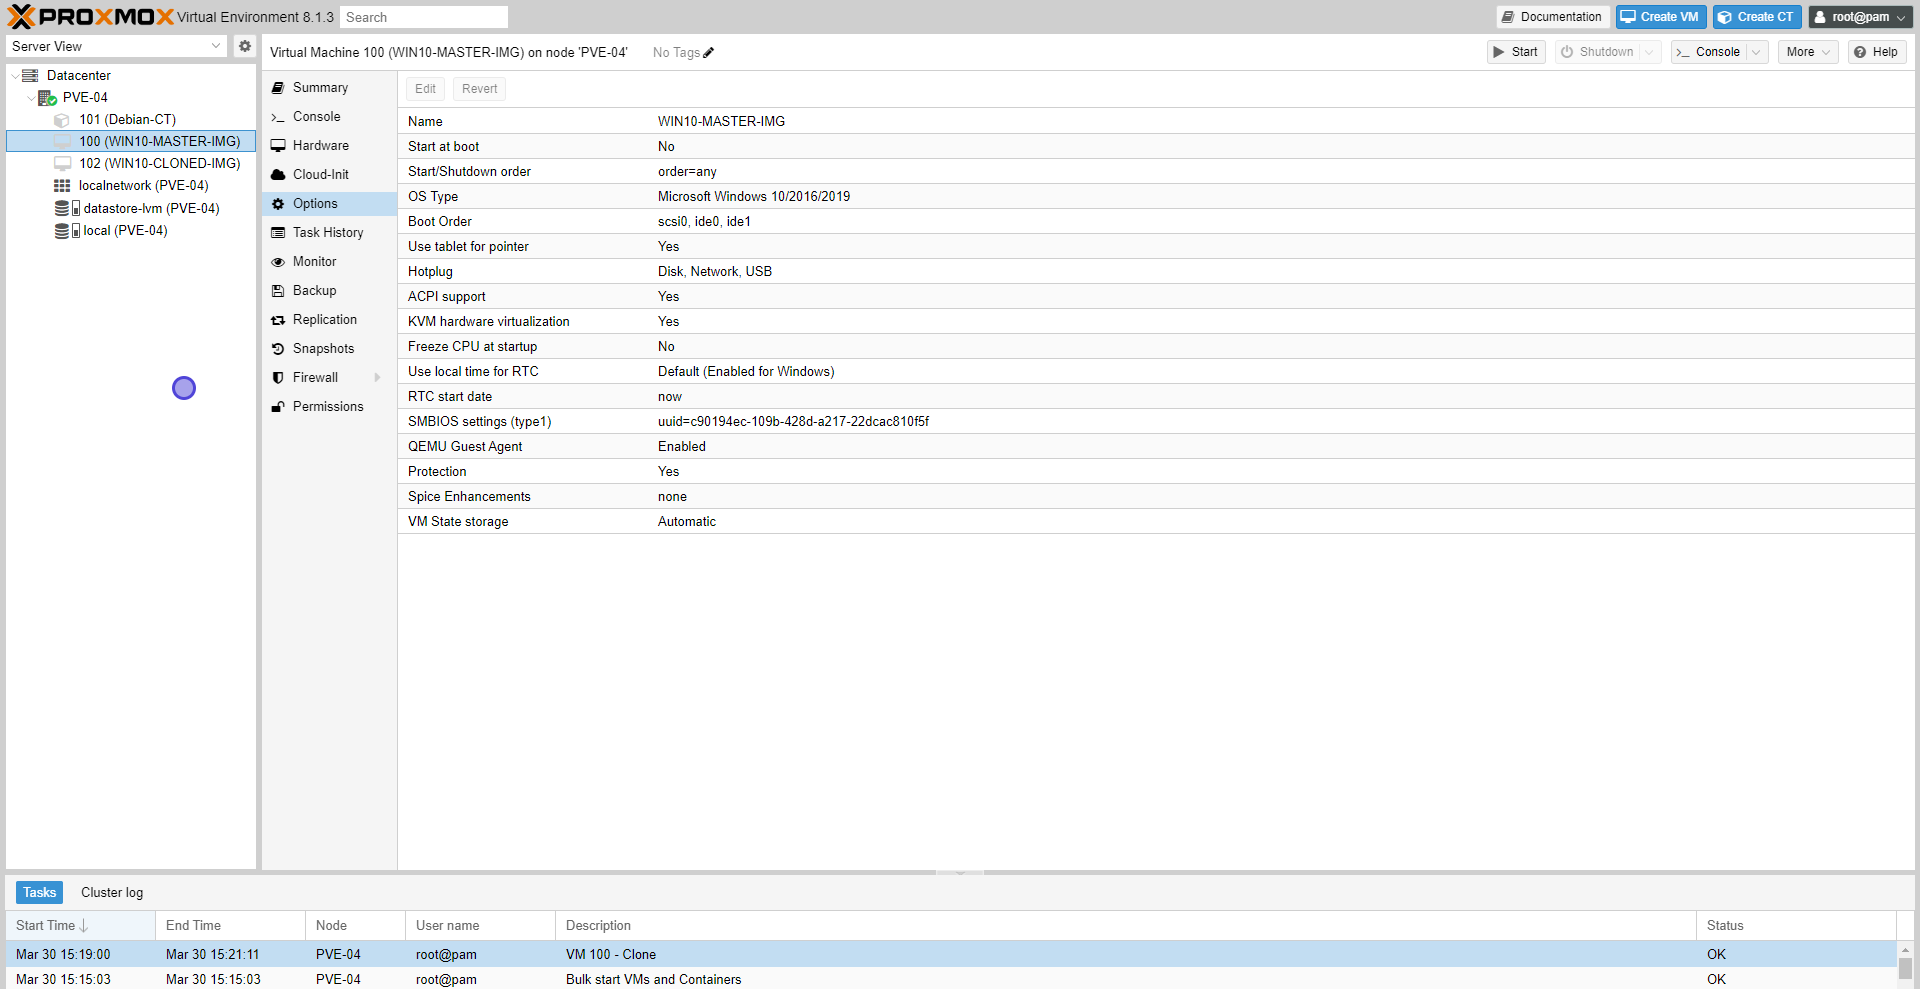
For this demo the prepared virtual machine master image “WIN10-MASTER-IMG” will be cloned and converted to template.
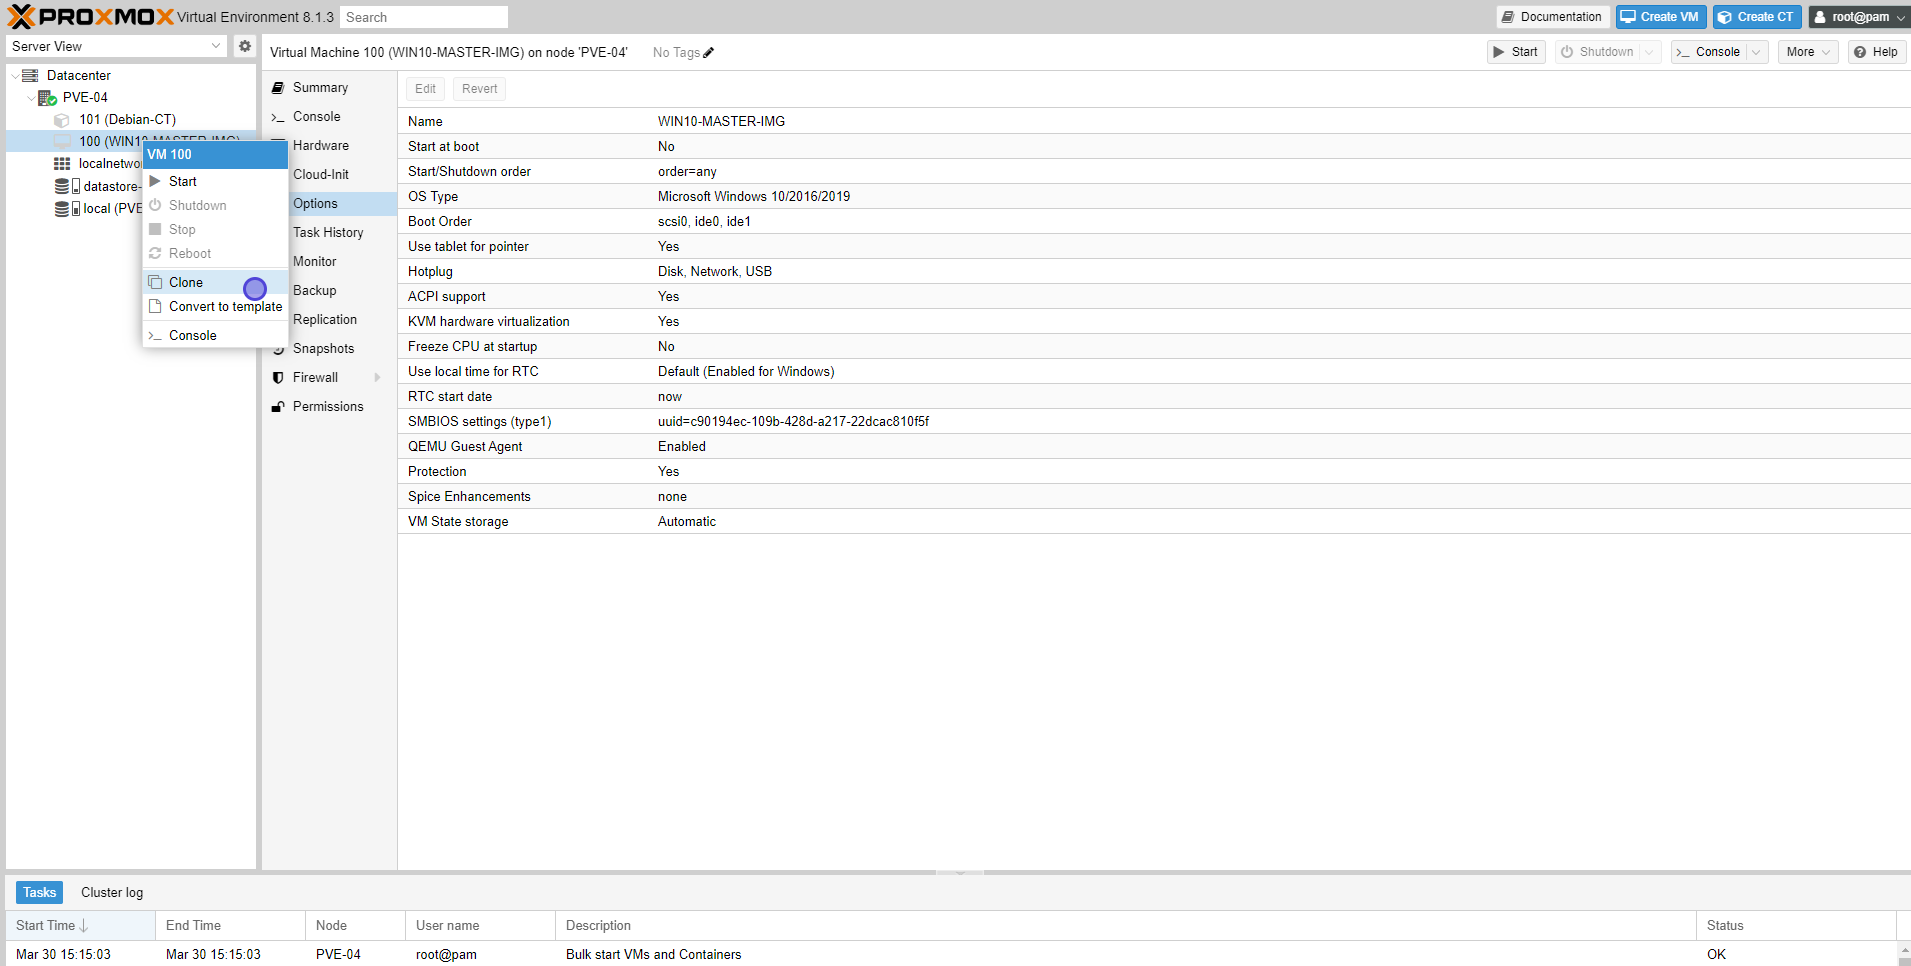
- Right click on the image and select Clone.
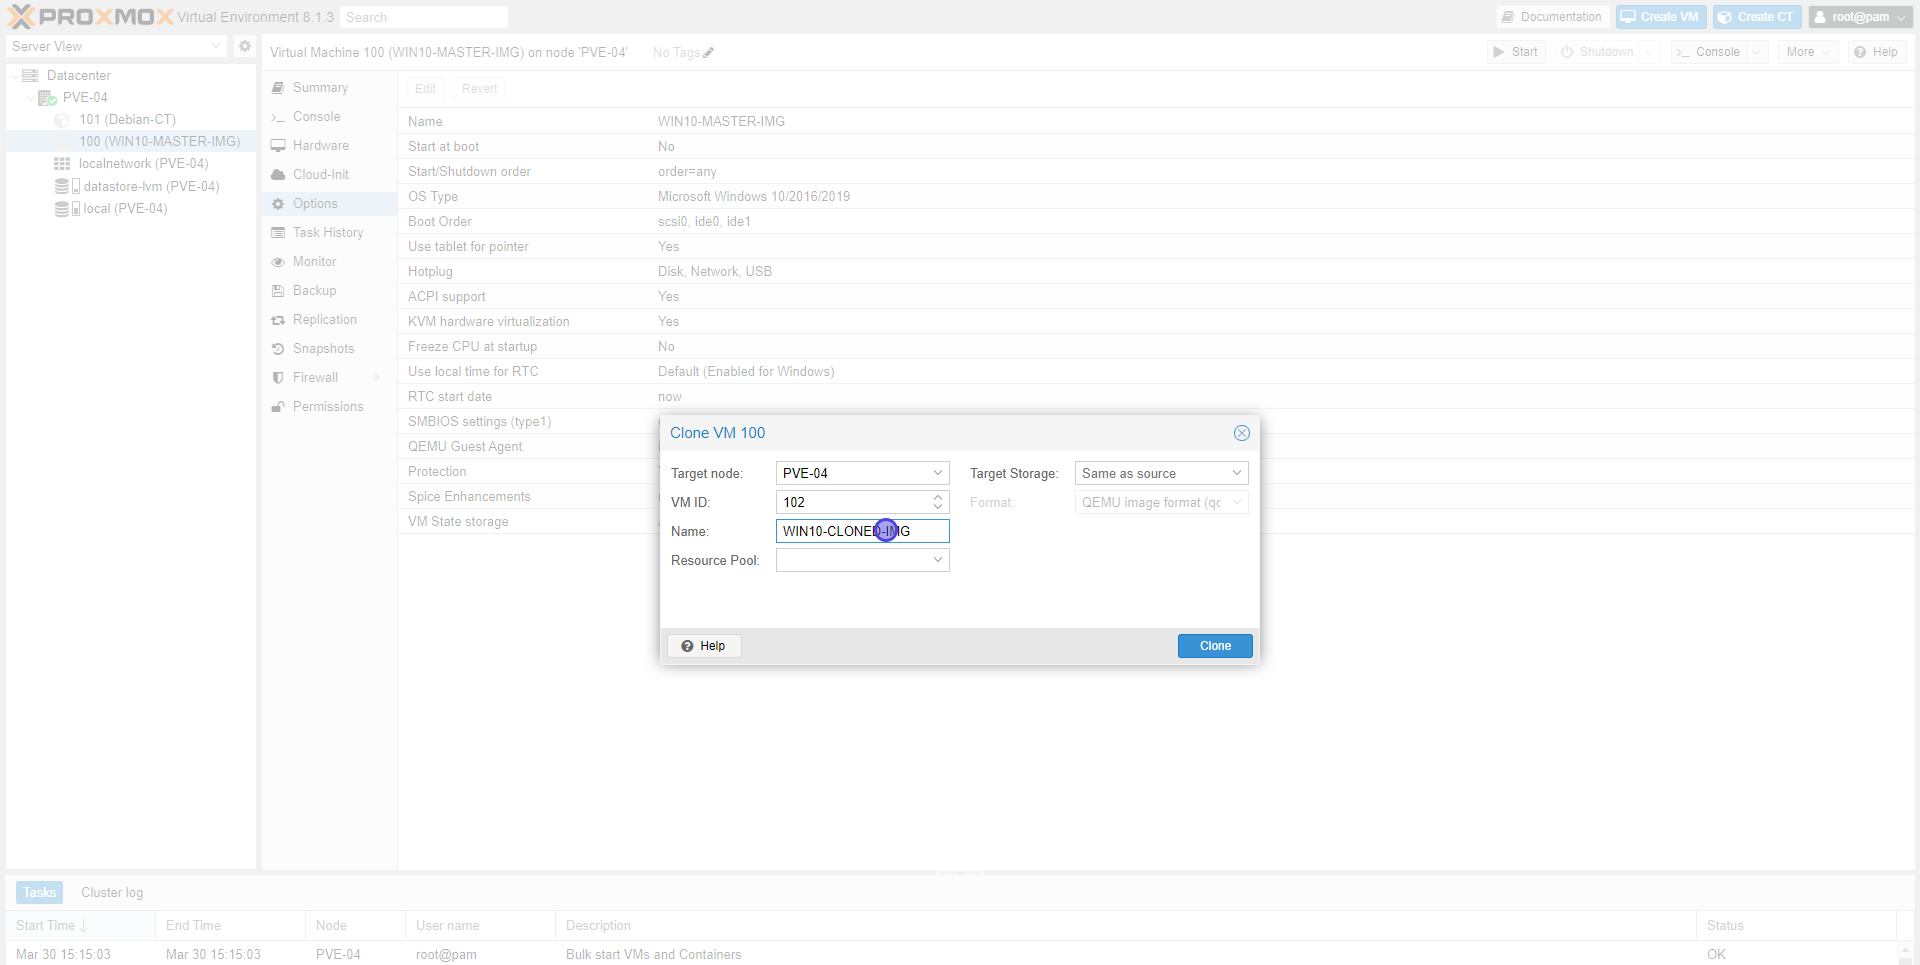
- Name the cloned image. “WIN10-CLONED-IMG” name is being used in this demo.
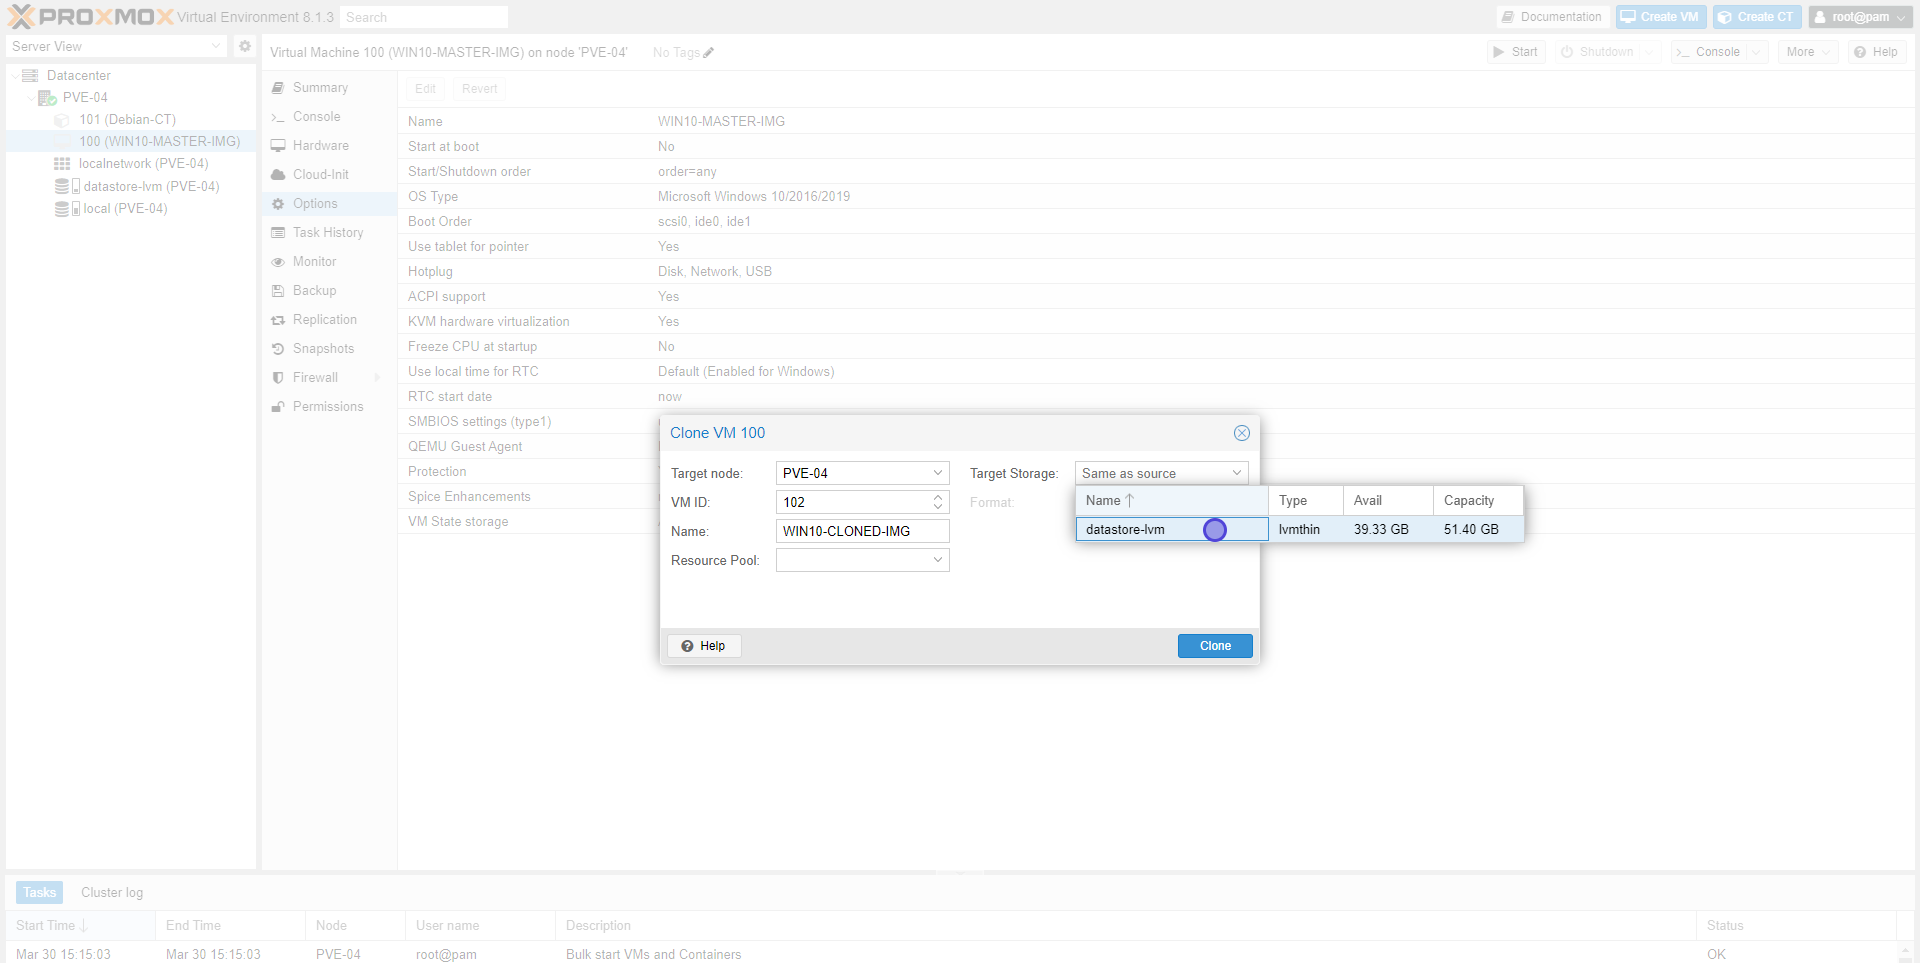
- Select the Target Storage.
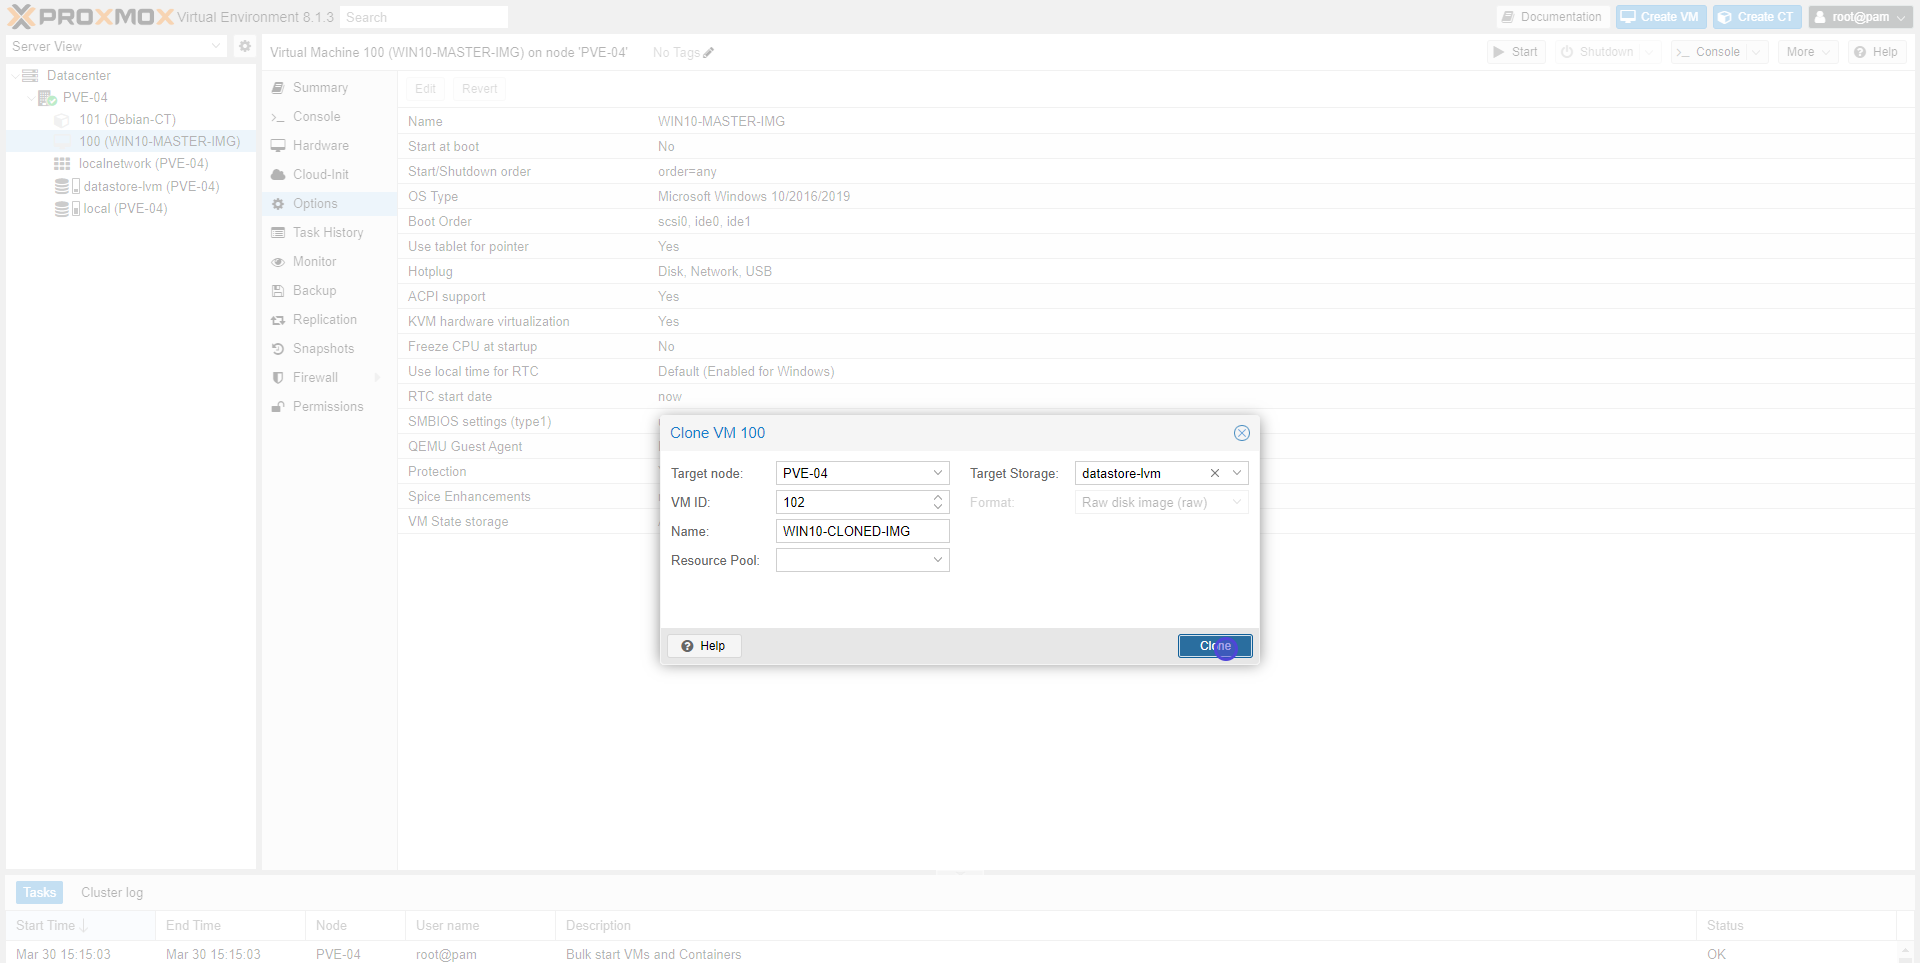
- Select Clone.
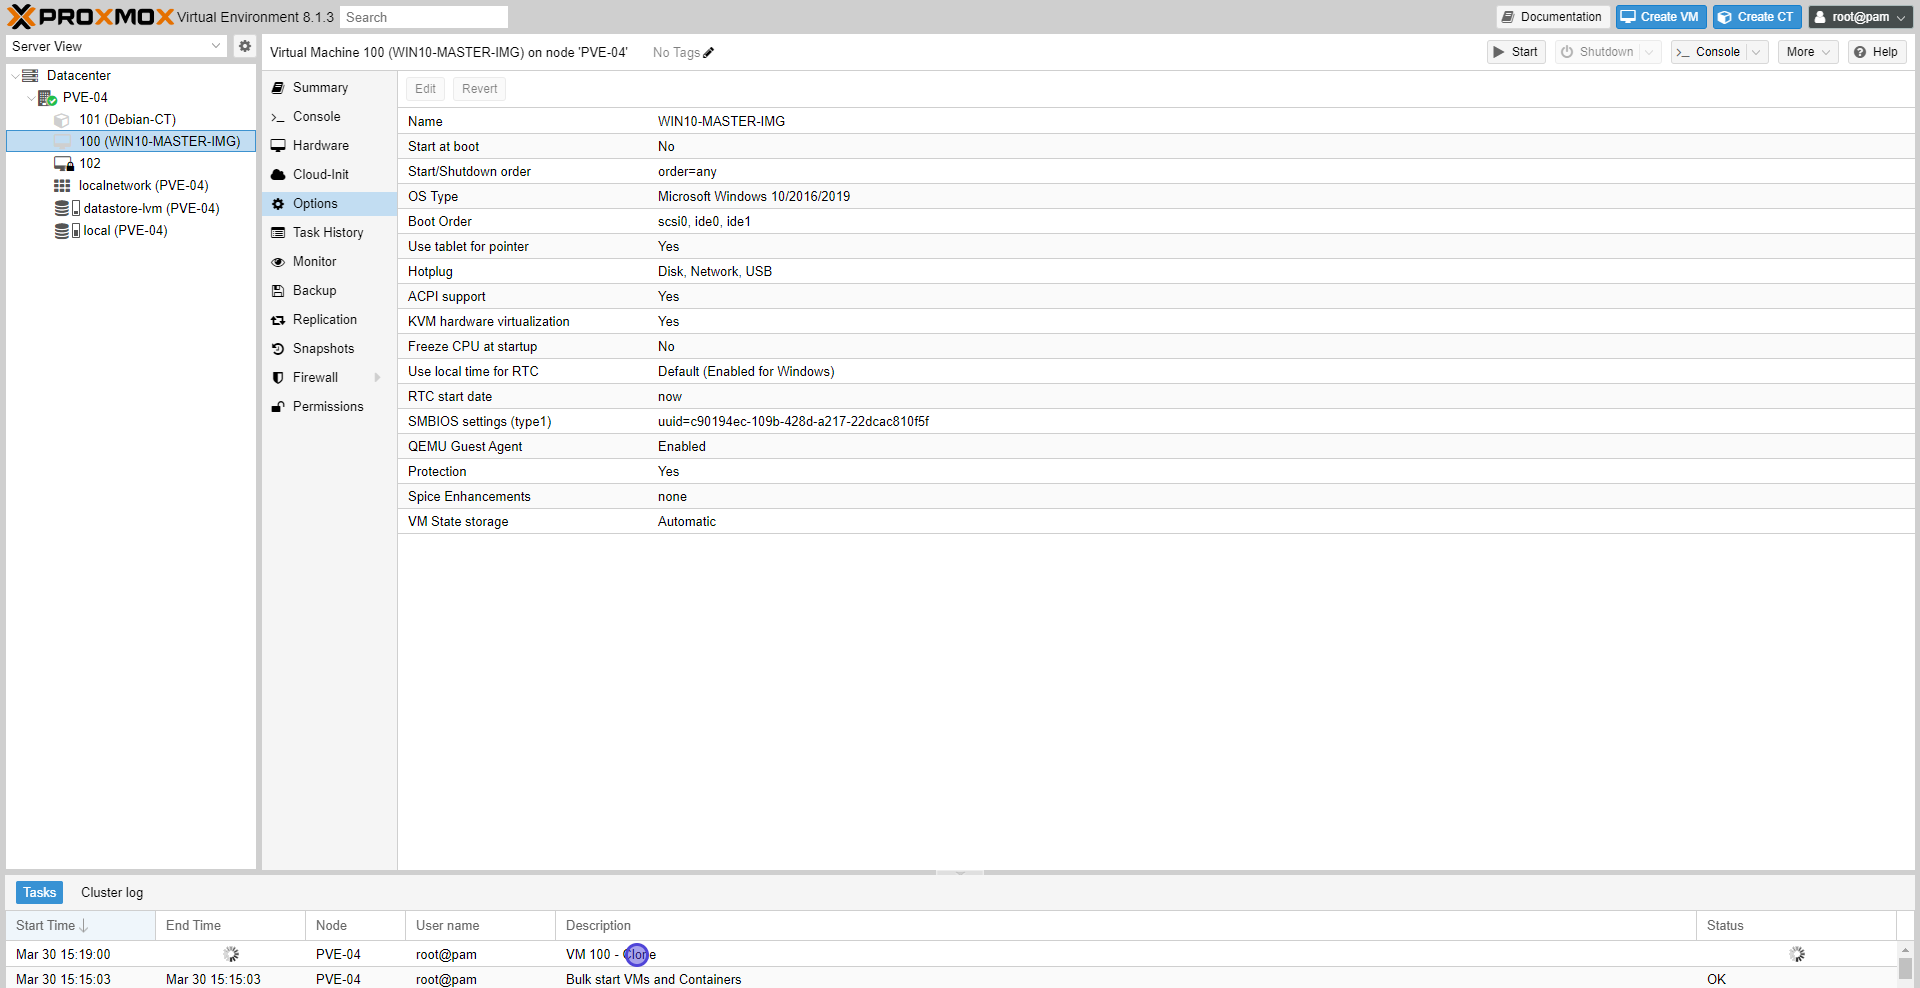
At the bottom. The Log Panel displays log entries for recent tasks. You can double-click on those log entries to get more details, or to abort a running task.
Double click on the Clone task.
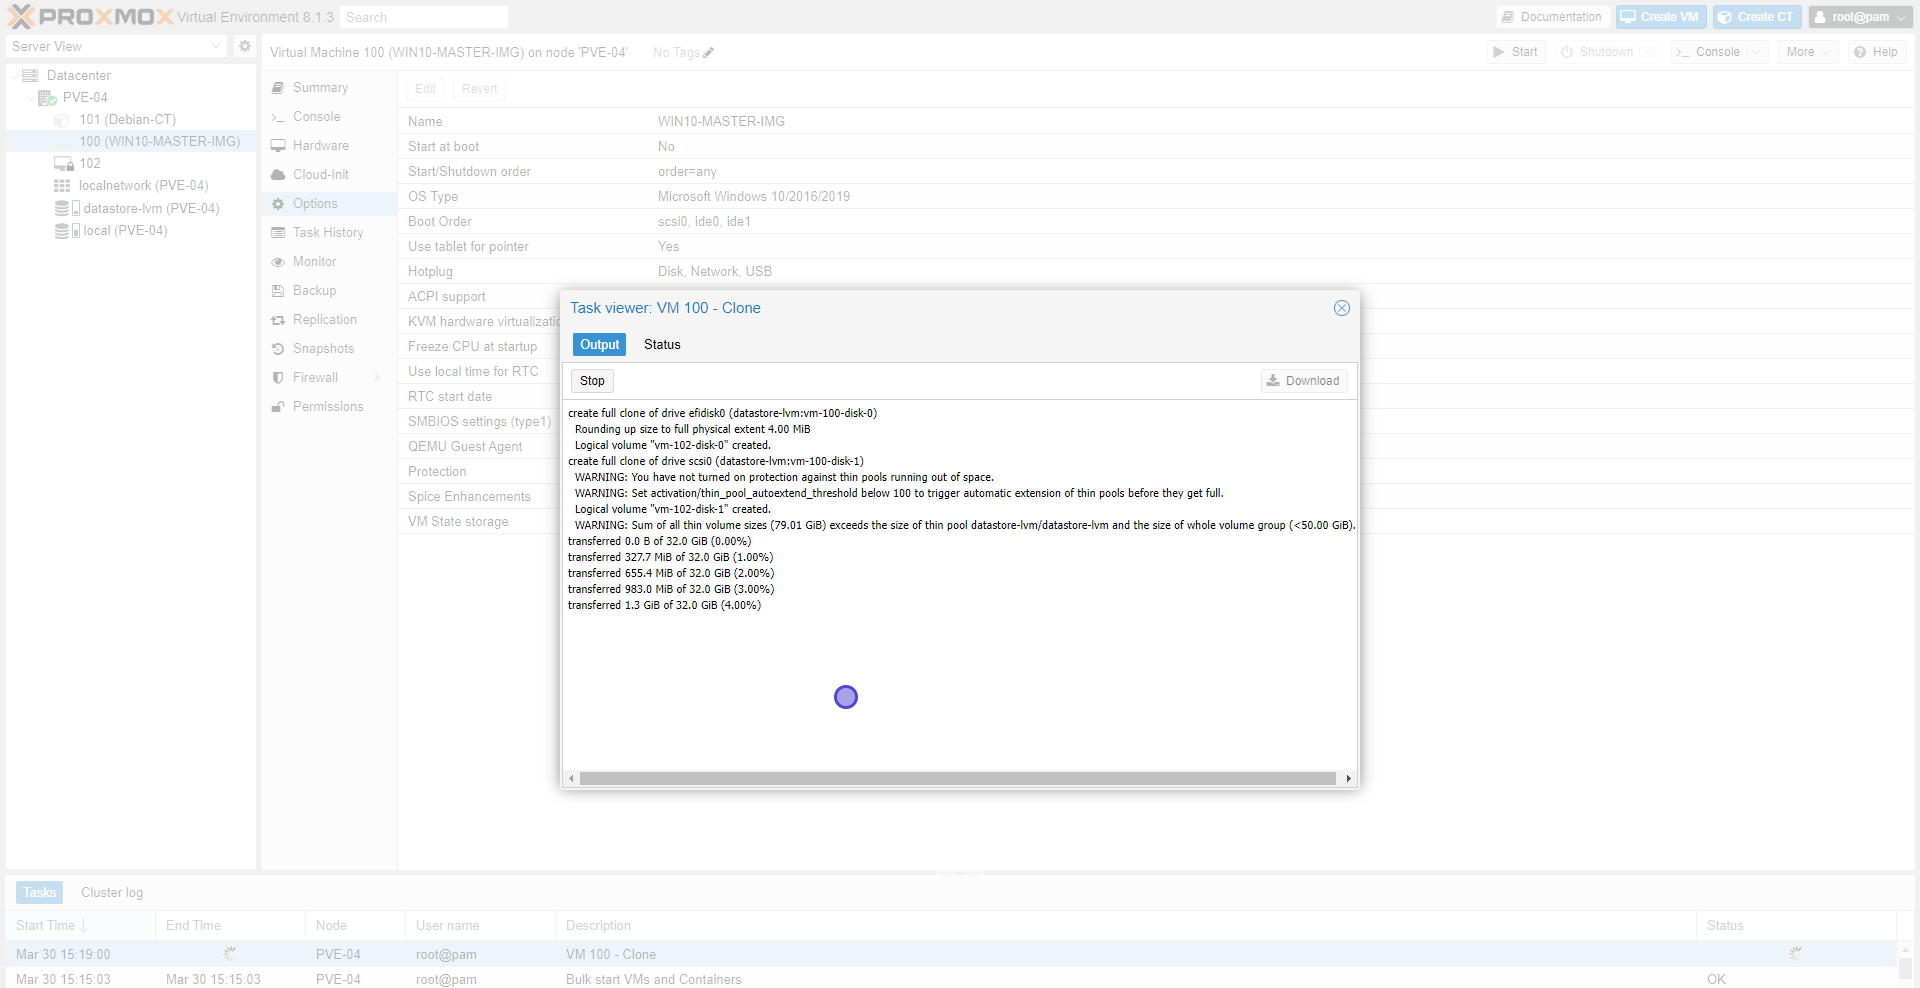
- New output window will appear showing the results and the percentage completion of the task.
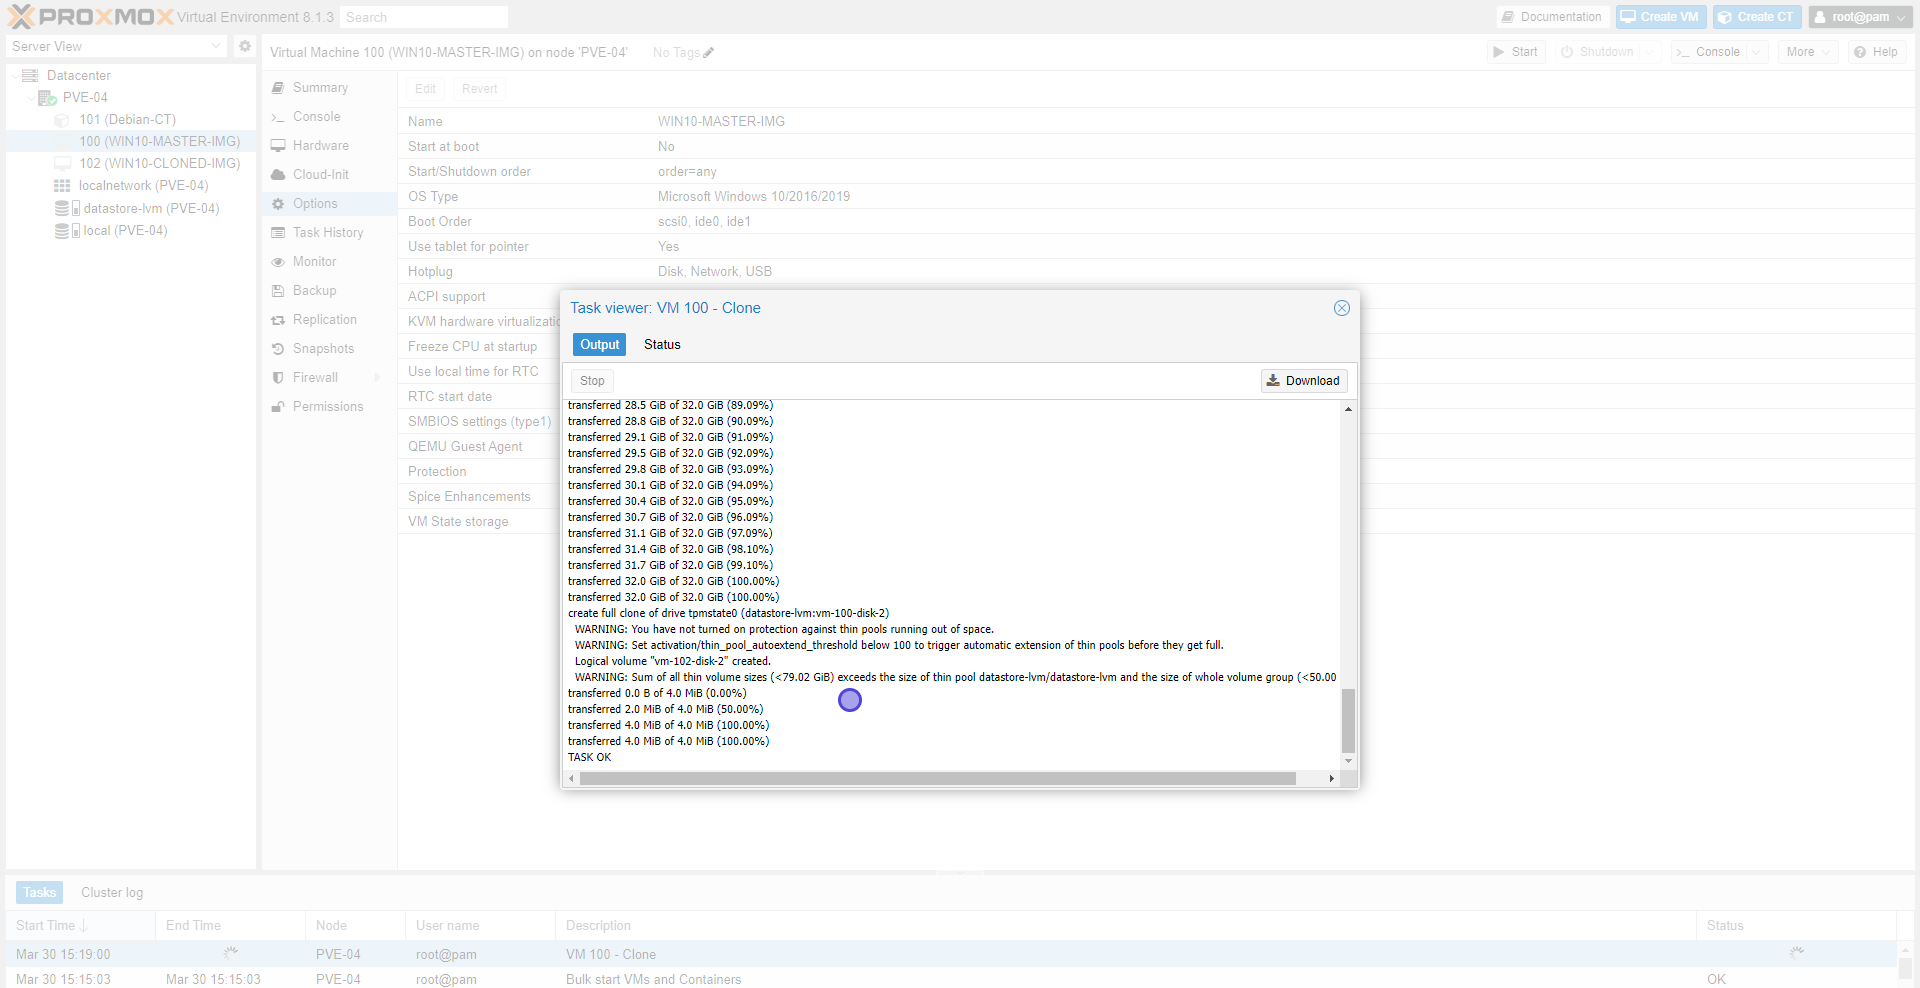
- Clone completed successfully.
- In the resource tree on the left we can see the cloned guest virtual machine named “WIN10-CLONED-IMG”.
Booting The Cloned Image
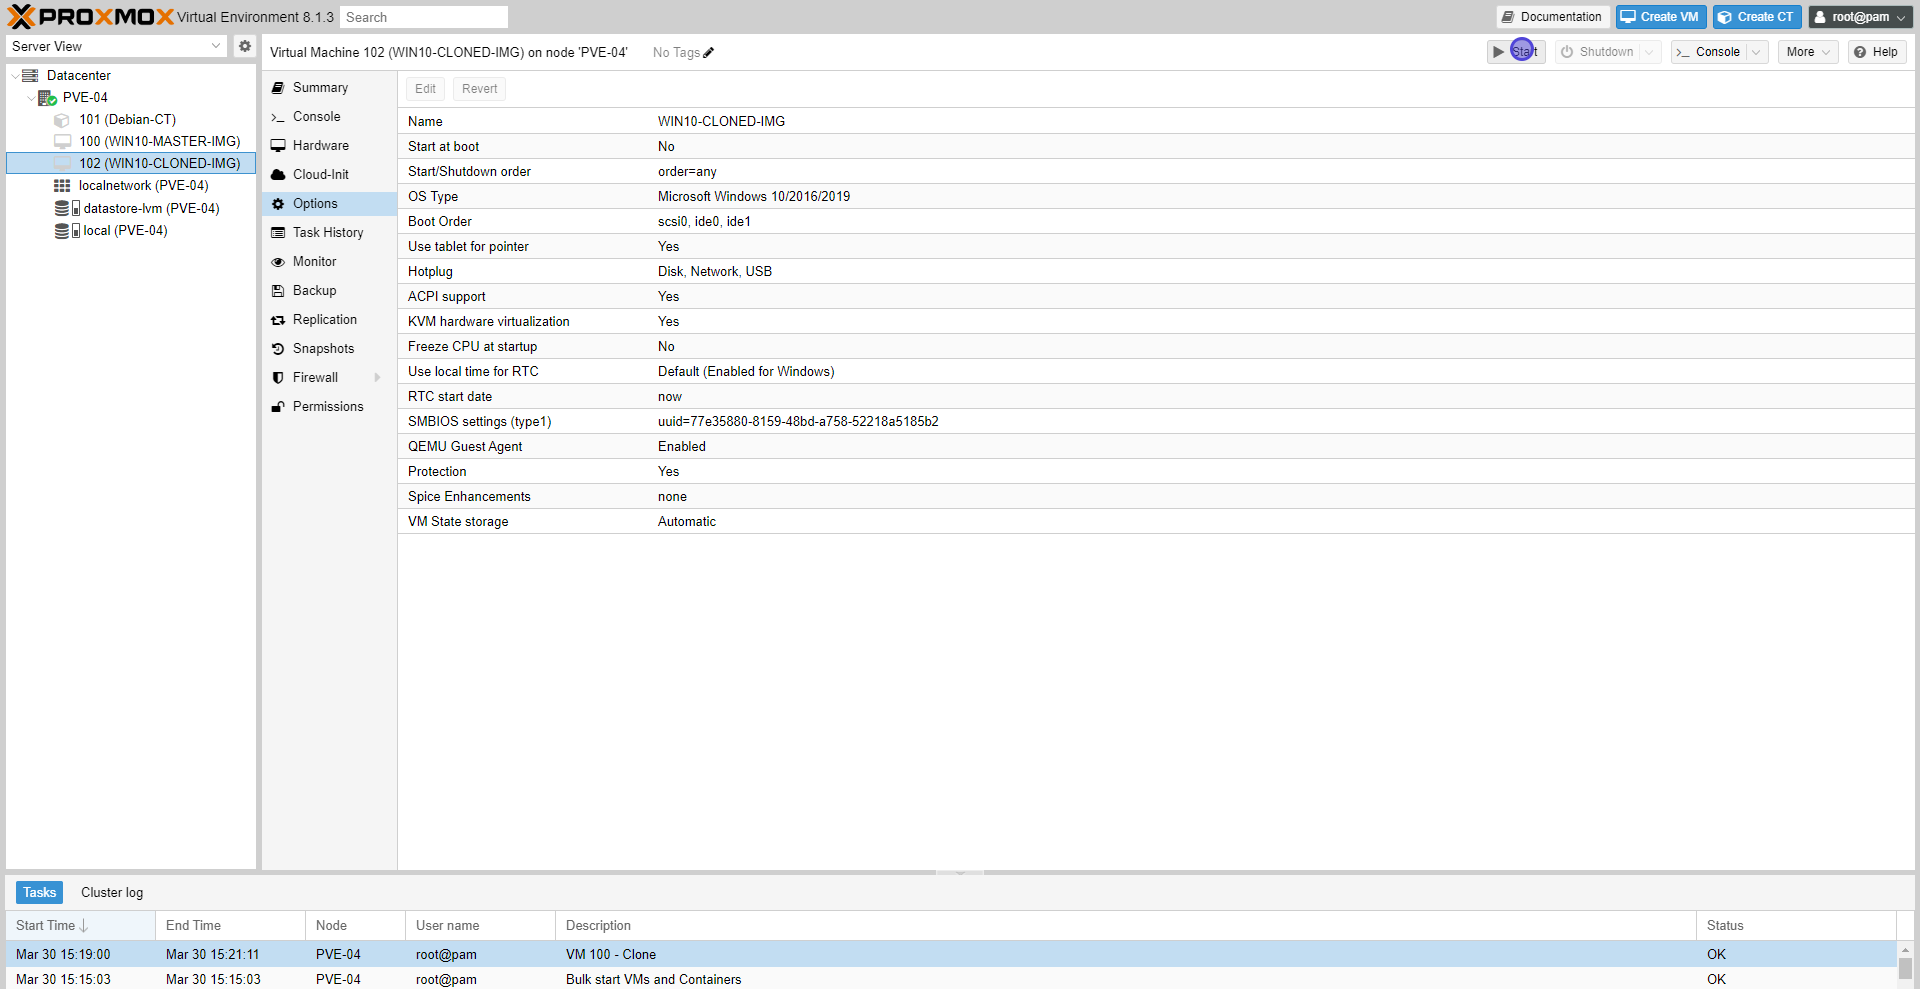
- Start the cloned image.
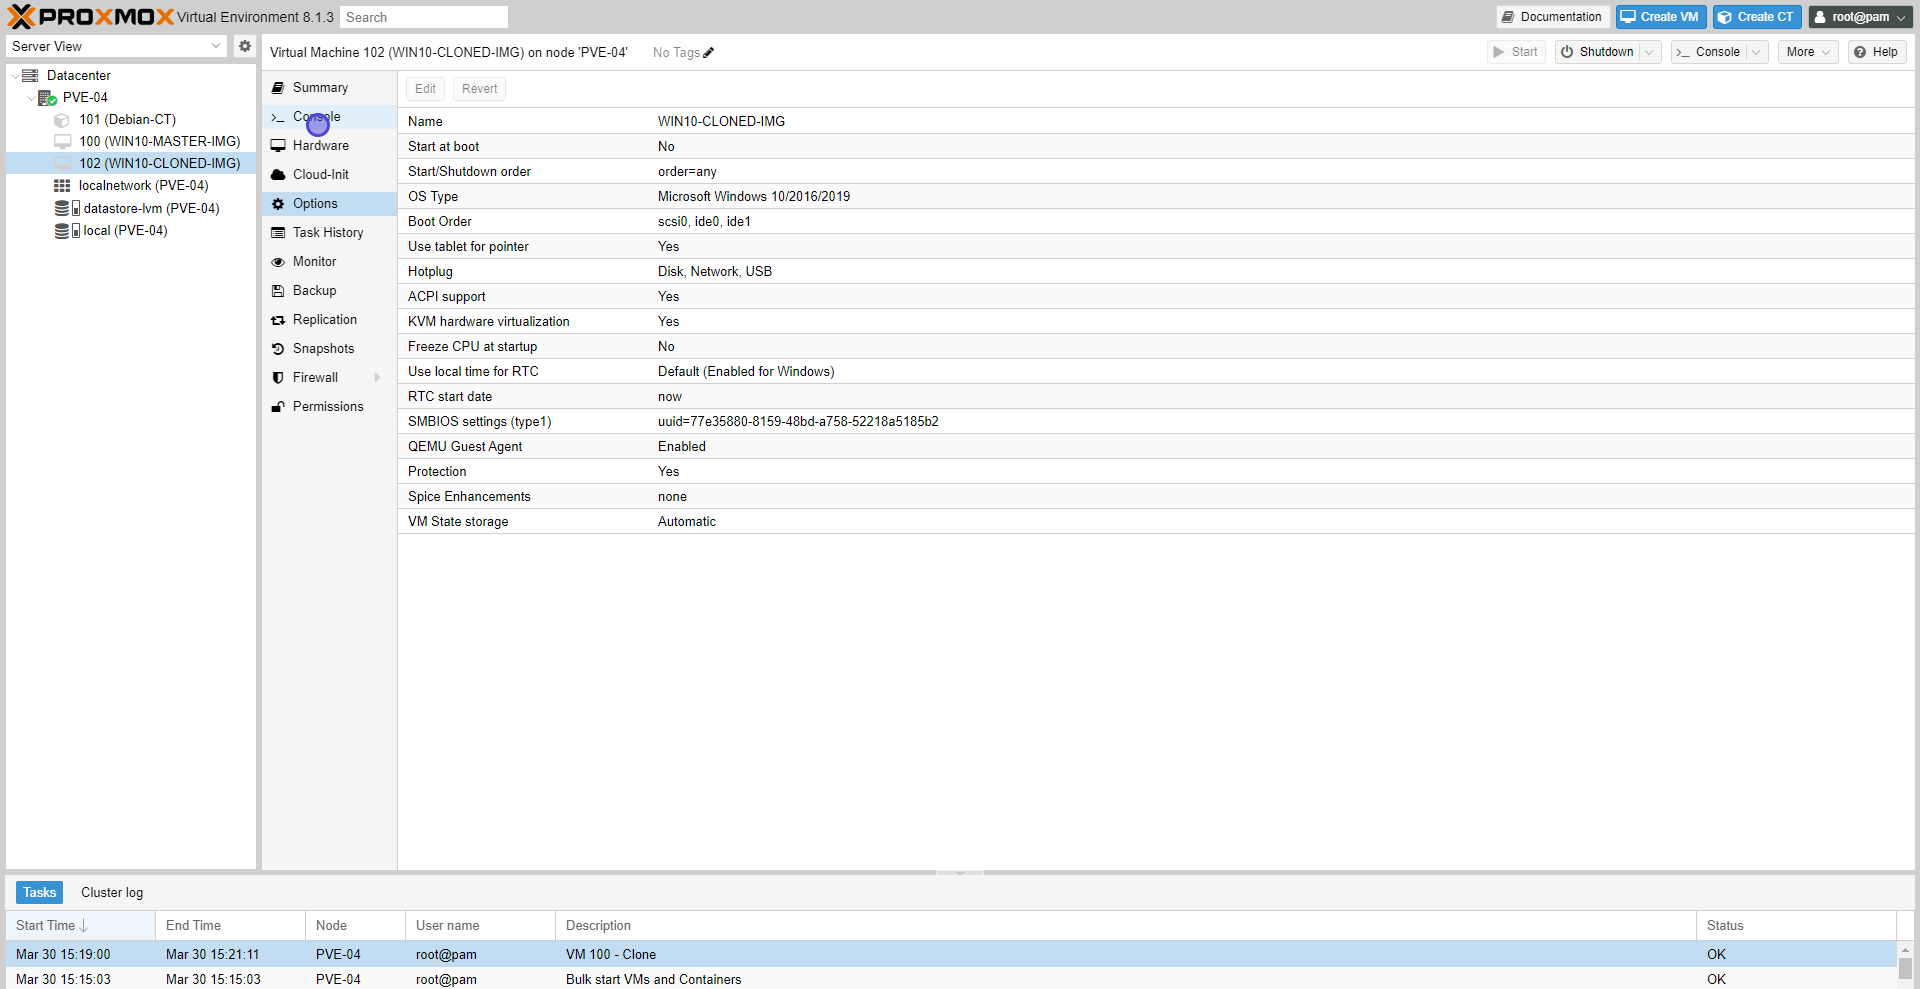
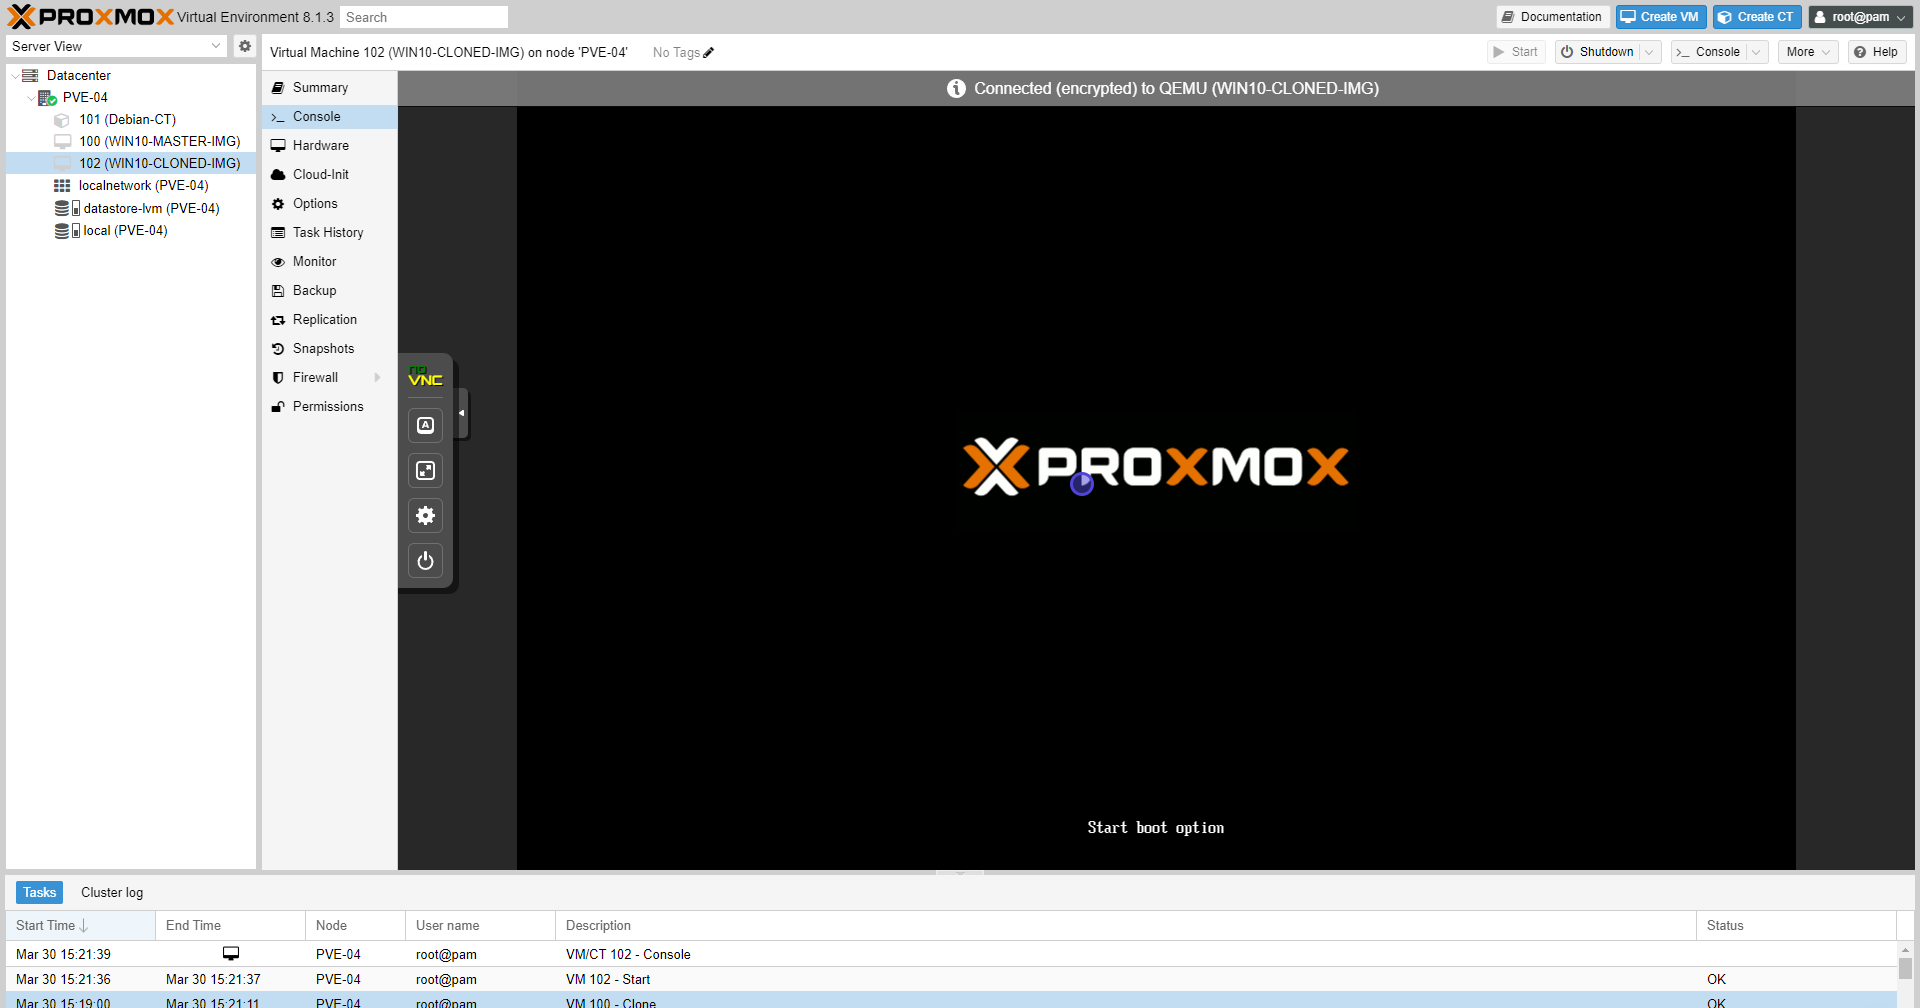
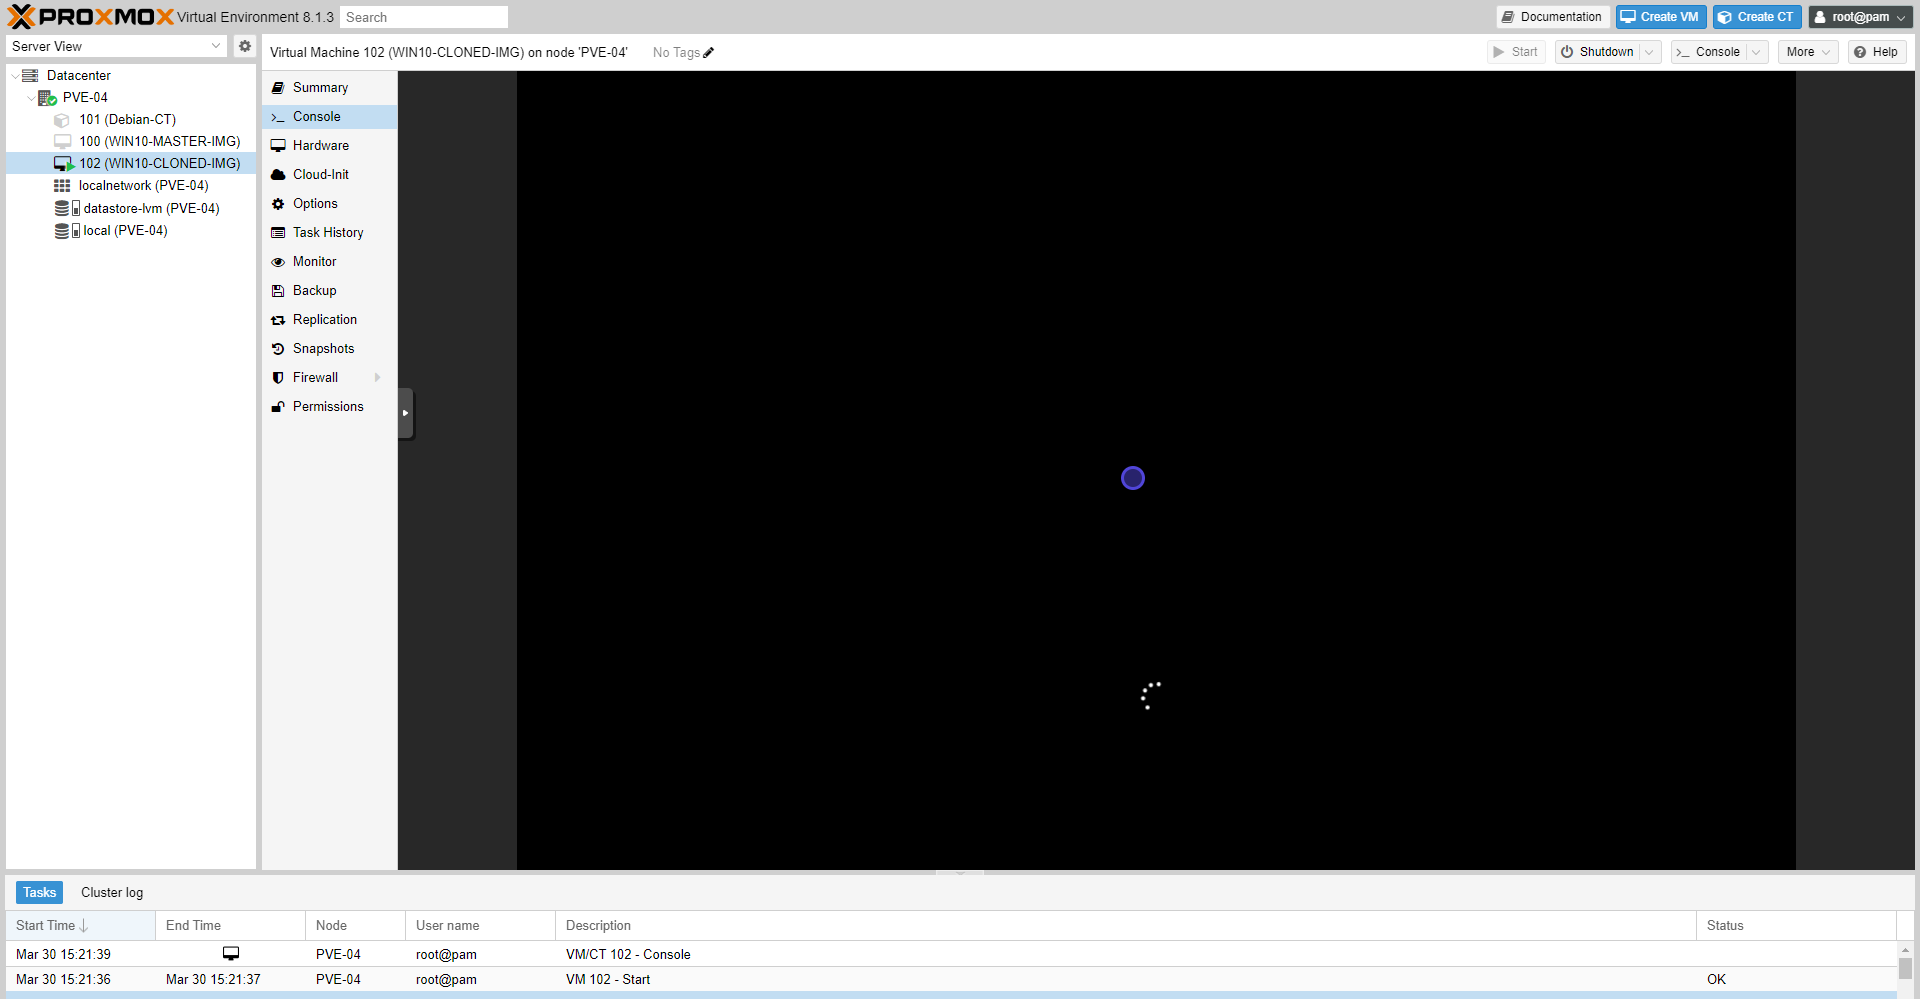
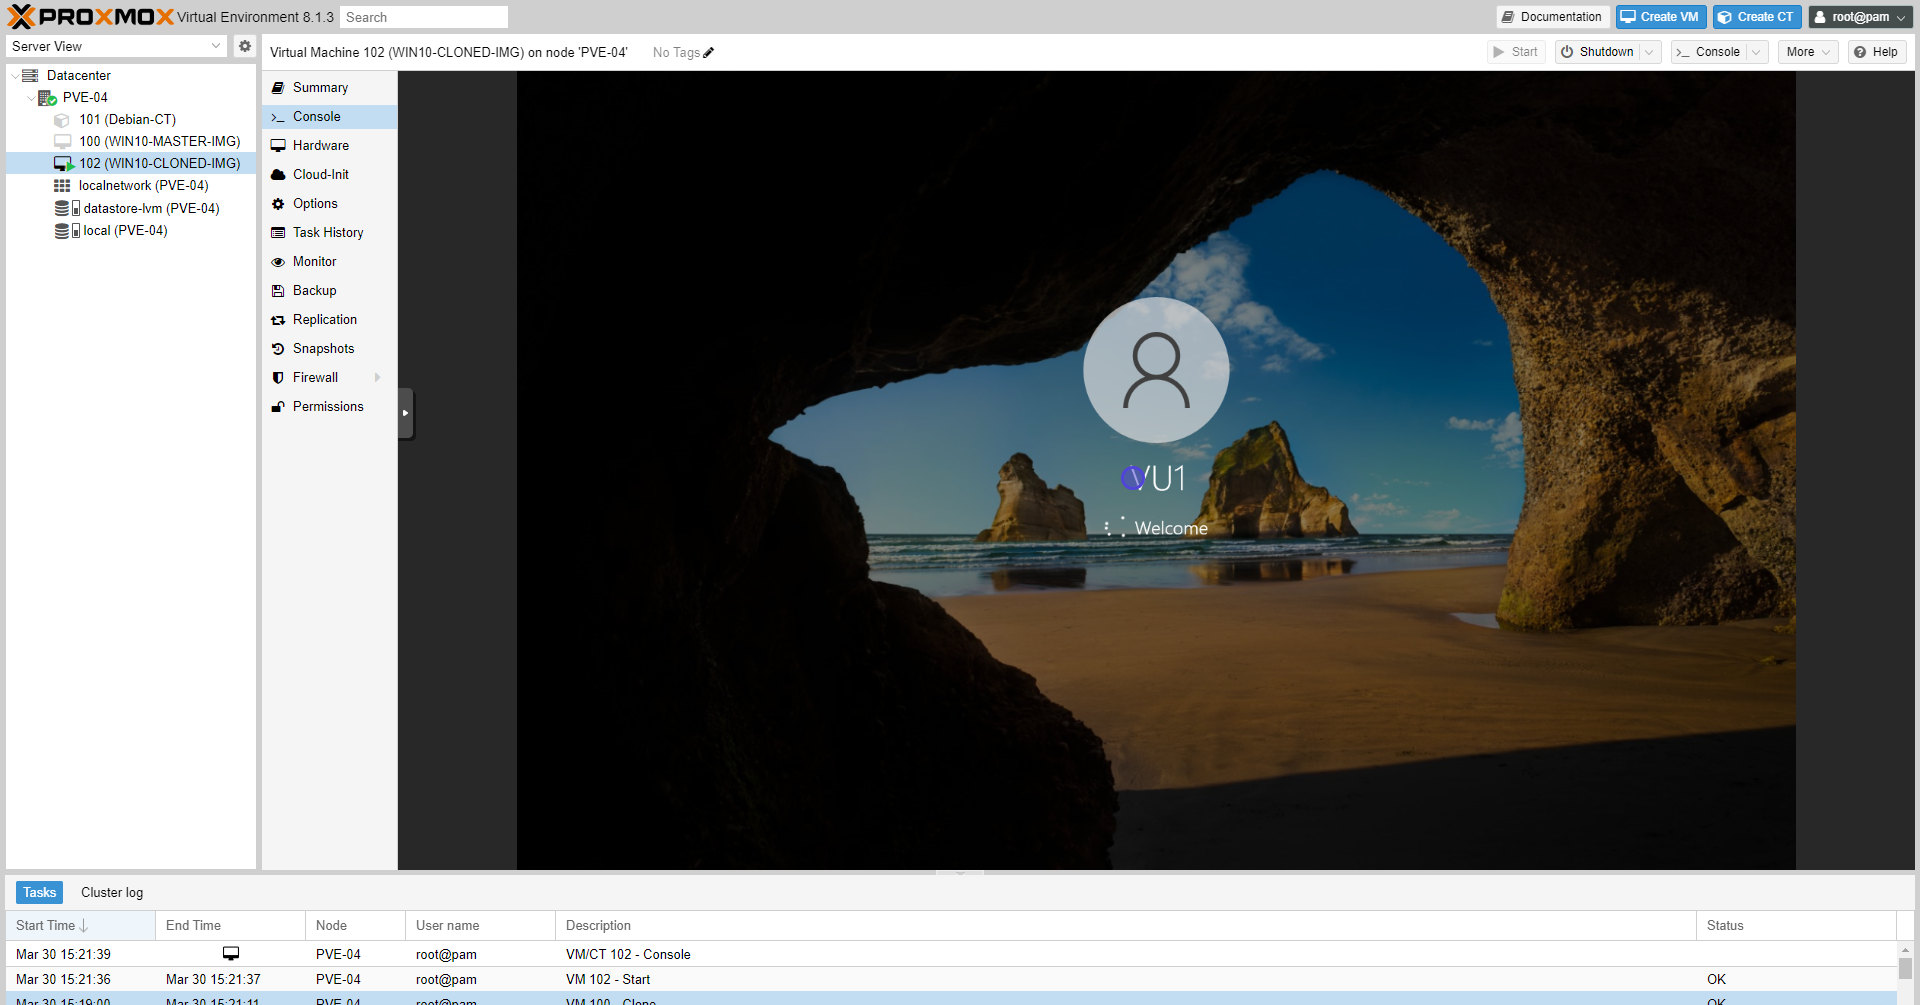
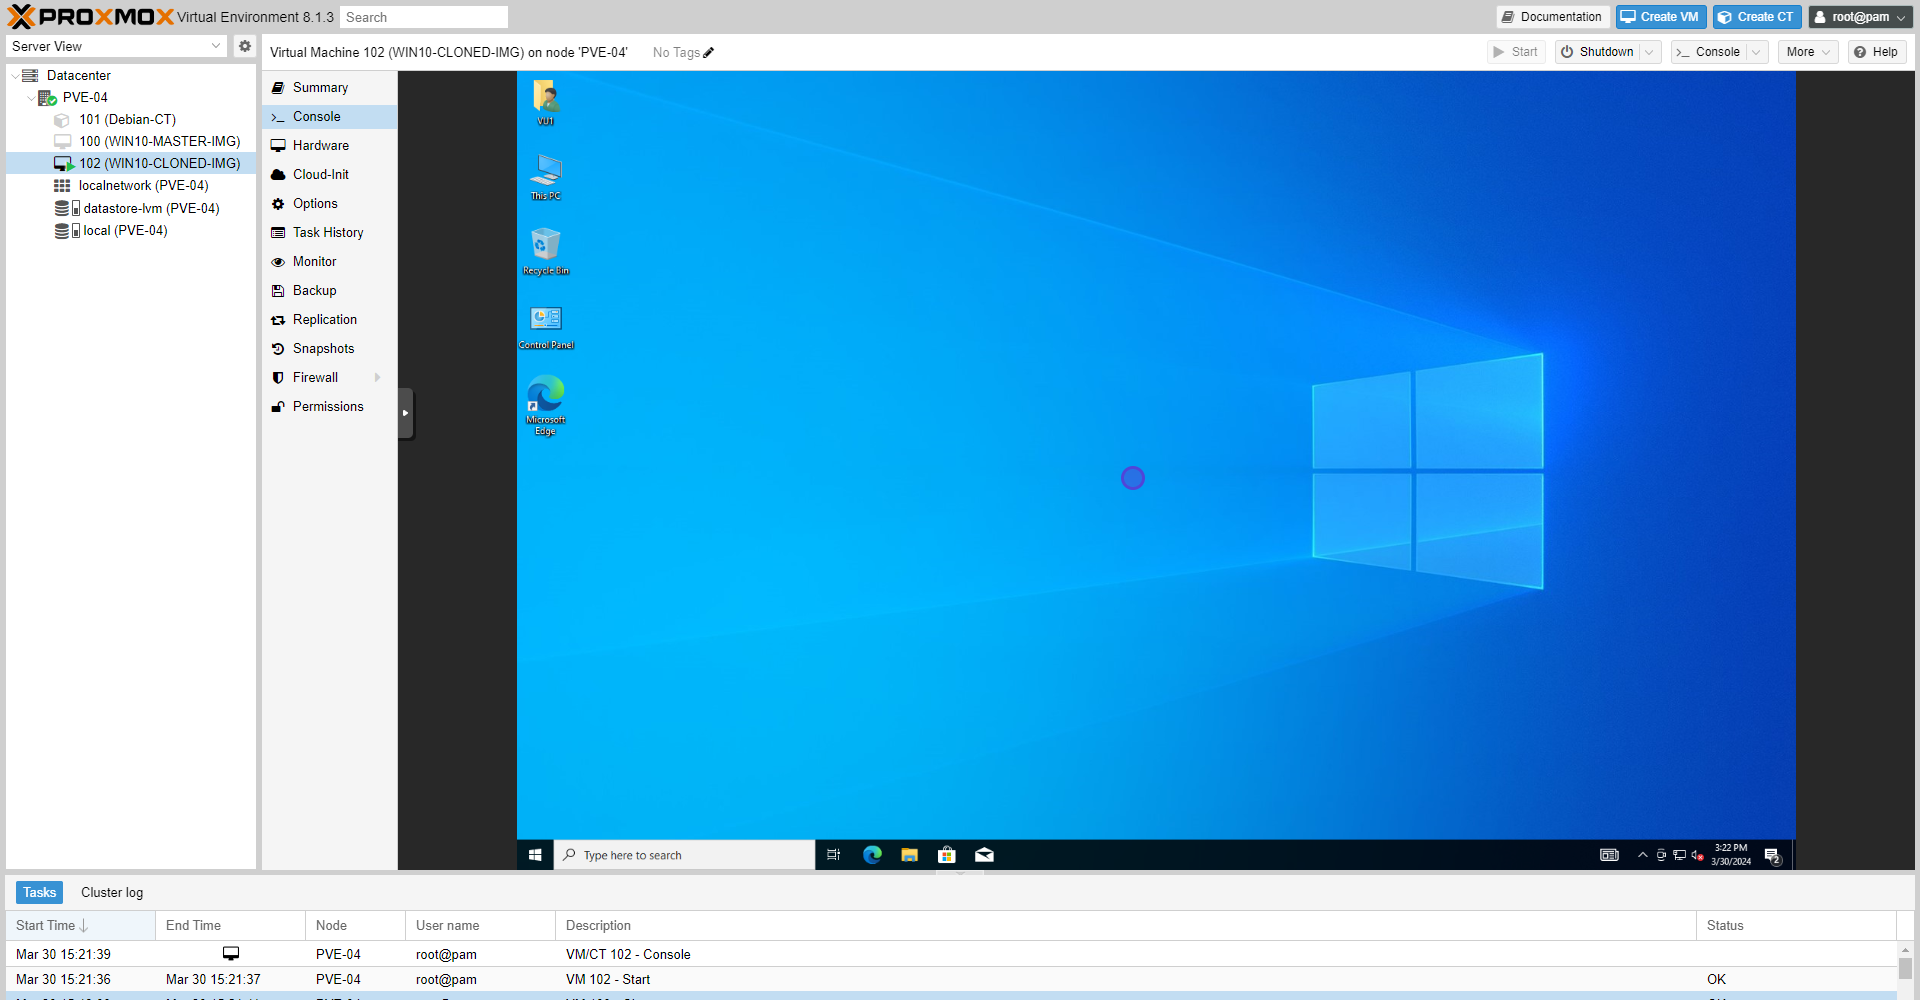
- The image booted successfully.
System Preparation ( Sysprerp)
Remove all user data, passwords and keys using Sysprep.
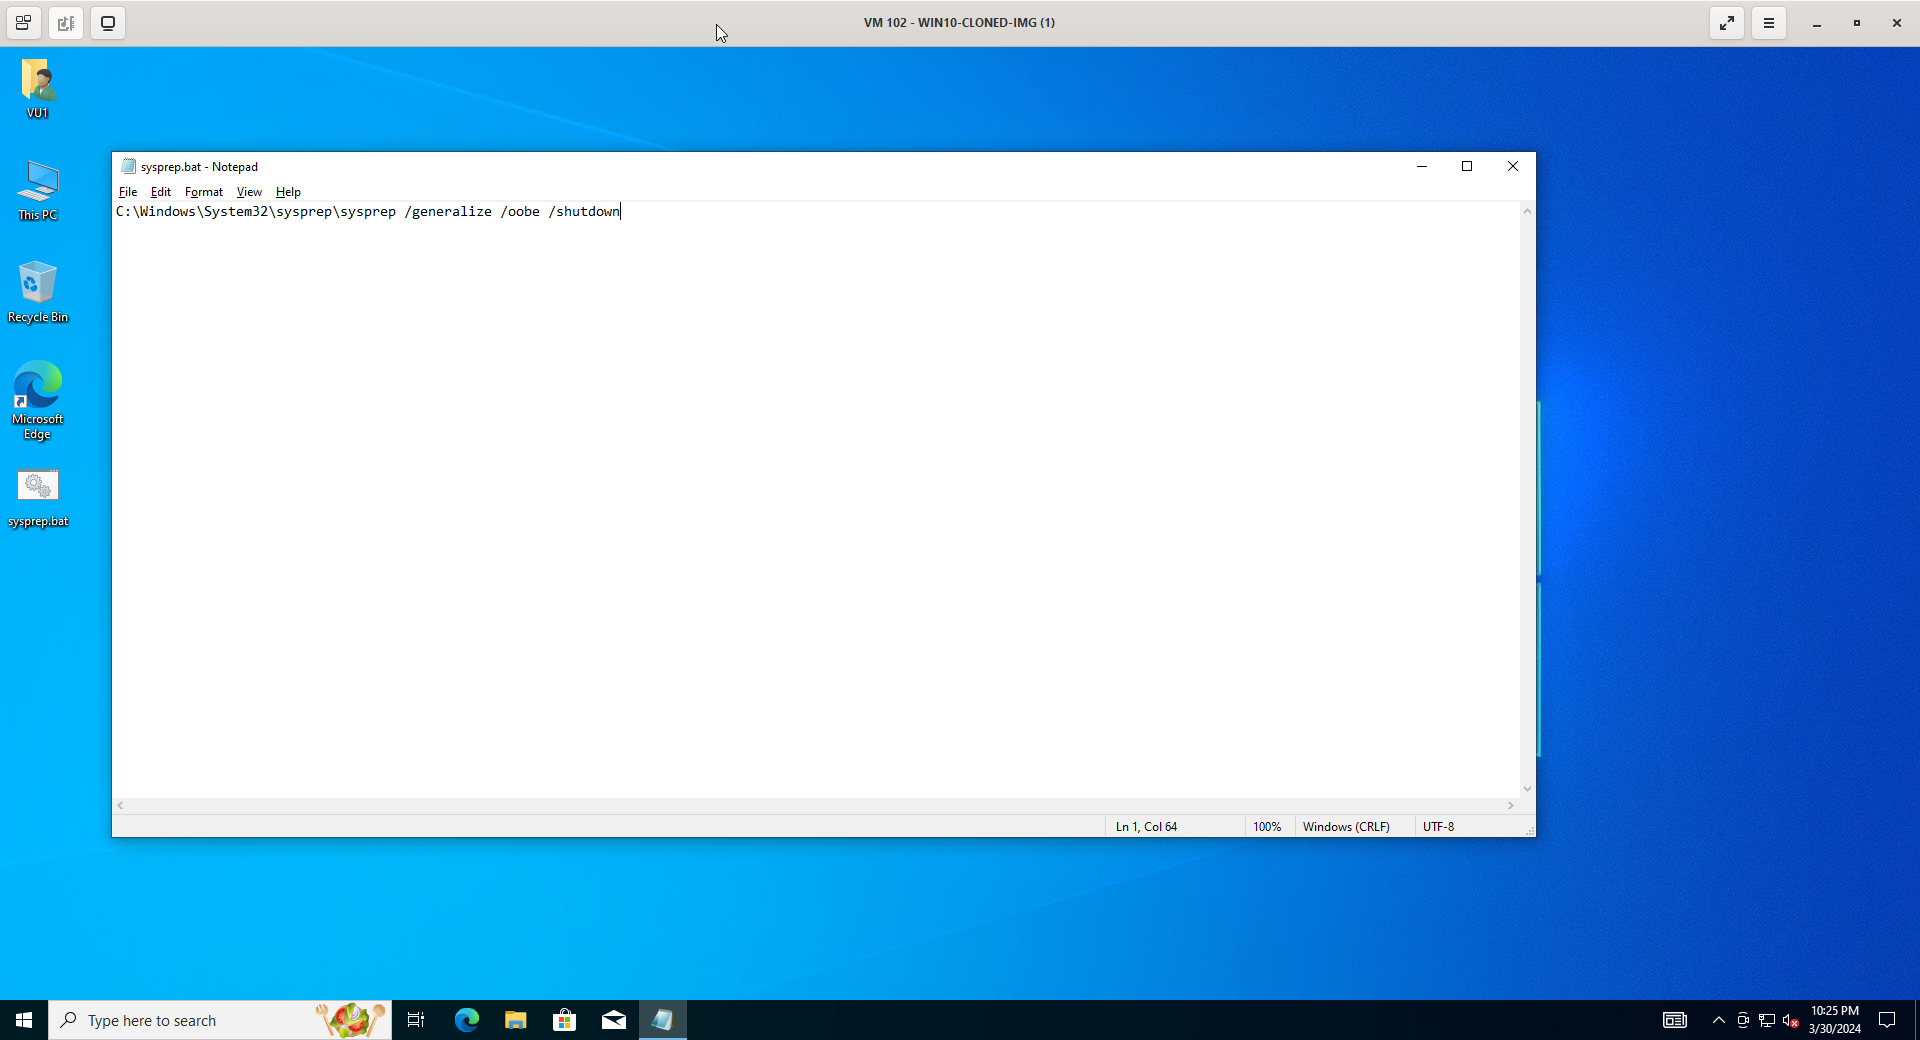
To use sysprep we will create a new batch file pointing to the sysprep tool to generalize the windows installation.
Right click on desktop.
Select New.
Select Text Document.
Type in the text document the command below
C:\Windows\System32\sysprep\sysprep /generalize /oobe /shutdown
To save the file as batch file, change the extension format form of the text document from “.txt” to “.bat”.
Save and exit.
Execute the batch file.
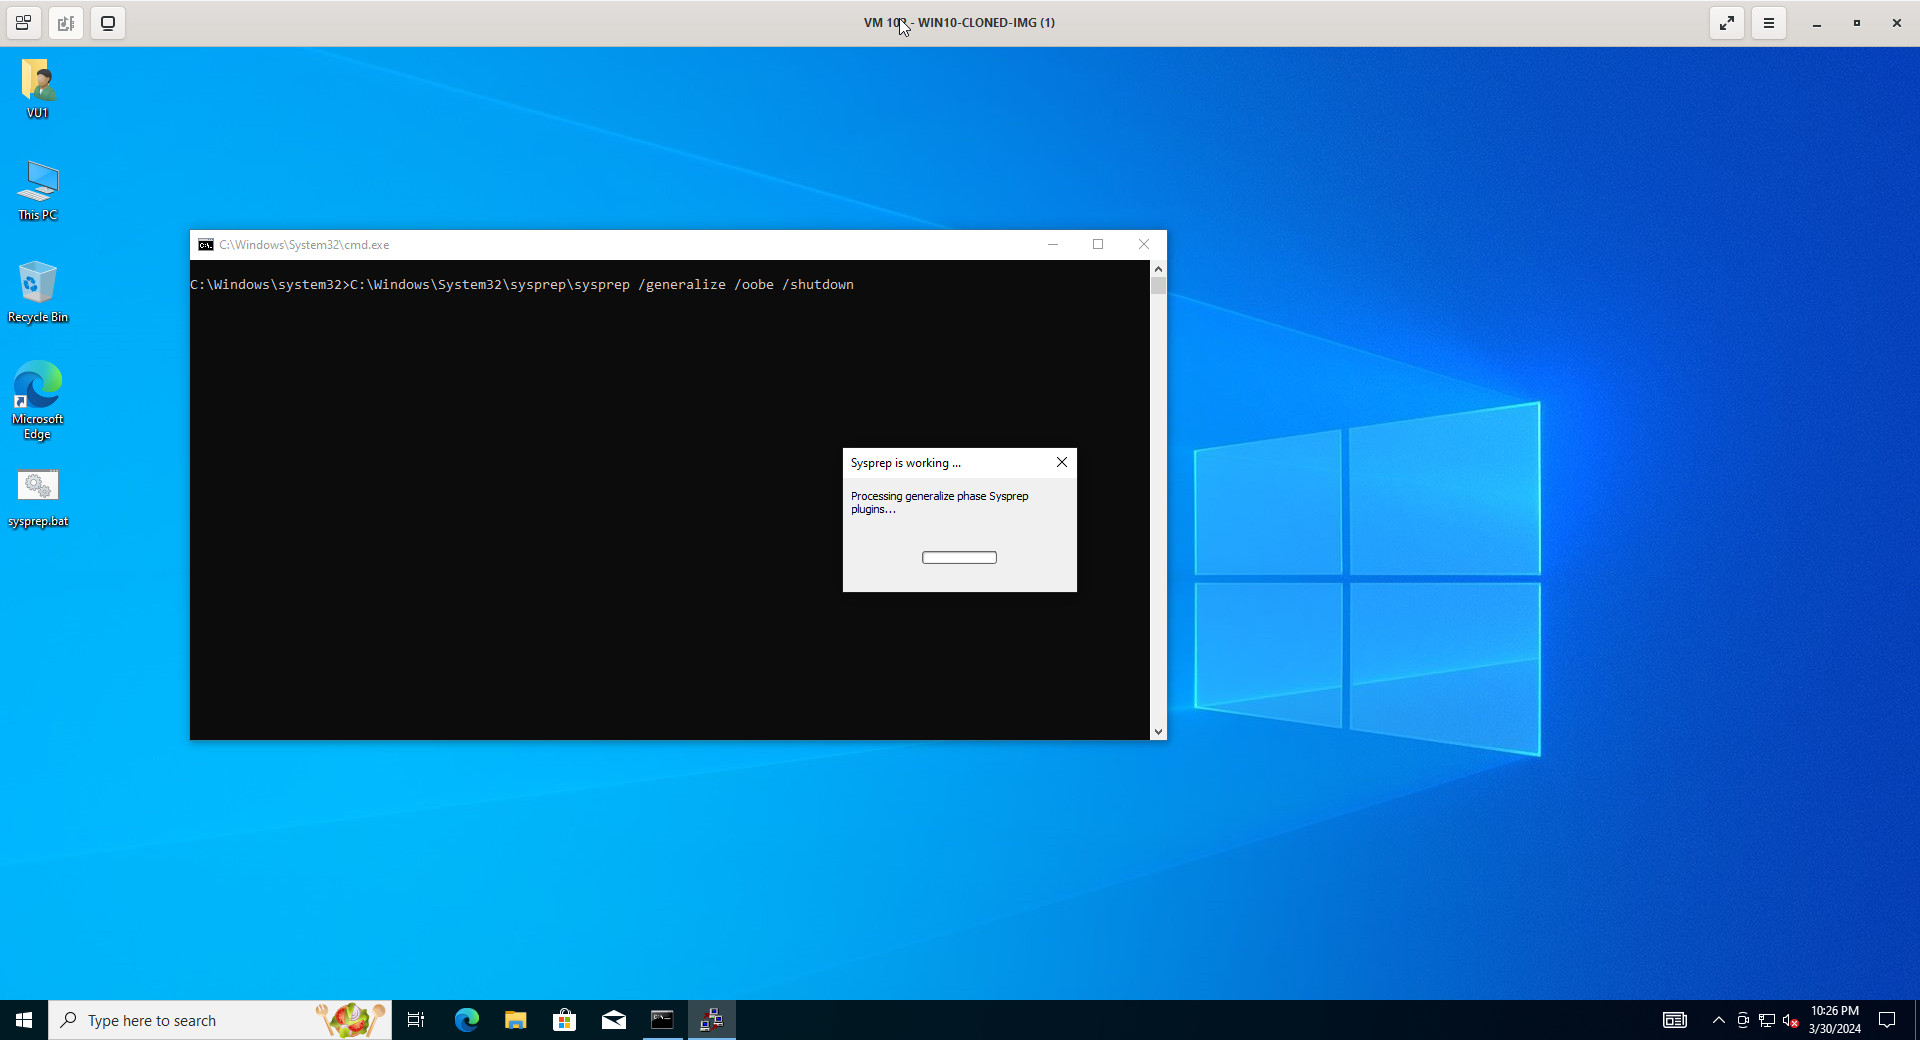
After the Sysprep process is finished all system-specific information will be removed and resets the computer.
The cloned virtual machine will shutdown and get back to a generic windows image. The next time that the computer restarts, your customers can add user-specific information through Out-Of-Box Experience (OOBE) and accept the Microsoft Software License Terms.
Convert To Template
After preparing and resetting the cloned virtual machine, now we can convert the VM to template that deploy in a couple of clicks.
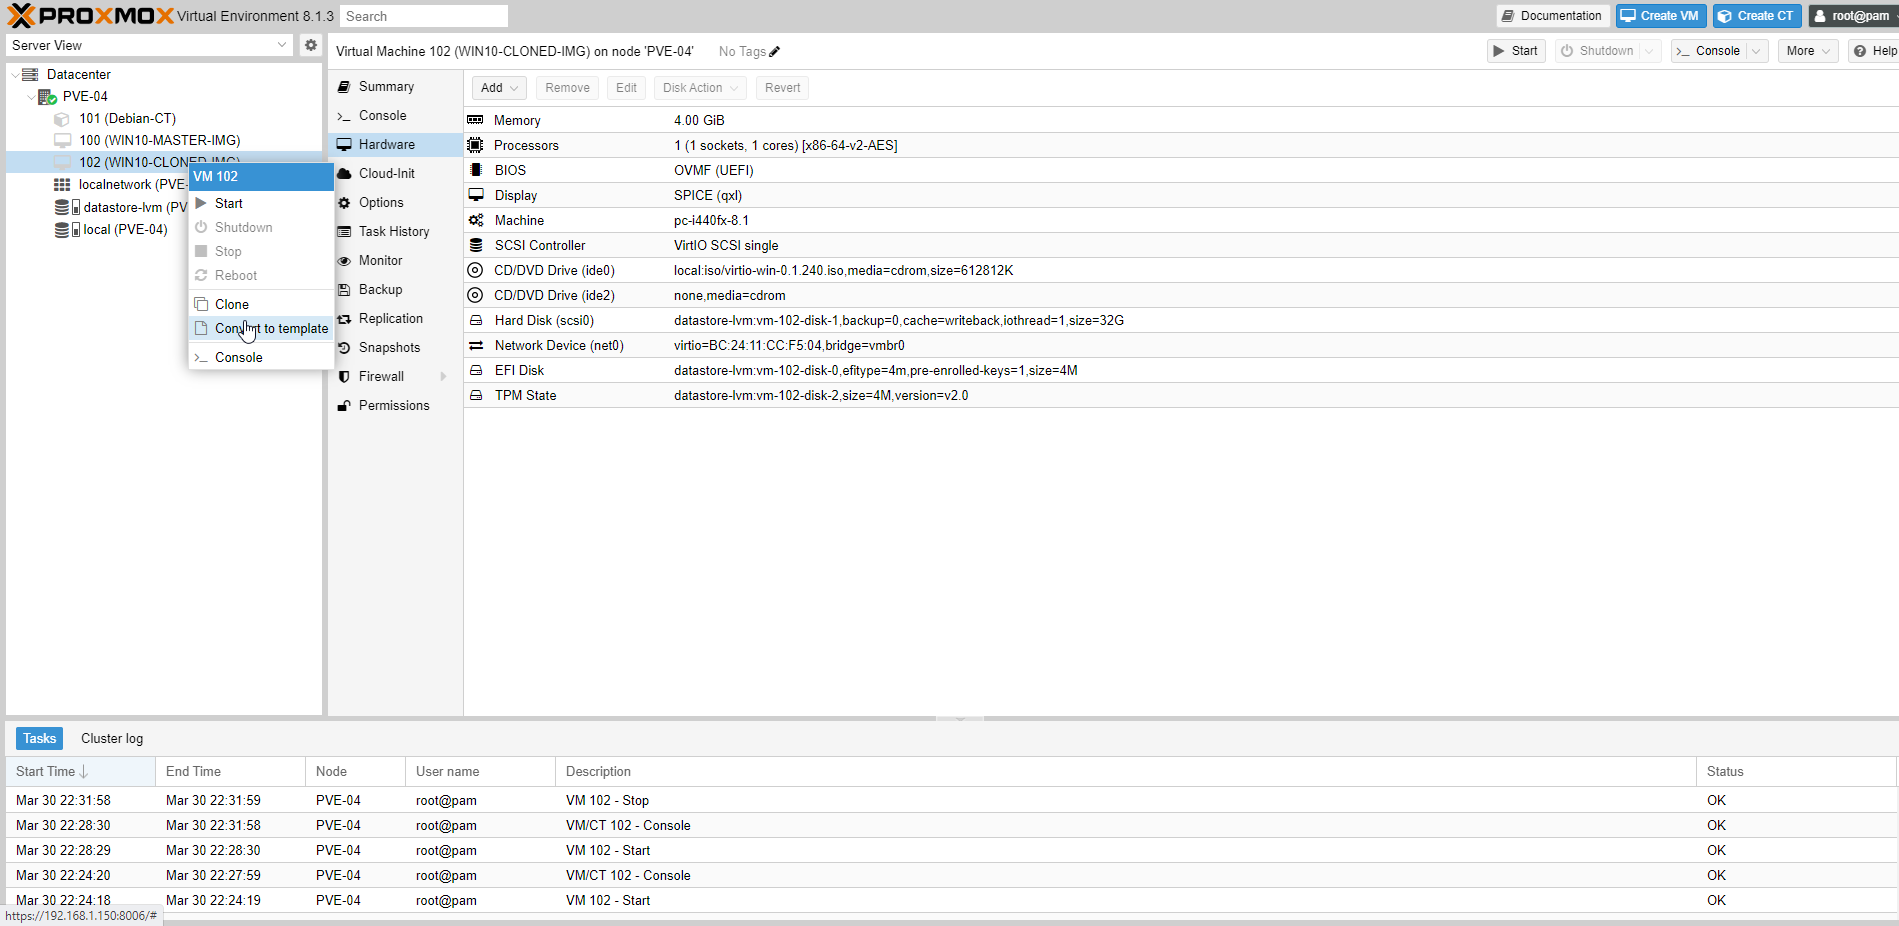
Right click on the cloned guest machine.
Select Convert to template.
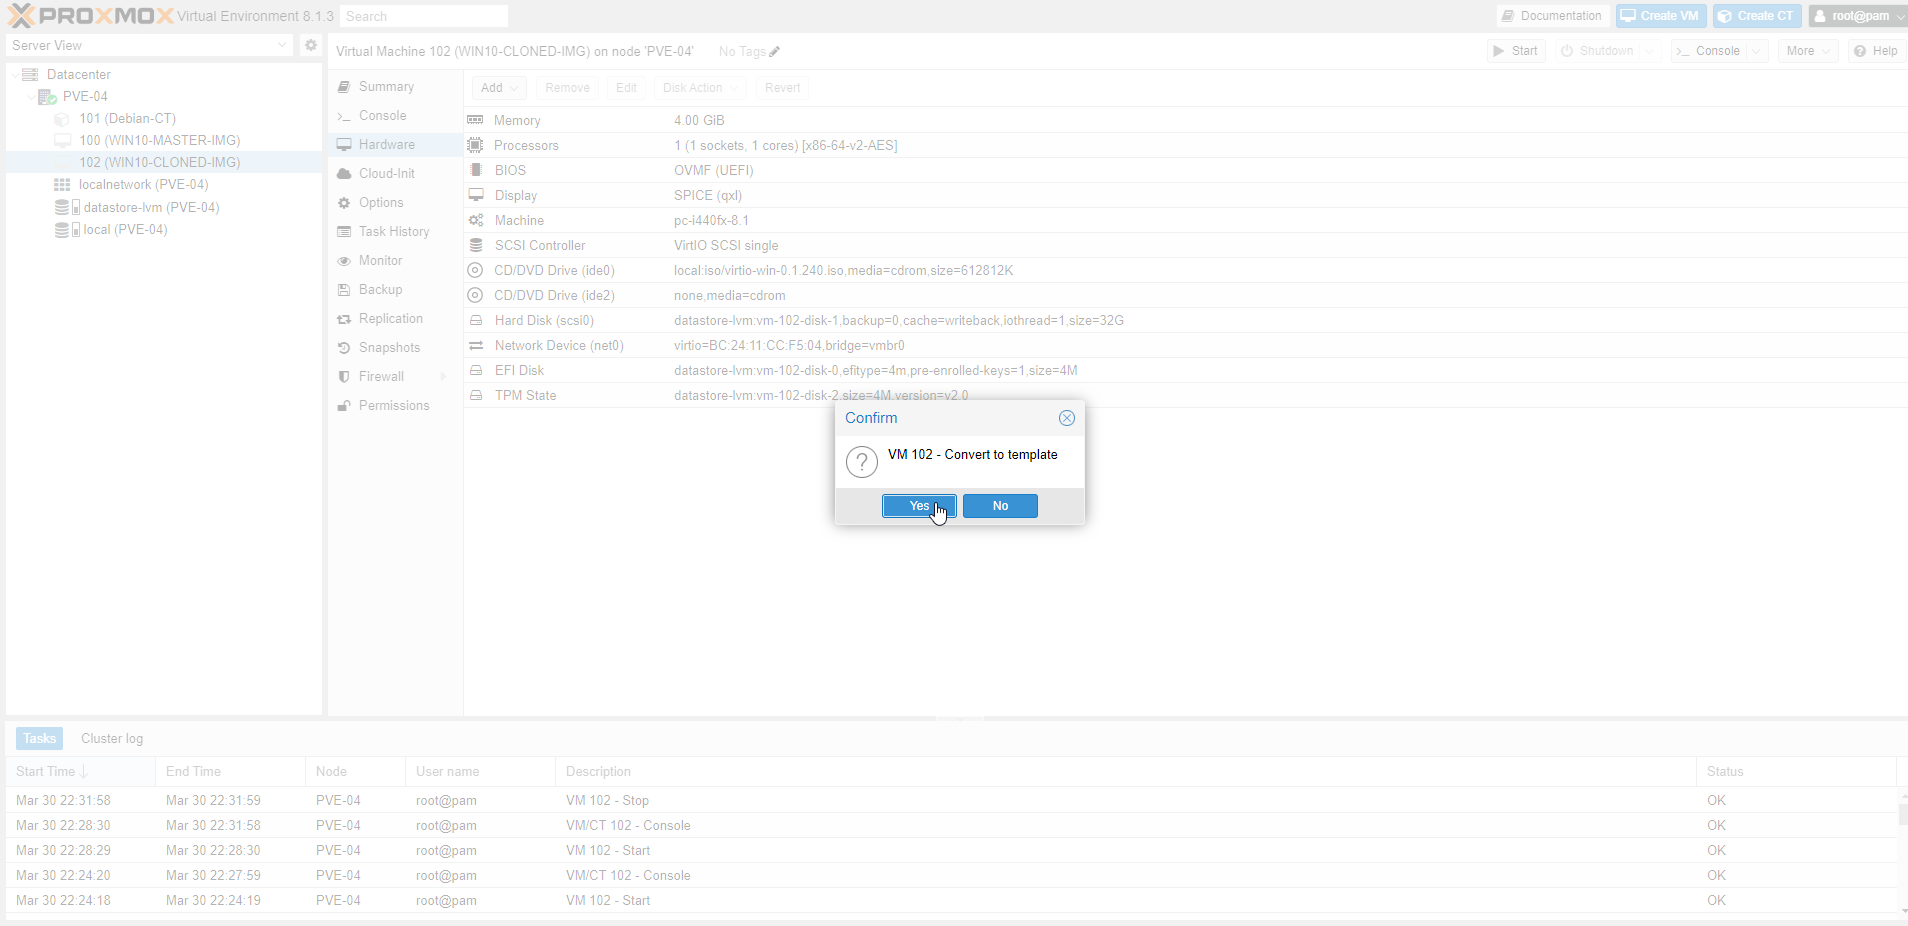
- Select Yes.
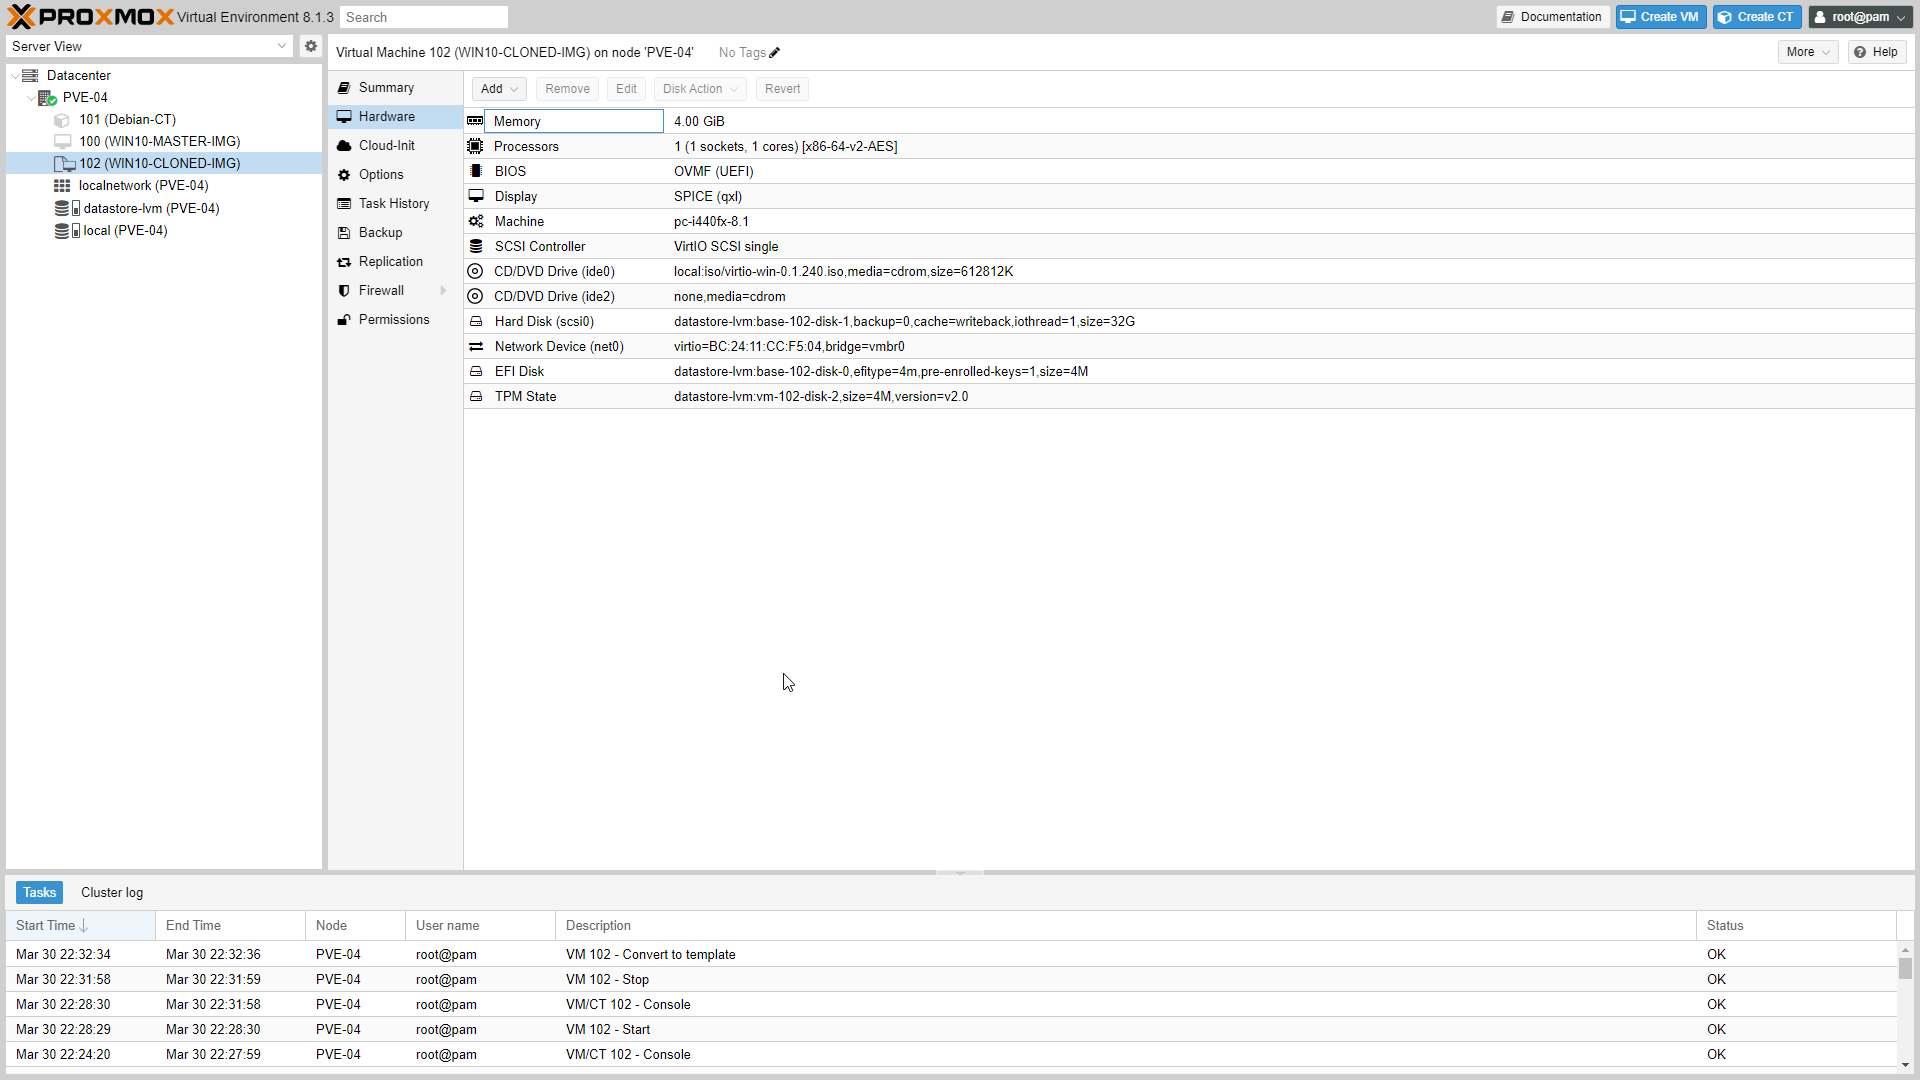
- In the resource tree at the left, the icon of the virtual machines changed to a template.
NOTE
As soon as the VM is converted to template, it cannot be started anymore and the icon changes. If you want to modify an existing template, you need to deploy a full clone from this template and do the steps above again.
Deploy Ready Virtual Machines
Now after the template is ready , we can deploy fully pre-configured operating systems images without going through the entire process of creating virtual machines from scratch.
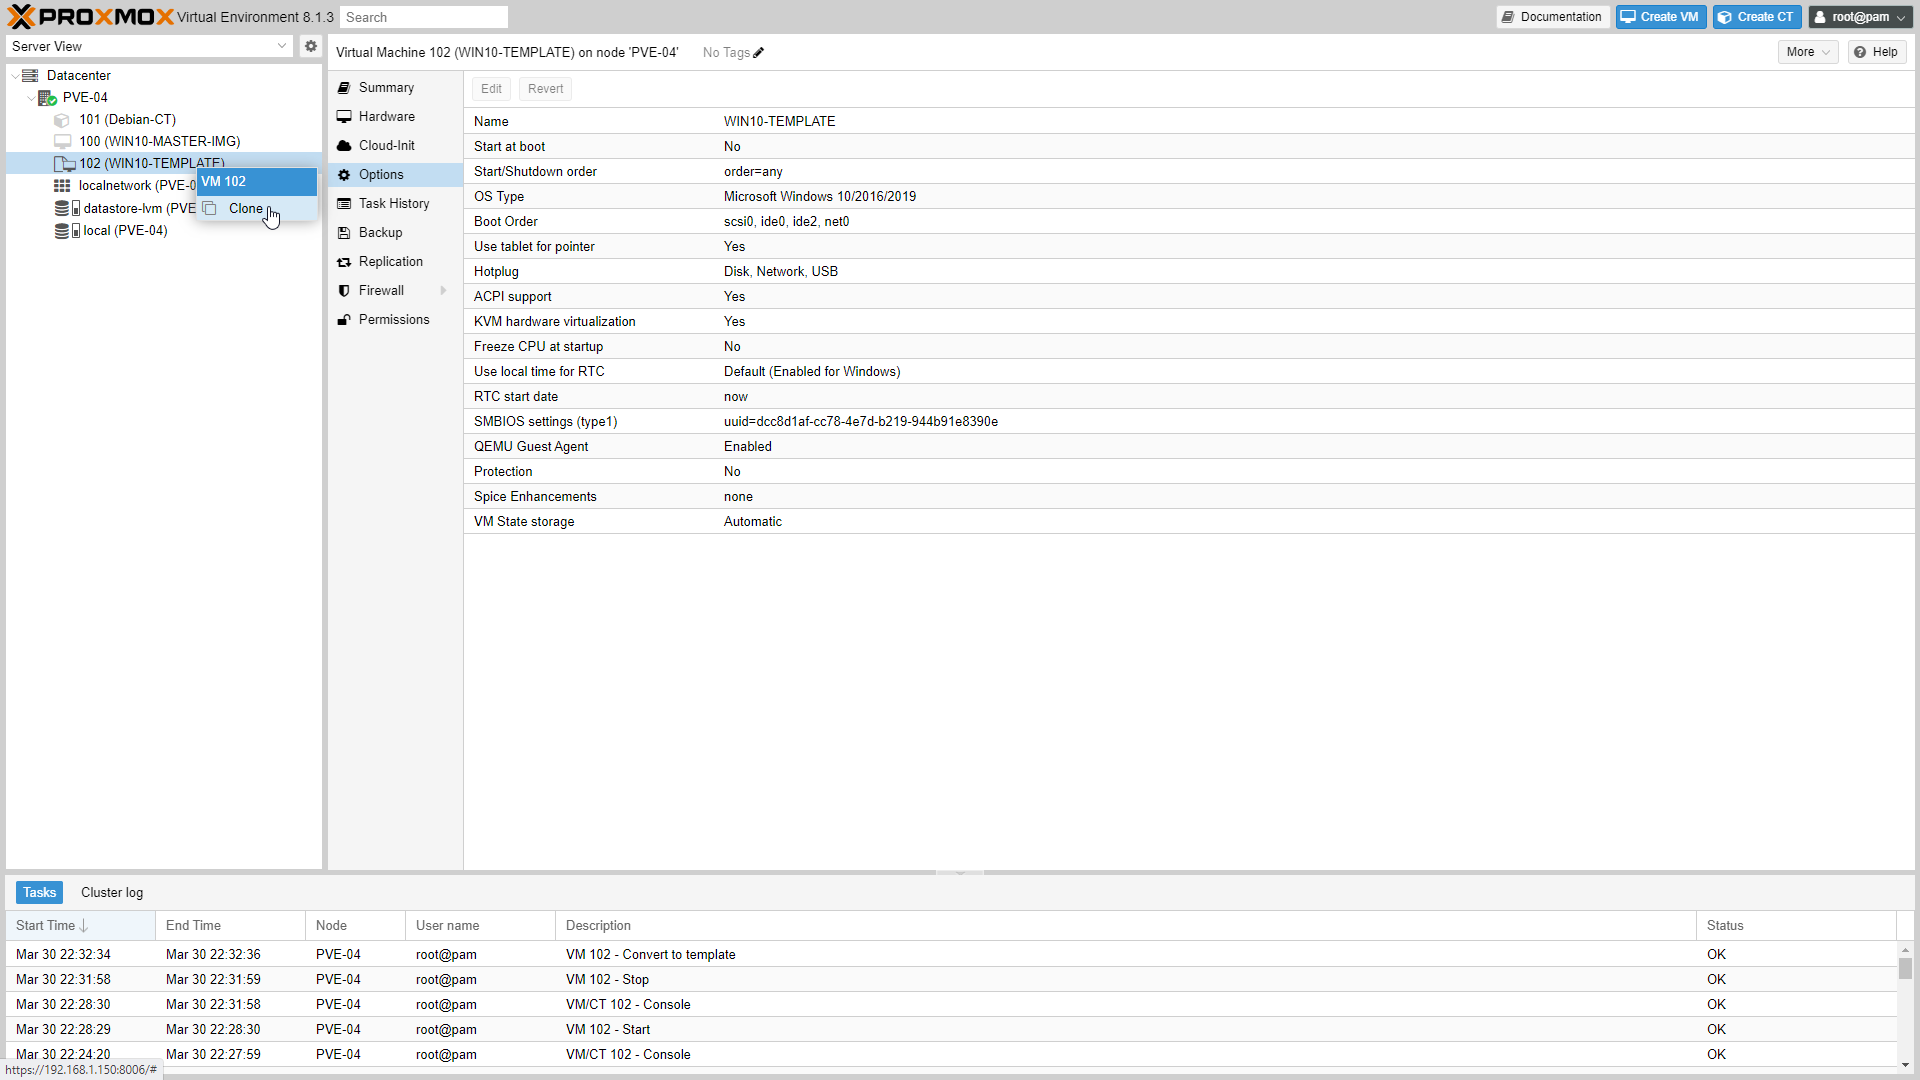
Right click on the template.
Select Clone.
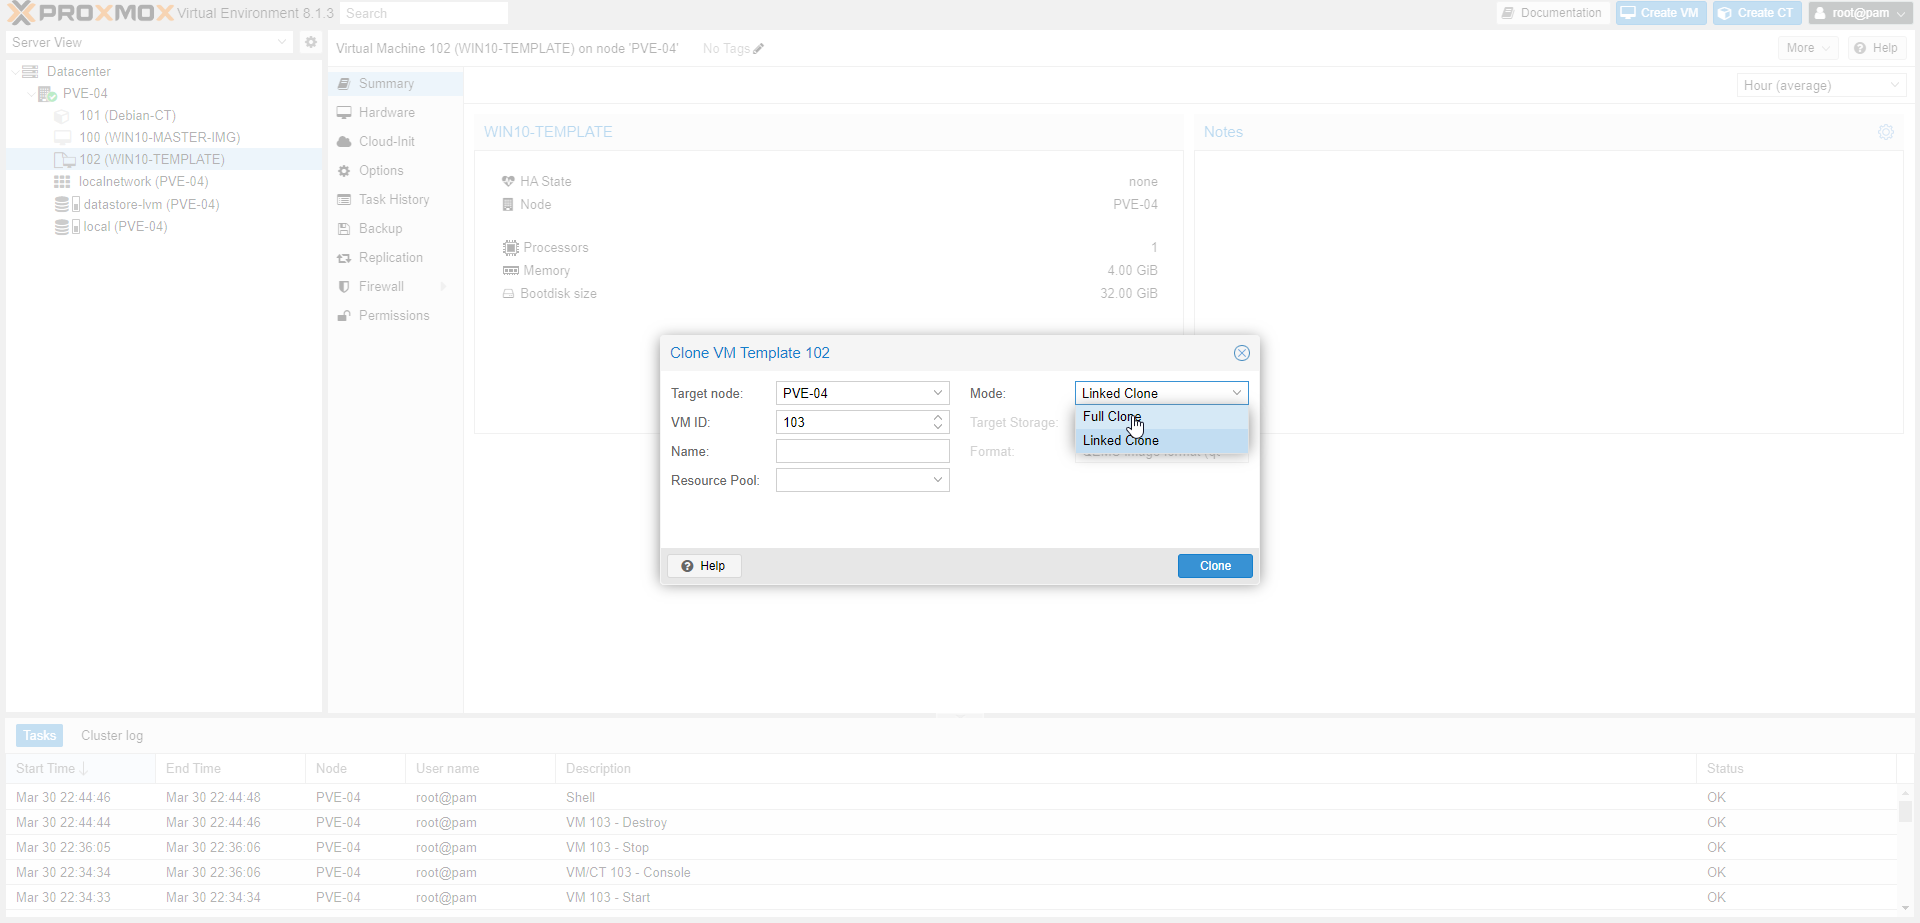
Clone VM template window will pop up.
Select Full Clone.
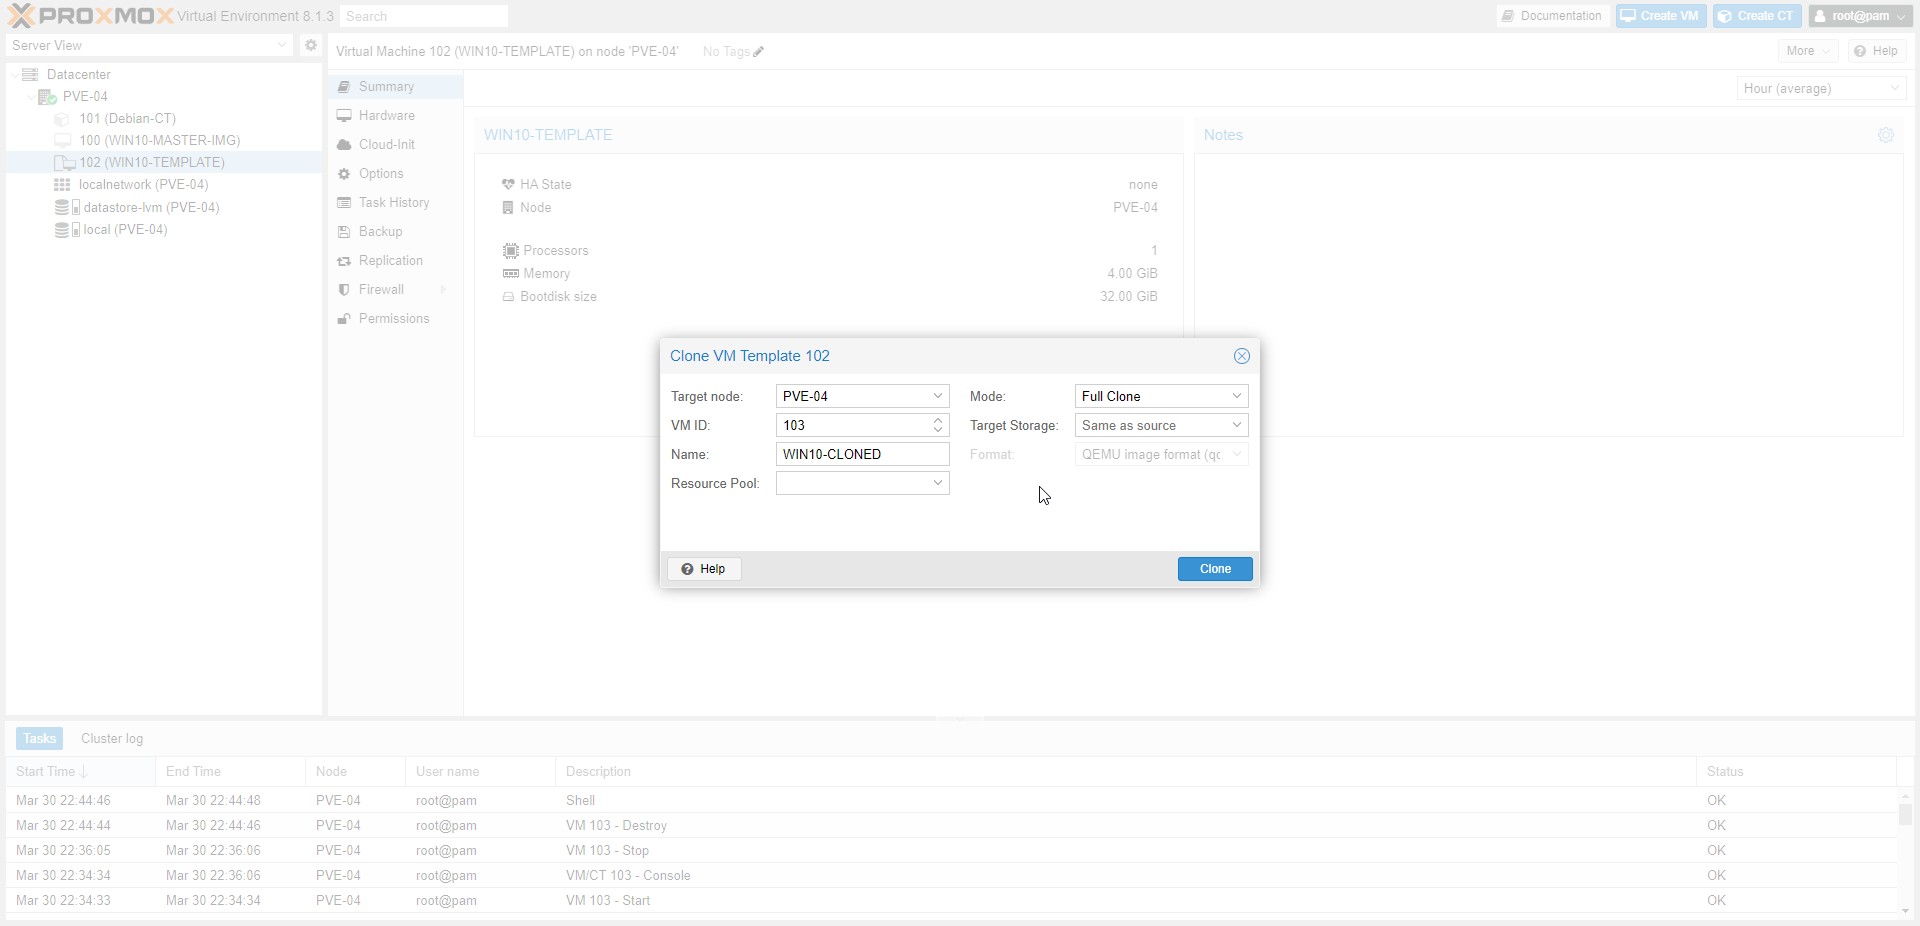
Name the VM.
For demonstration and explanation we will name the virtual machine “WIN10-CLONED”.
Select Clone.
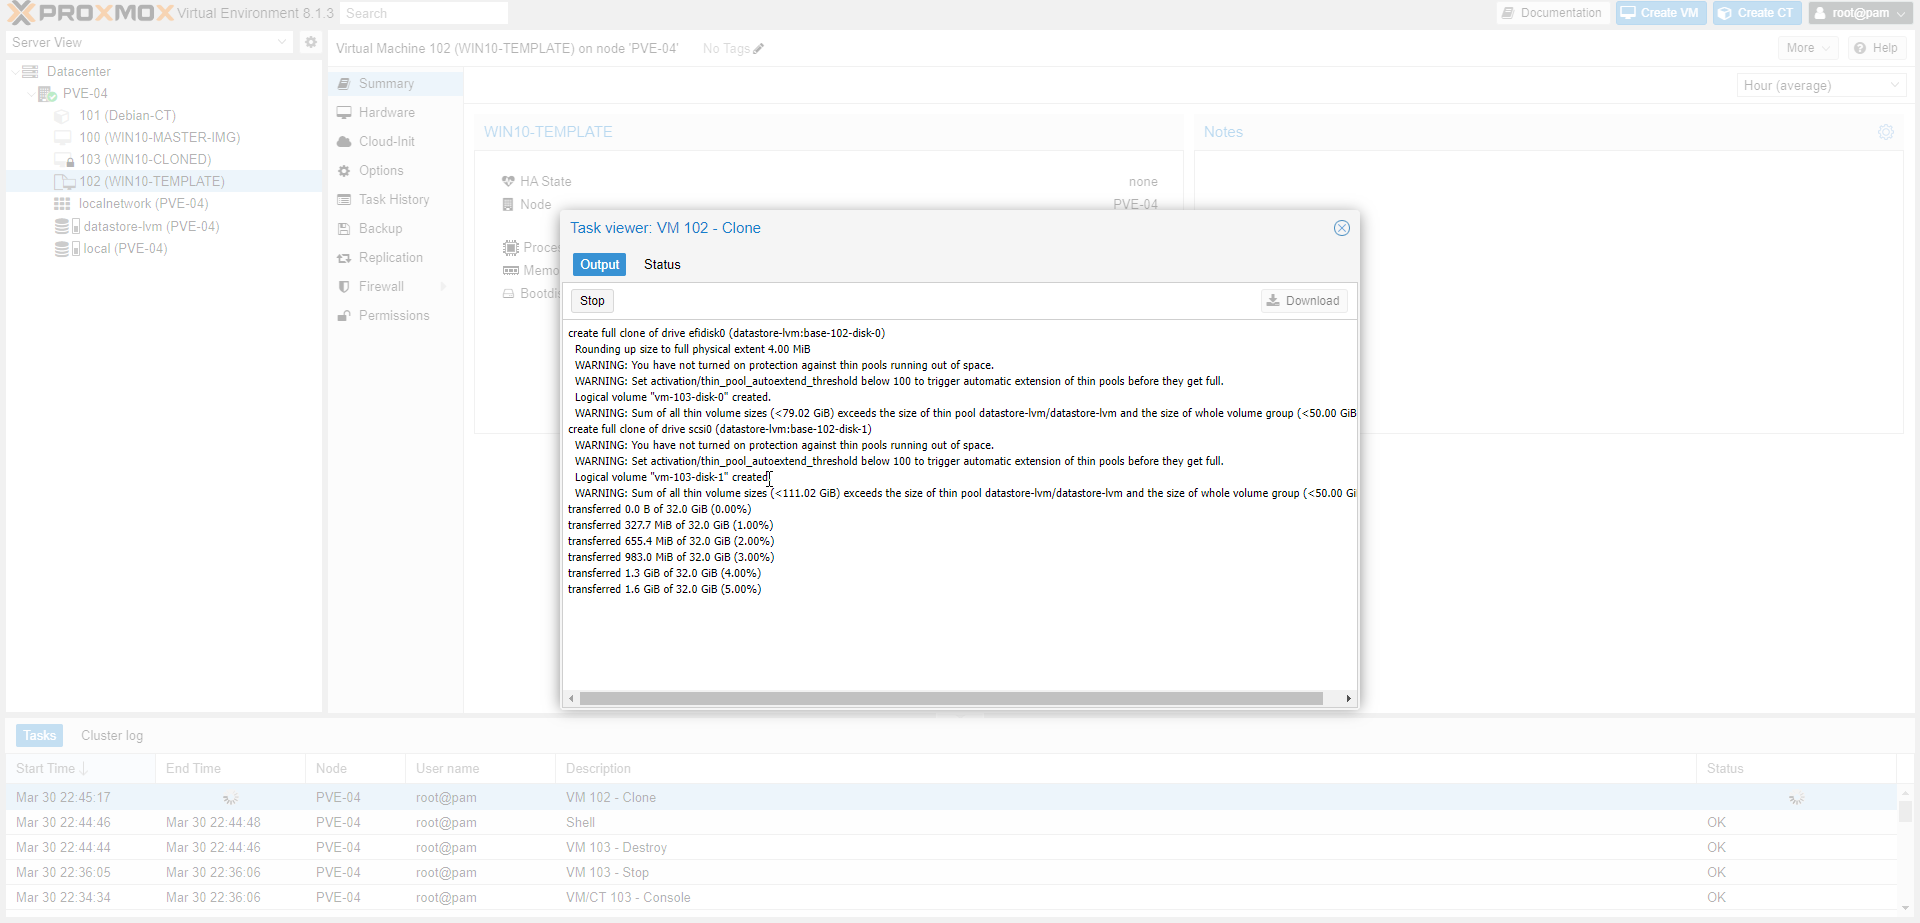
- Task details.
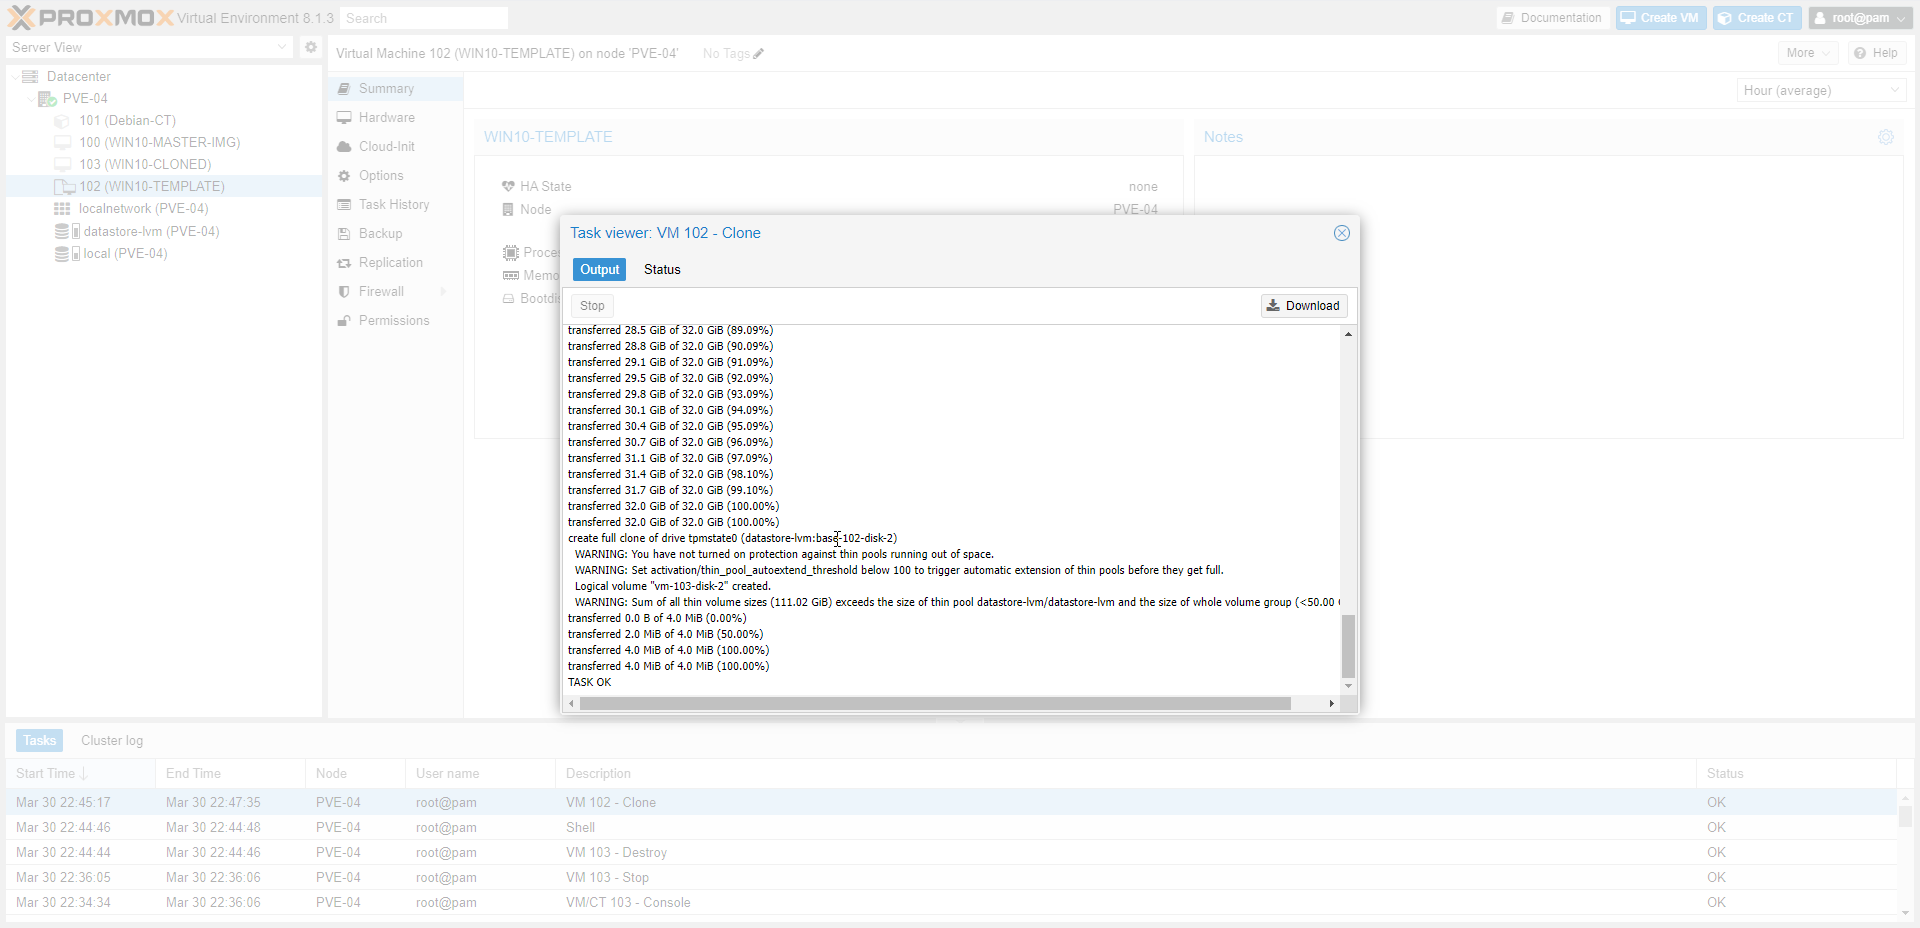
- Clone task completed successfully.
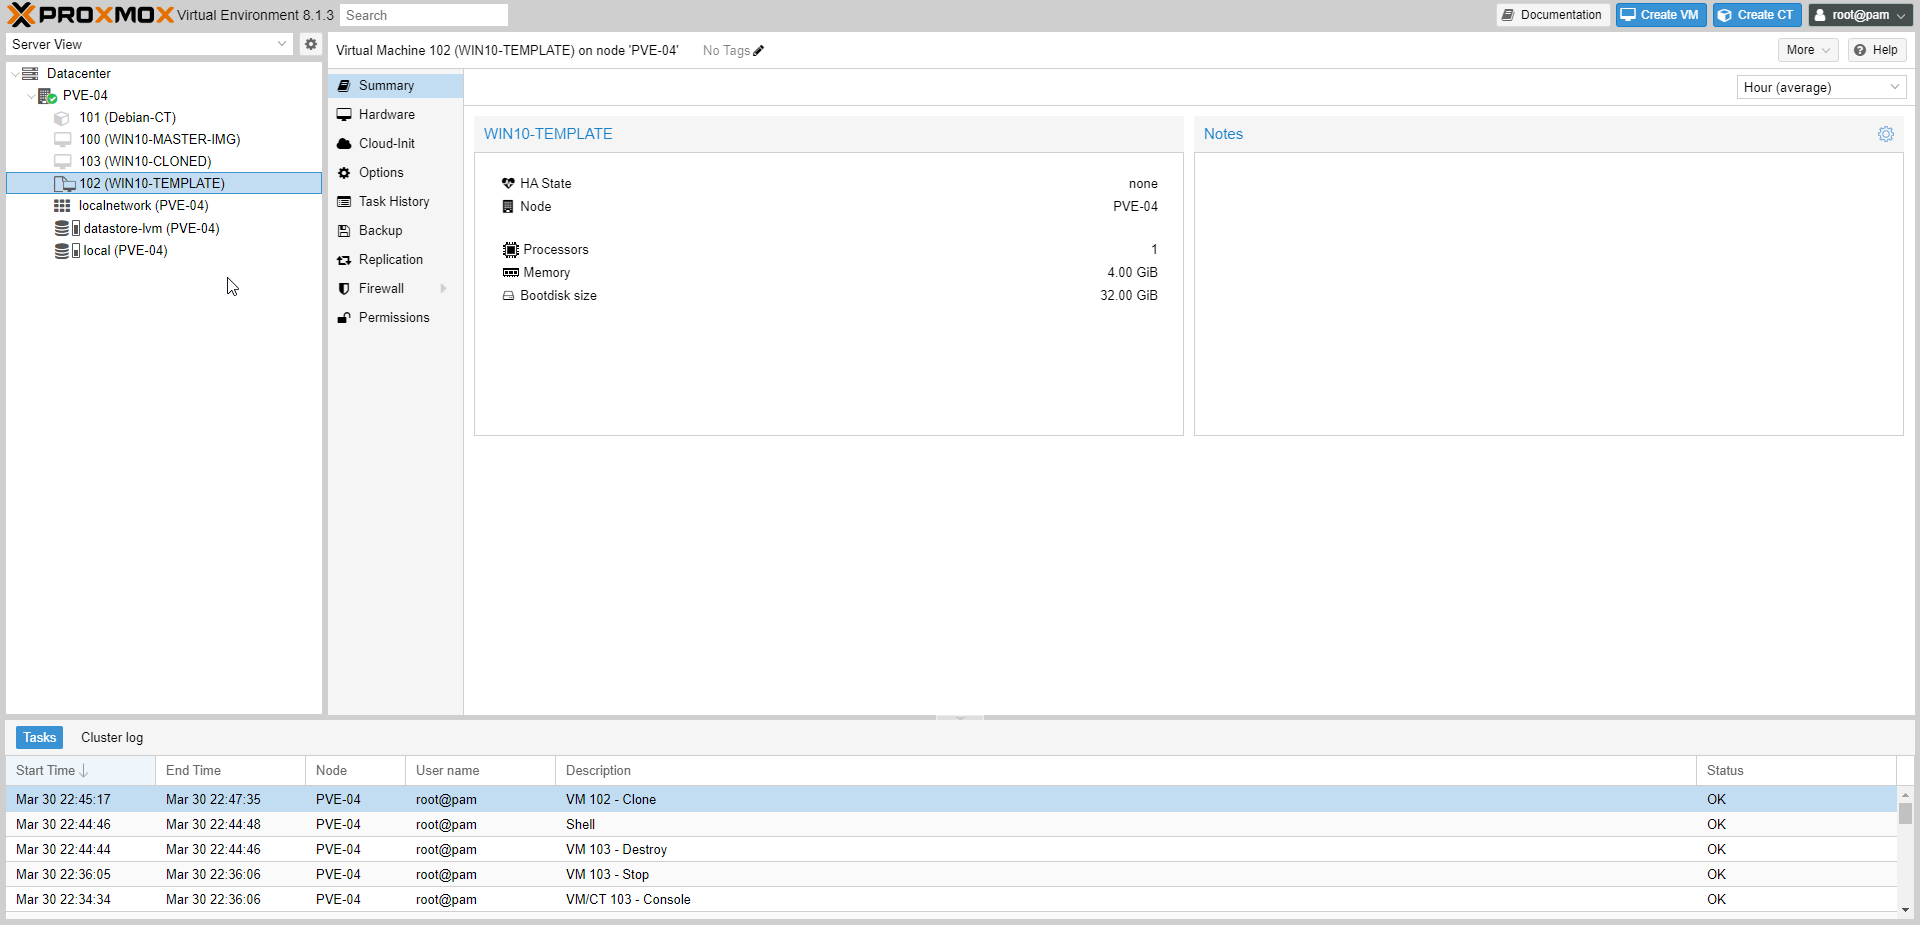
- WIN10-CLONED virtual machine appeared in the resource tree and ready to use.
BOOT WIN10-CLONED VIRTUAL MACHINE

Select on WIN10-CLONED from the resource tree on the left.
Select Start.
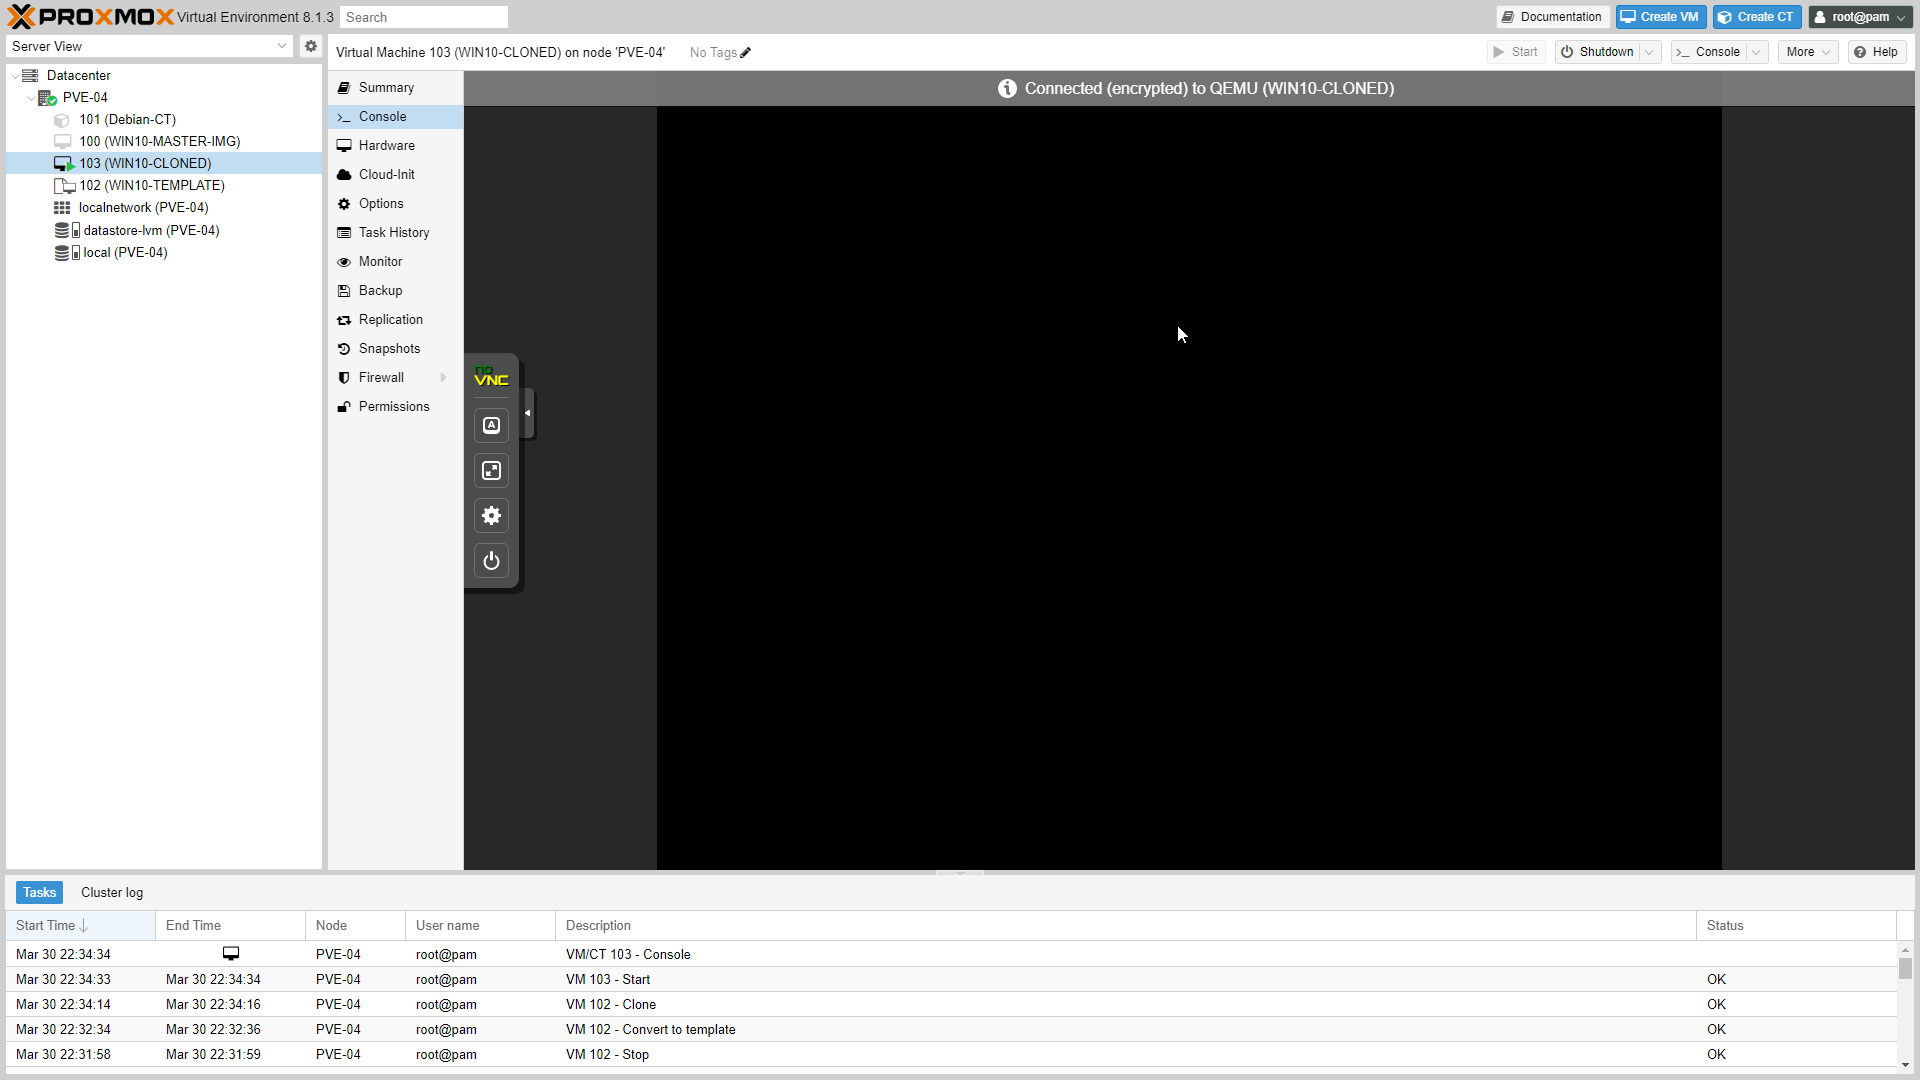
- Select Console from the content panel.
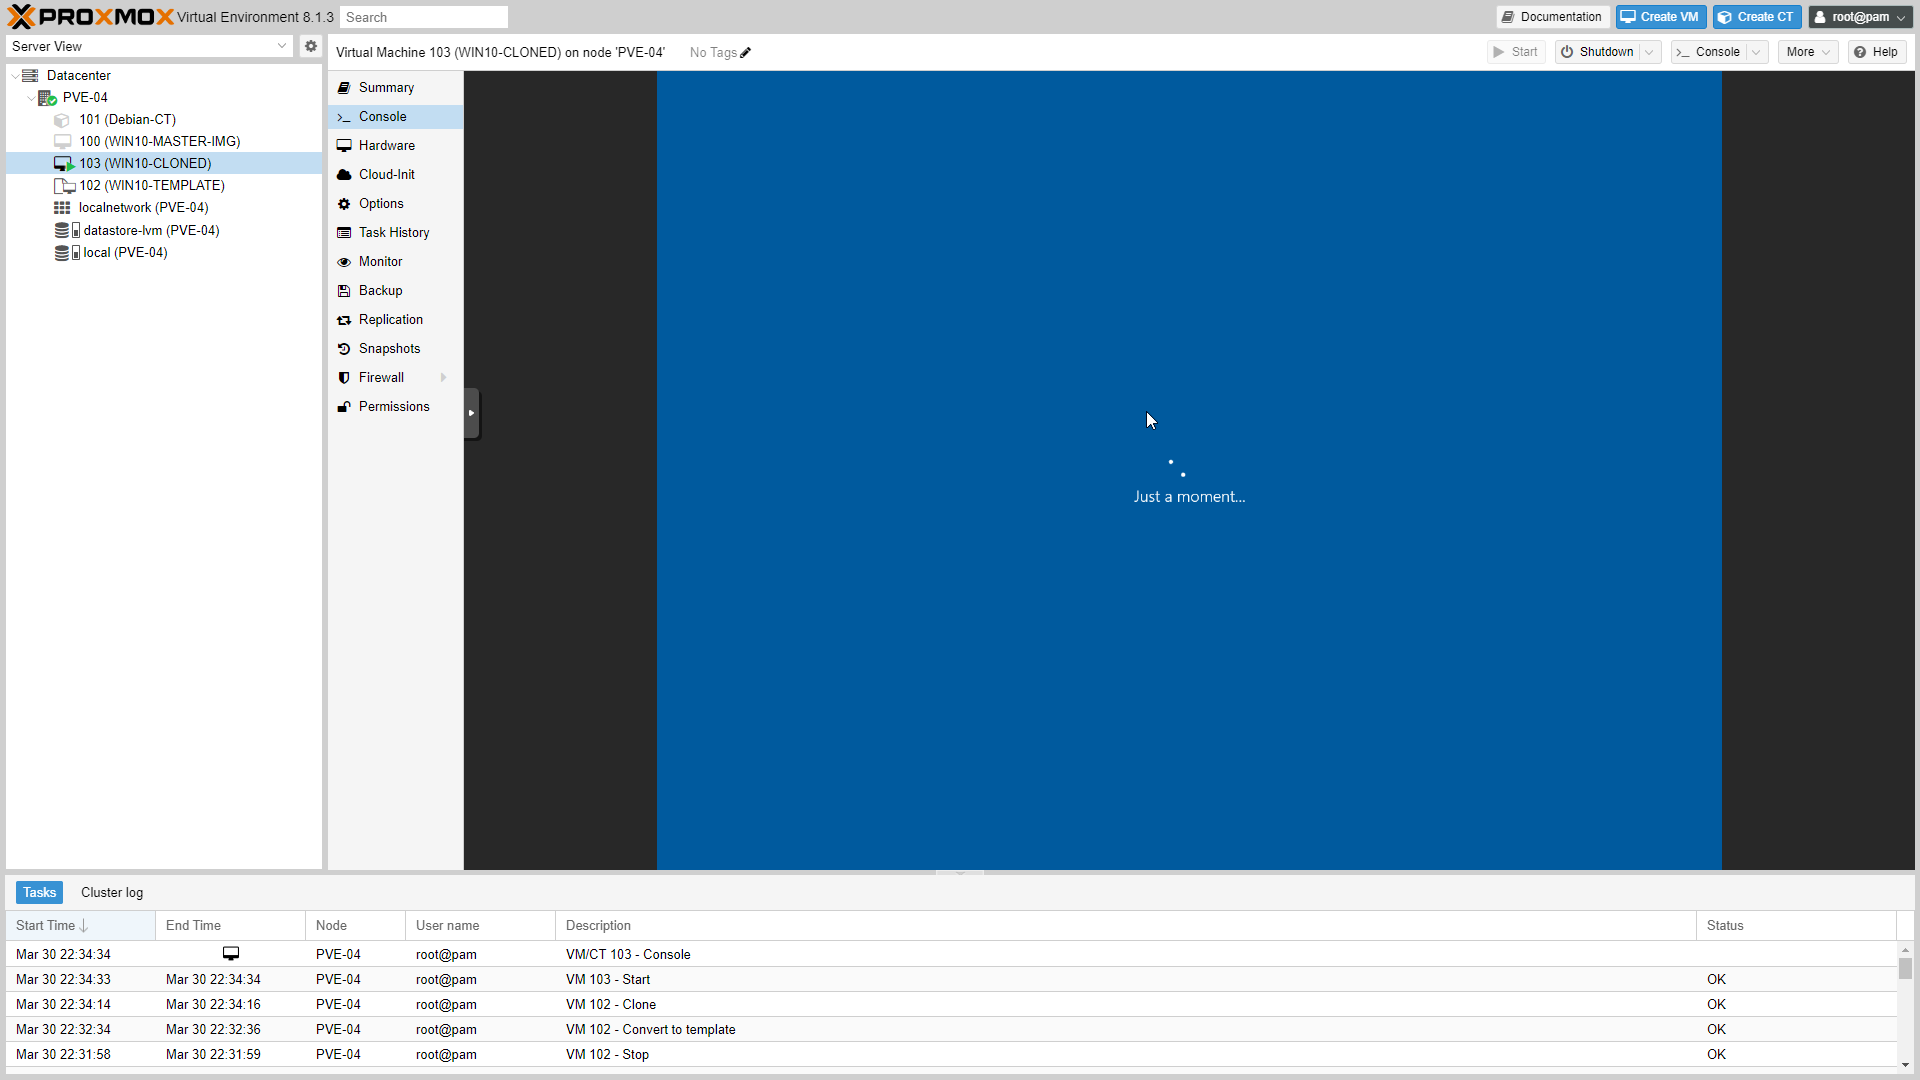
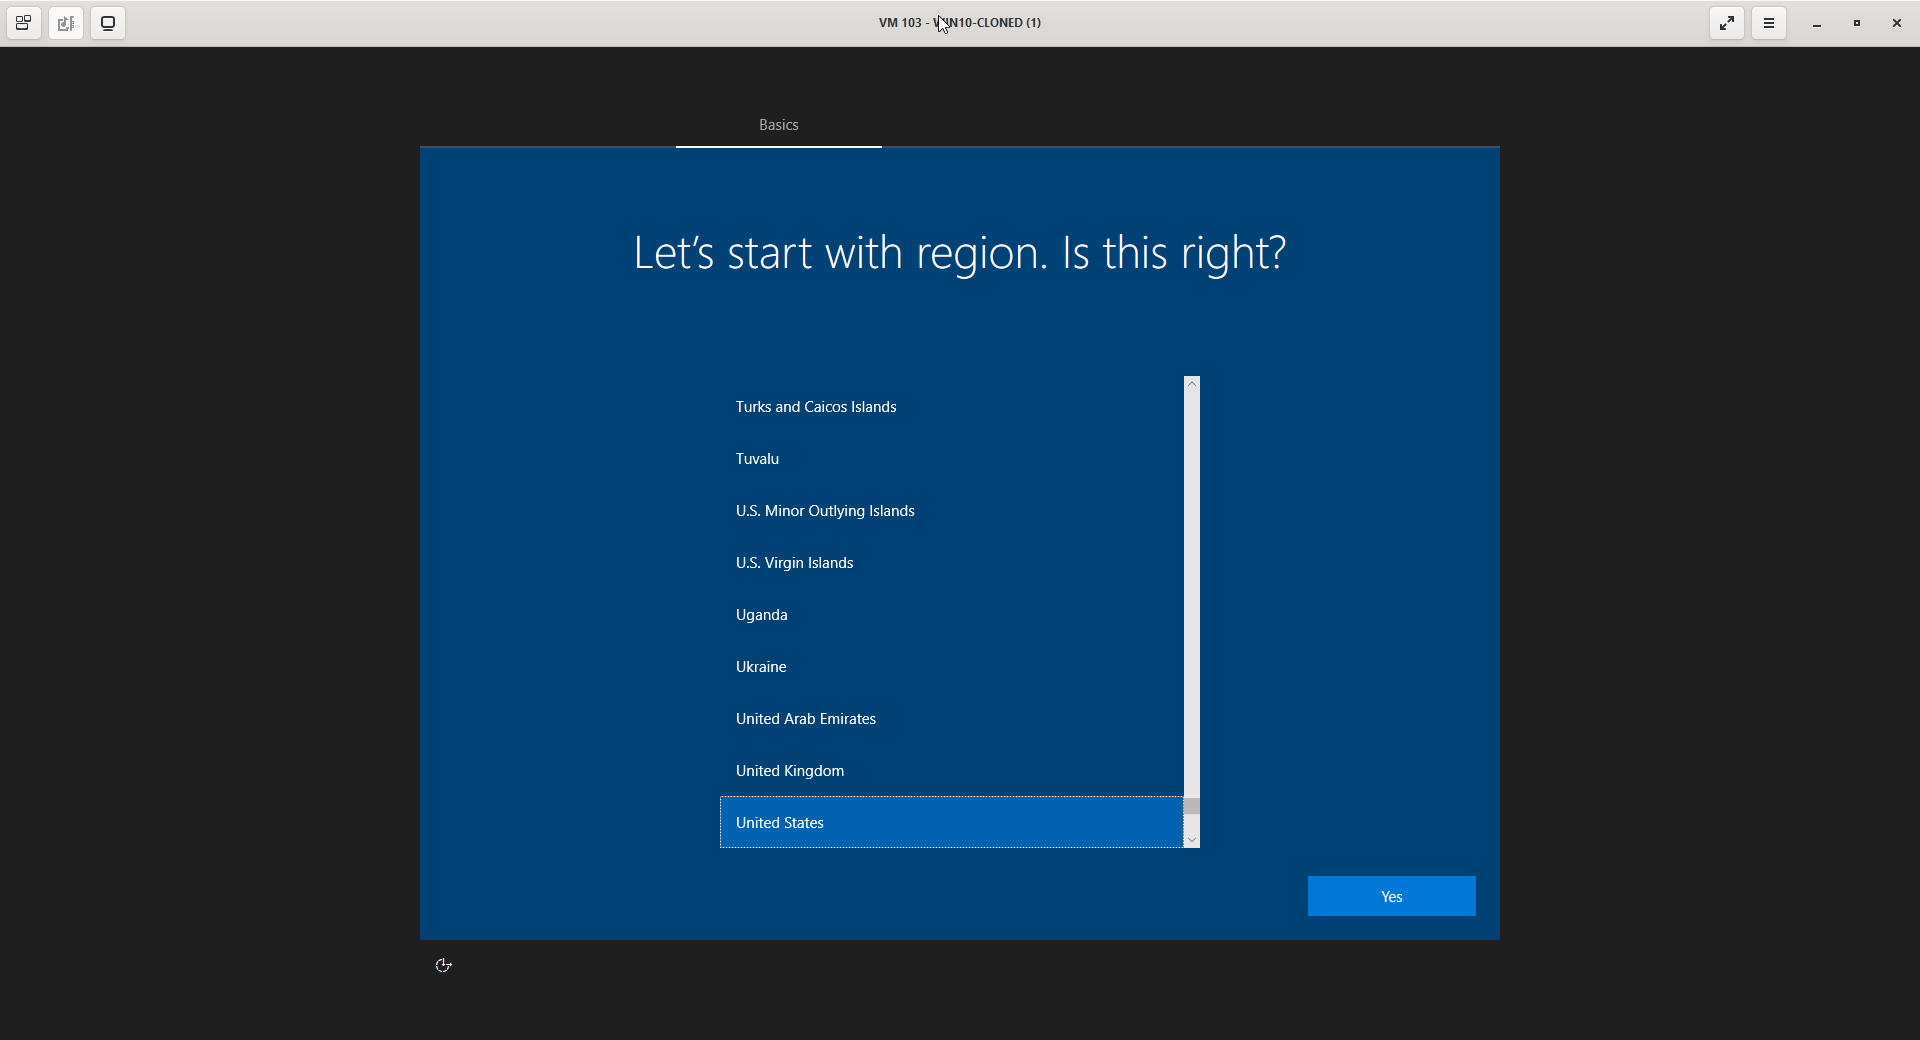
As we can see the machine booted up as Out-Of-Box Experience (OOBE) successfully.
We can clone as much as we need virtual machines from the created template.
References


